Just Like In The Movies – 20 FREE Cinematic Lightroom Presets
Want to add some movie magic to your photography? Use our free cinematic Lightroom presets to make your photographs look like a shot from a blockbuster in one click!
Have you ever looked at a movie still or a beautiful photo and thought, “I wish my photos could look like that?” Well, you're not alone! Cinematic photography is all about capturing mood, atmosphere, and drama. It's what makes certain photos stand out and instantly grab your attention. And the best part? You don't need expensive equipment or advanced skills to start creating cinematic shots.
In this post, we’ll walk you through the basics of cinematic photography and show you how to use free Lightroom presets to make your photos pop with cinematic flair.

Download our free cinematic photography presets by filling in the form below!
What is Cinematic Photography?
Cinematic photography draws inspiration from films, and its signature style is all about mood, lighting, and composition. The key elements that give photos a cinematic look include:
Lighting: Think soft, diffused light, dramatic shadows, and plenty of contrast. It's all about creating depth and atmosphere.
Colour Grading: Cinematic photos often feature muted tones, enhanced contrasts, and unique colour schemes like the popular "teal and orange" look.
Composition: Wide shots with leading lines, rule of thirds, and scenes that tell a story—just like a movie scene.
When done right, cinematic photography can turn an ordinary shot into something that feels like a scene from a movie. And the good news? You can start creating cinematic images right from your phone or camera with one click!

Koukichi Takashi on Unsplash. Before the lightroom preset is applied.

After adding our “Twilight” lightroom preset.
Get access to ALL our online courses - 1000’s of videos, worksheets, critiques of students work, personalised support and much more with our monthly membership.
How Lightroom Presets Help You Achieve a Cinematic Look
Now, let's talk about Lightroom presets. If you're new to photography or just starting to edit your photos, Lightroom presets are your best friend. These are pre-made editing settings that can instantly give your photo a polished, professional look with just one click.
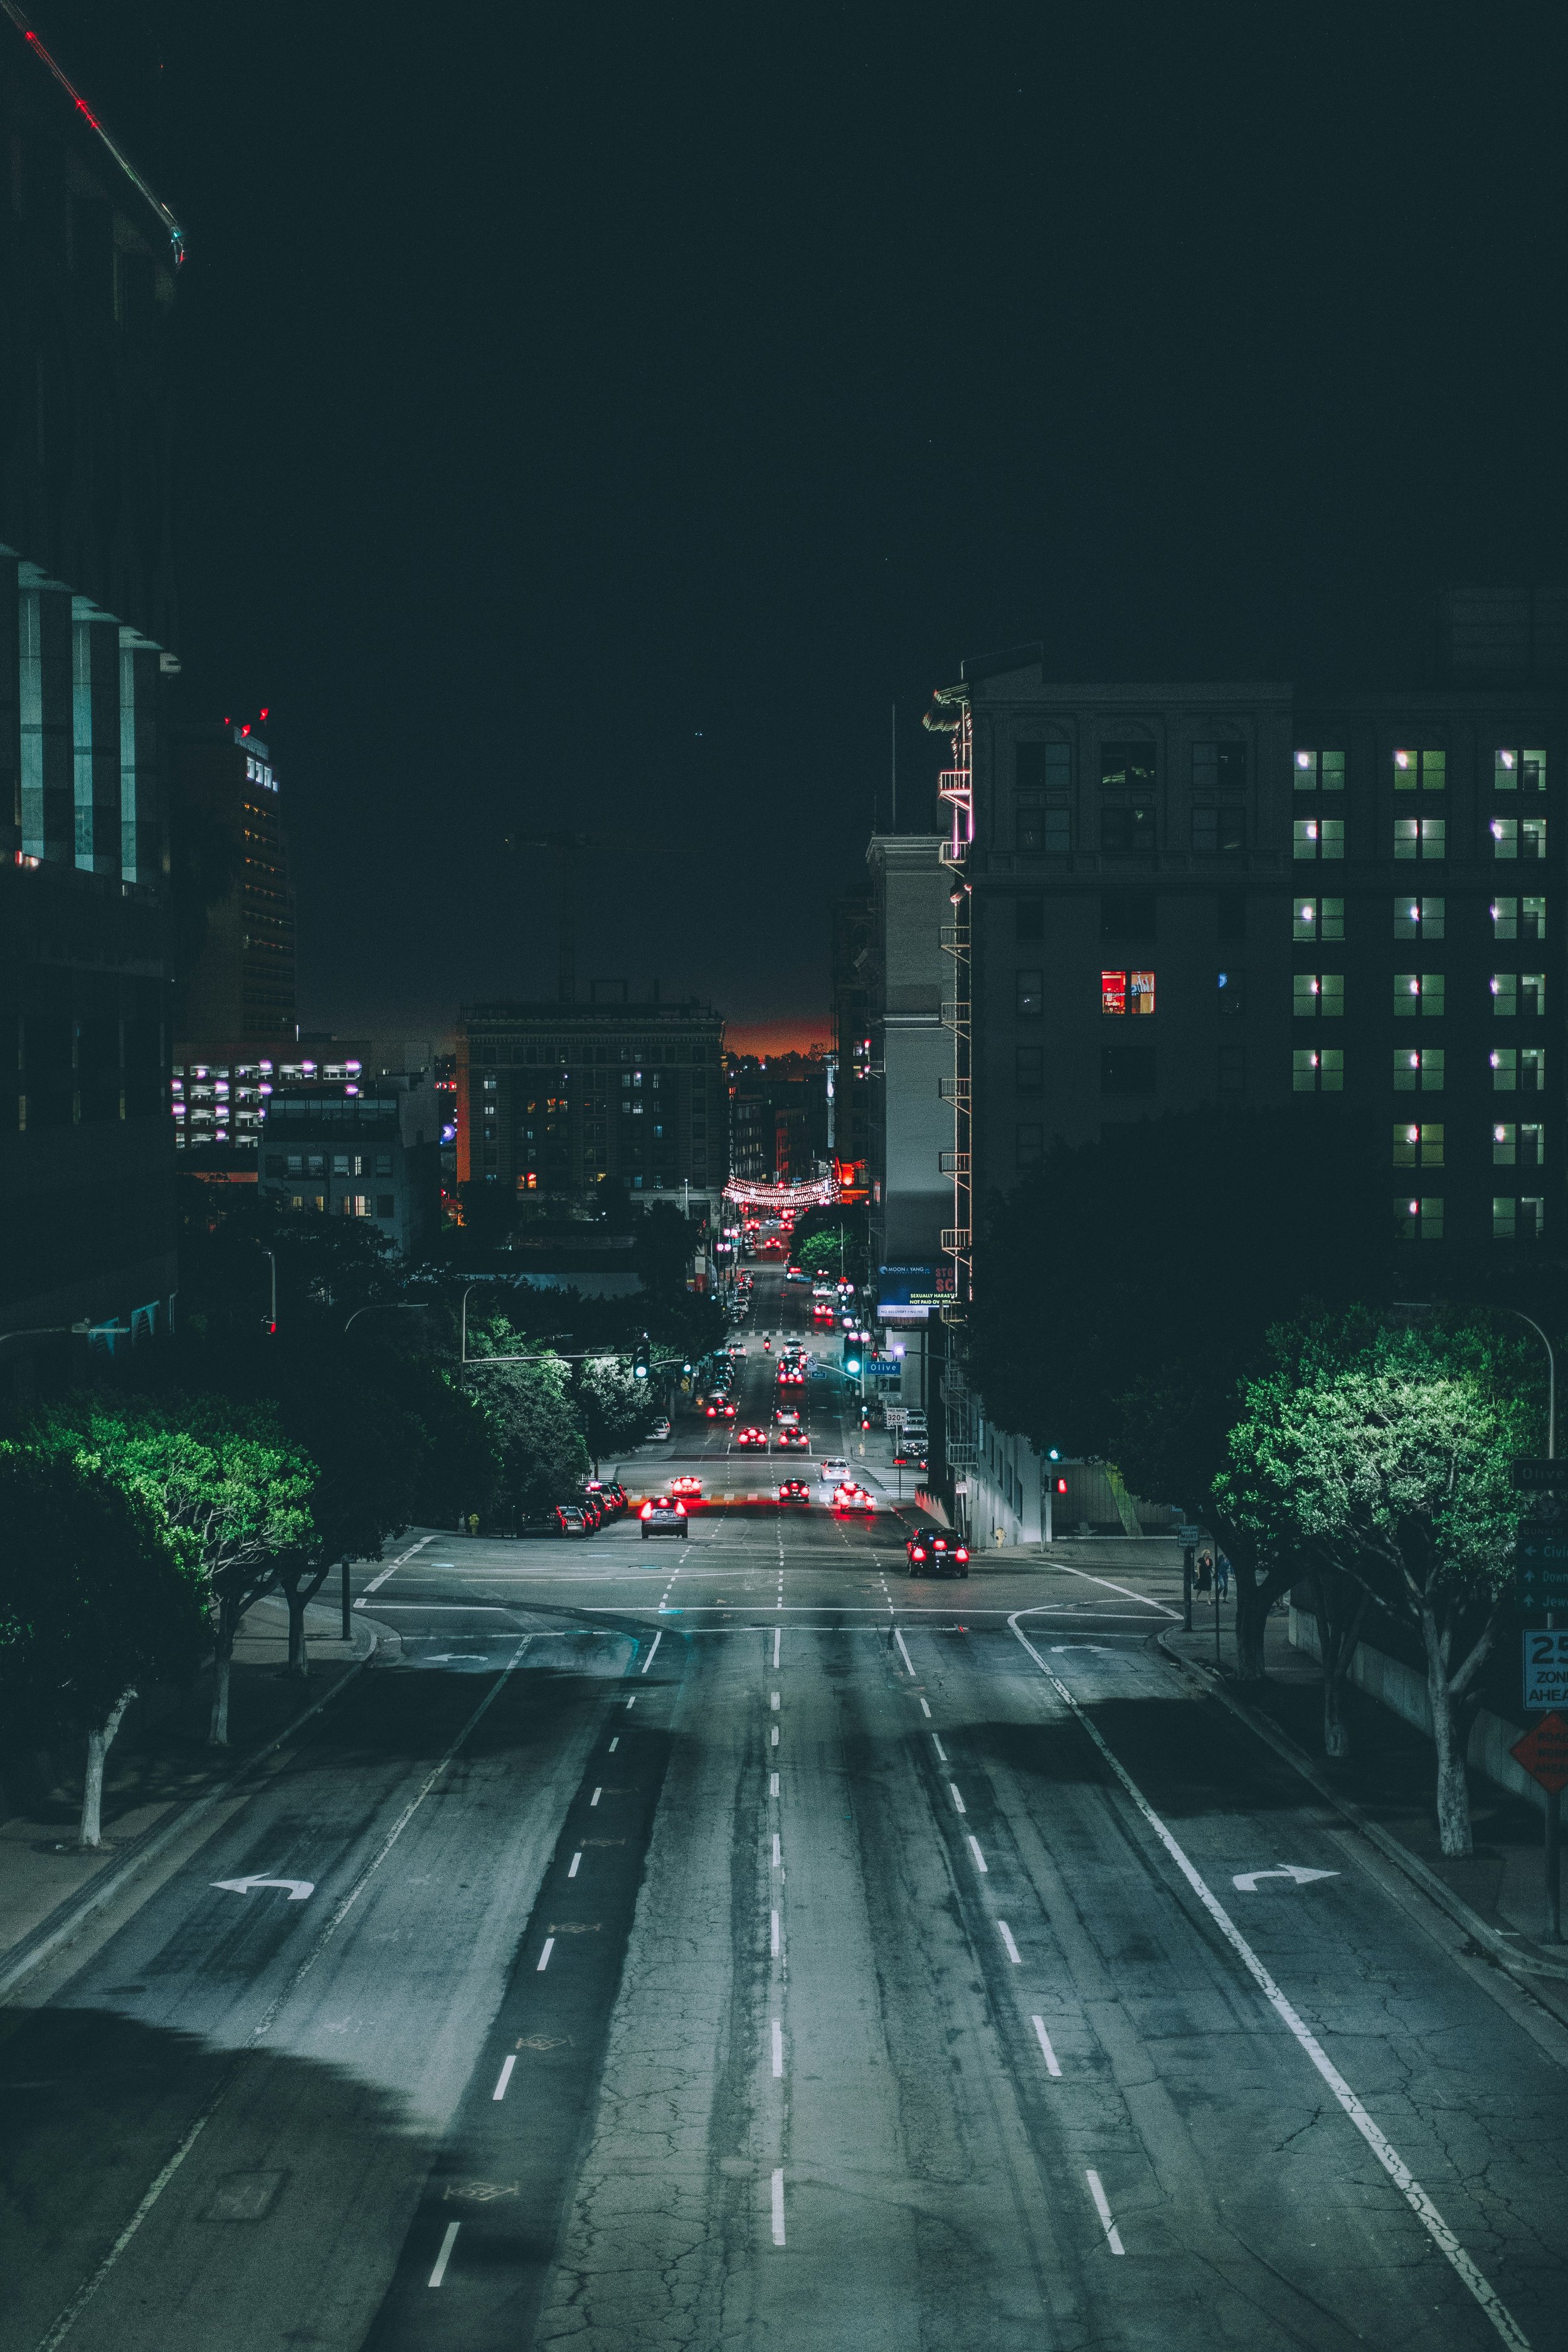
Andre Benz on Unsplash.

After our ‘Dune’ preset was applied.
Why should beginners use Lightroom presets?
Consistency: Apply the same look to multiple photos with ease.
Efficiency: Saves time by automating colour grading and adjustments.
Learning tool: By seeing how different settings are applied, you can learn about photography editing techniques and develop your own style.
And the best part? We’re sharing a set of free cinematic Lightroom presets with you today! These presets will help you easily add cinematic tones and effects to your photos, so you can start creating those dramatic, film-like shots right away.

Matheus Forreo on Unsplash.

After our “Bullet Train” preset was applied.
Cinematic Lighting Tips for Beginners
Cinematic lighting is a huge part of what makes a photo feel like it’s straight out of a film. Here are some tips to help you master lighting for cinematic shots:
Shoot during the golden hour: The light just after sunrise or before sunset creates soft, warm tones that are perfect for cinematic photos.
Play with shadows and highlights: Don’t be afraid of shadows! Cinematic photos often have areas of deep darkness contrasted with bright, well-lit spots.
Use artificial light: Streetlights, lamps, or even fairy lights can create a moody atmosphere in your photos. Experiment with different light sources to find what works best.
Real-Life Example: Before and After
Let’s take a look at how the cinematic Lightroom preset can transform an image.
Before: A simple photo taken in an area with natural light, it’s bright, but it lacks drama.
After: Applying the preset adds a subtle orange tone, increases the contrast, and creates a more dramatic, filmic look. The shadows are deeper, and the overall feel of the image is much more cinematic. There’s also a little grain that gives the feel of 35mm cinema.
You can see the transformation instantly, and that’s the magic of Lightroom presets!

Sabrina Mazzeo on Unsplash.

After our “35mm Cinema” preset was applied.
Bonus Tips for Cinematic Photography
Here are a few bonus tips to elevate your photos even more:
Play with depth of field: A wide aperture (low f-stop) can give your photos a dreamy, blurred background, making your subject stand out more.
Experiment with colour contrasts: Try the popular teal and orange look or play with complementary colour schemes to evoke different emotions.
Tell a story: Every cinematic photo tells a story. Whether it’s a quiet moment or a bold, dramatic scene, think about what emotion you want to convey through your images.

AXP Photography on Unsplash.

After our “Dune” preset was applied.
Conclusion
With just a few simple techniques, you can take your photos from ordinary to cinematic! And with the free Lightroom presets we’ve shared, you can quickly apply those professional editing looks without having to be a photo editing expert. Download the presets, experiment with your images, and have fun creating your own cinematic shots.
Don’t forget to share your photos with us! Tag us on social media to show off your new cinematic creations. We can’t wait to see what you come up with.
Happy shooting!
Like this? - Check out more free tutorials below


I hope you enjoyed this blog about choosing the best camera bag for you. If you did, please leave us a comment and support us by sharing it with your friends and subscribe to our newsletter at the bottom of this page for more.
We also have an excellent learning community on social media so please join us there as well.
Thanks for watching and remember – Learn more at The School of Photography.