Fix blown out highlights in Photoshop – In 5 minutes!
Have you ever captured a beautiful photo only to find the highlights in your image are completely blown out? If so, don’t worry! You can fix blown out highlights in Photoshop in minutes. Not only that, this technique can soften harsh whites and add a natural, warm tone back into your image.
In this tutorial, we’ll use Photoshop to show you how to fix blown out highlights in just 5 steps. Simple watch the video or follow the instructions below.
Fix blown out highlights in with this Photoshop tutorial video often harsh whites and add a natural, warm tone back into your image.
Fix blown out highlights in Photoshop – Step 1:
Sample the fill colour
Essentially you need to cover the highlights with a colour that is natural to the scene. In our example it is a sunset, but the same techniques apply to skin tones, buildings or any highlights that are blown out in your photograph.
Sample a colour from the sunset:
Select the Brush Tool (B on your keyboard).
Hold down the Alt key (Option on Mac) to temporarily activate the Eyedropper Tool.
Whilst holding the Alt/Option key, hover over a warm part of the sunset and click to sample a colour. This will now become your foreground colour.
This step ensures that any colour you apply later matches the light source perfectly.

Sample a colour
Get access to ALL our online courses - 1000’s of videos, worksheets, critiques of students work, personalised support and much more with our monthly membership.
Fix blown out highlights in Photoshop – Step 2:
Add a Solid Colour Adjustment Layer
In the Layers Panel, click the Adjustment Layer icon (circled red), and choose ‘Solid colour’.
Since you already sampled the sun’s colour, it should pre-fill the layer with that colour. Click OK.
Your image will now be covered completely with this colour. Don’t panic — this is supposed to happen!
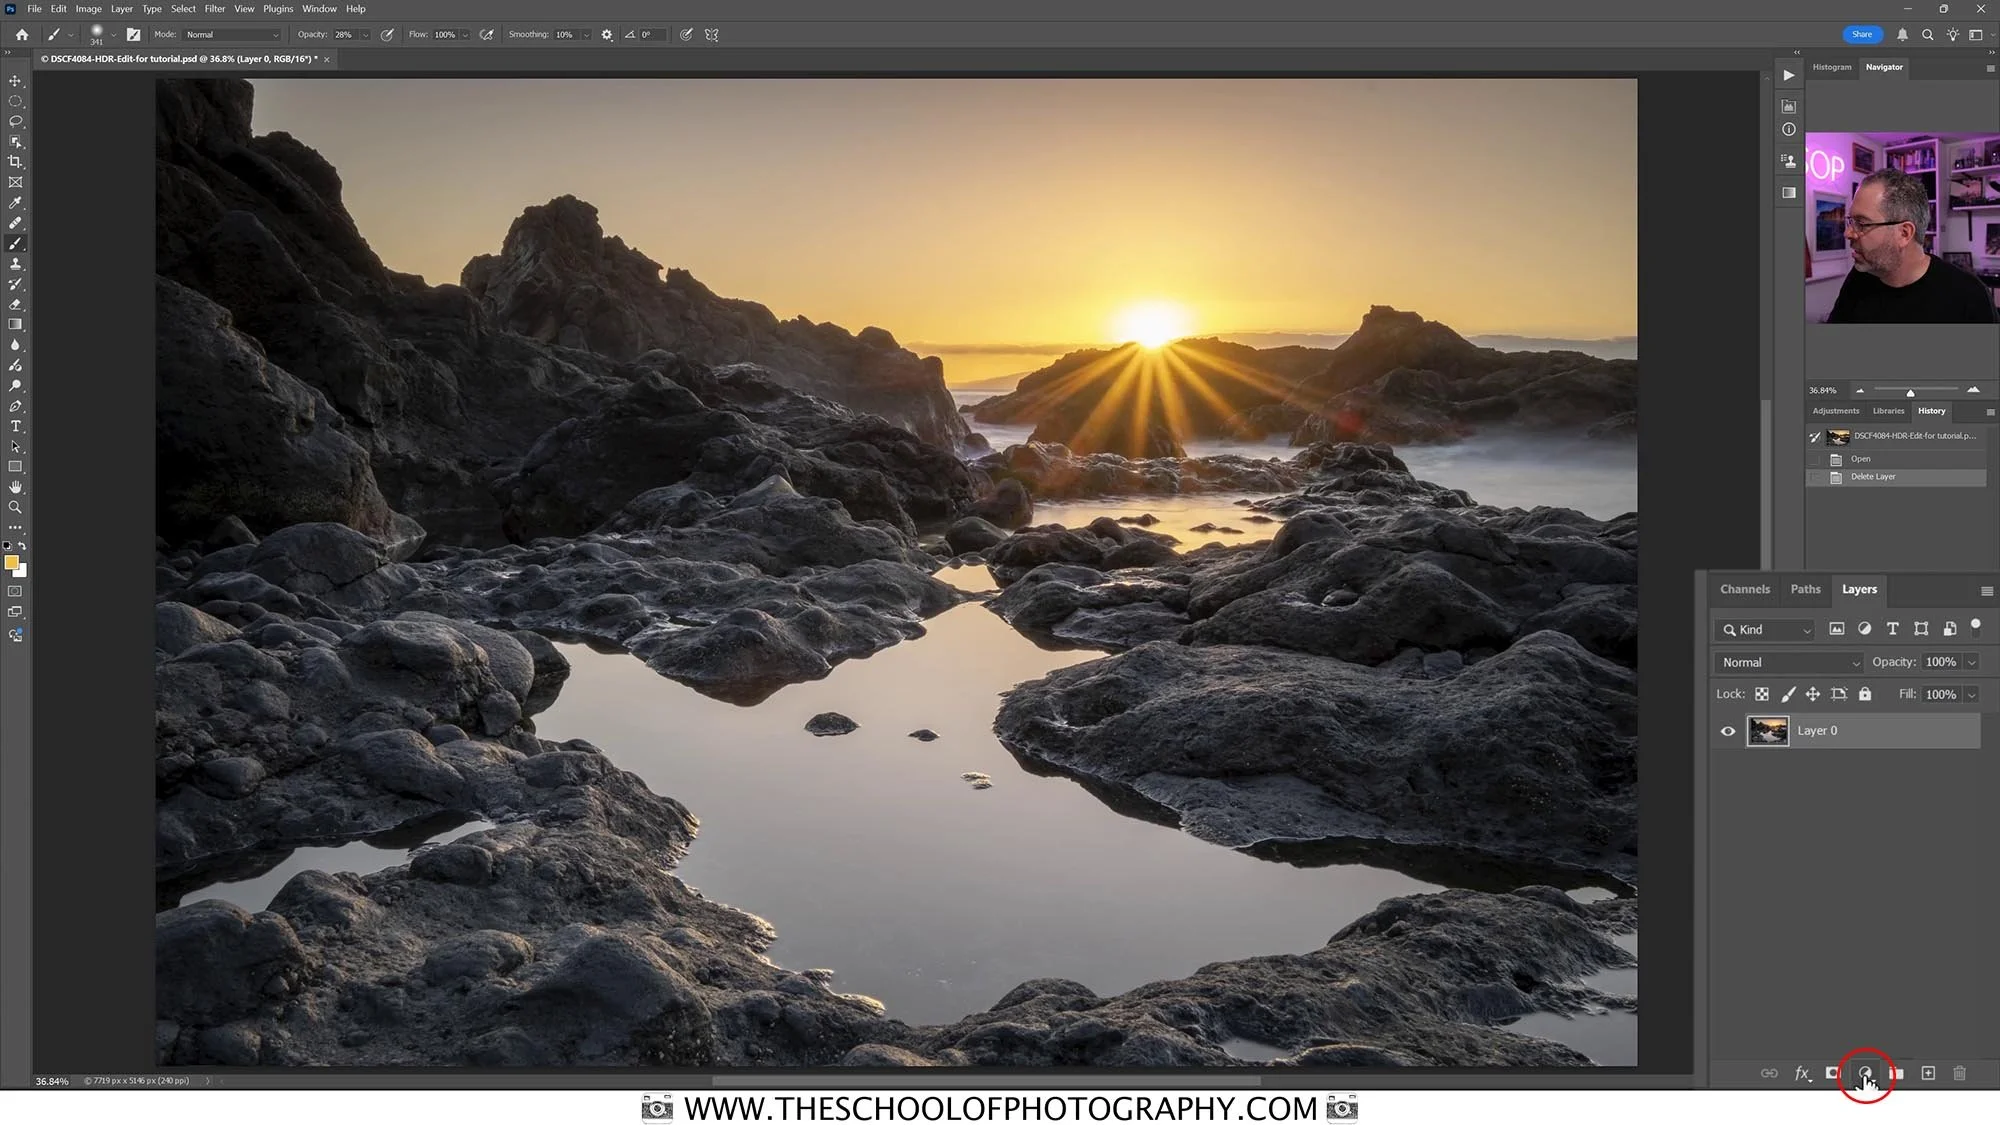
Adjustment Layer icon (circled red)
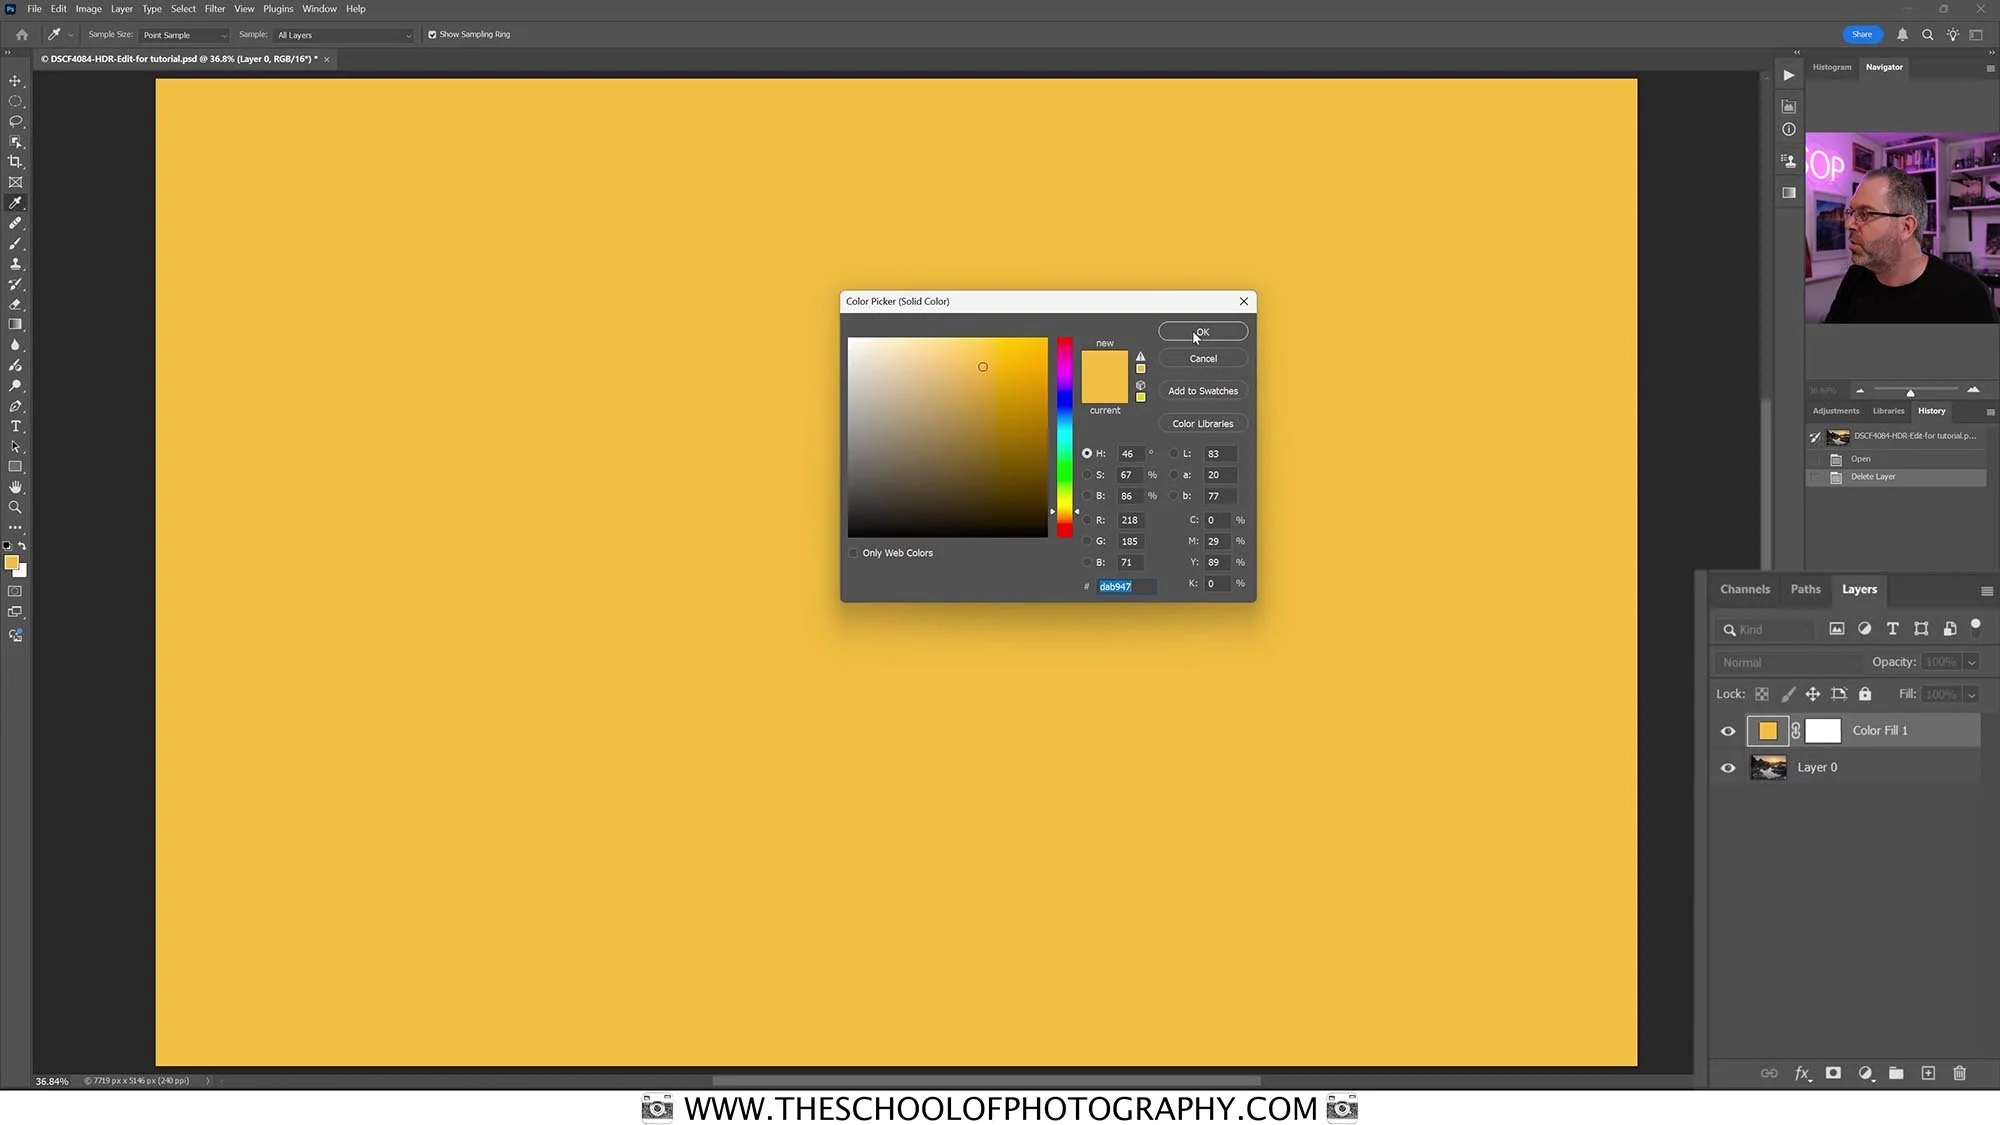
Pre-filled layer, click OK.
Fix blown out highlights in Photoshop – Step 3:
Reduce opacity of the colour fill layer
In the Layers Panel, reduce the opacity of your solid colour layer to around 15% to 20%.

Reduce the opacity of your solid colour layer
Fix blown out highlights in Photoshop – Step 4:
Change the Blend Mode of the colour fill layer
This is where the magic happens:
With your colour fill layer still selected, change its Blend Mode from Normal to:
Darken – to gently tint only the brighter areas.
Multiply – for a stronger, richer effect.
Toggle between these to see which one works best for your photo.

Darken
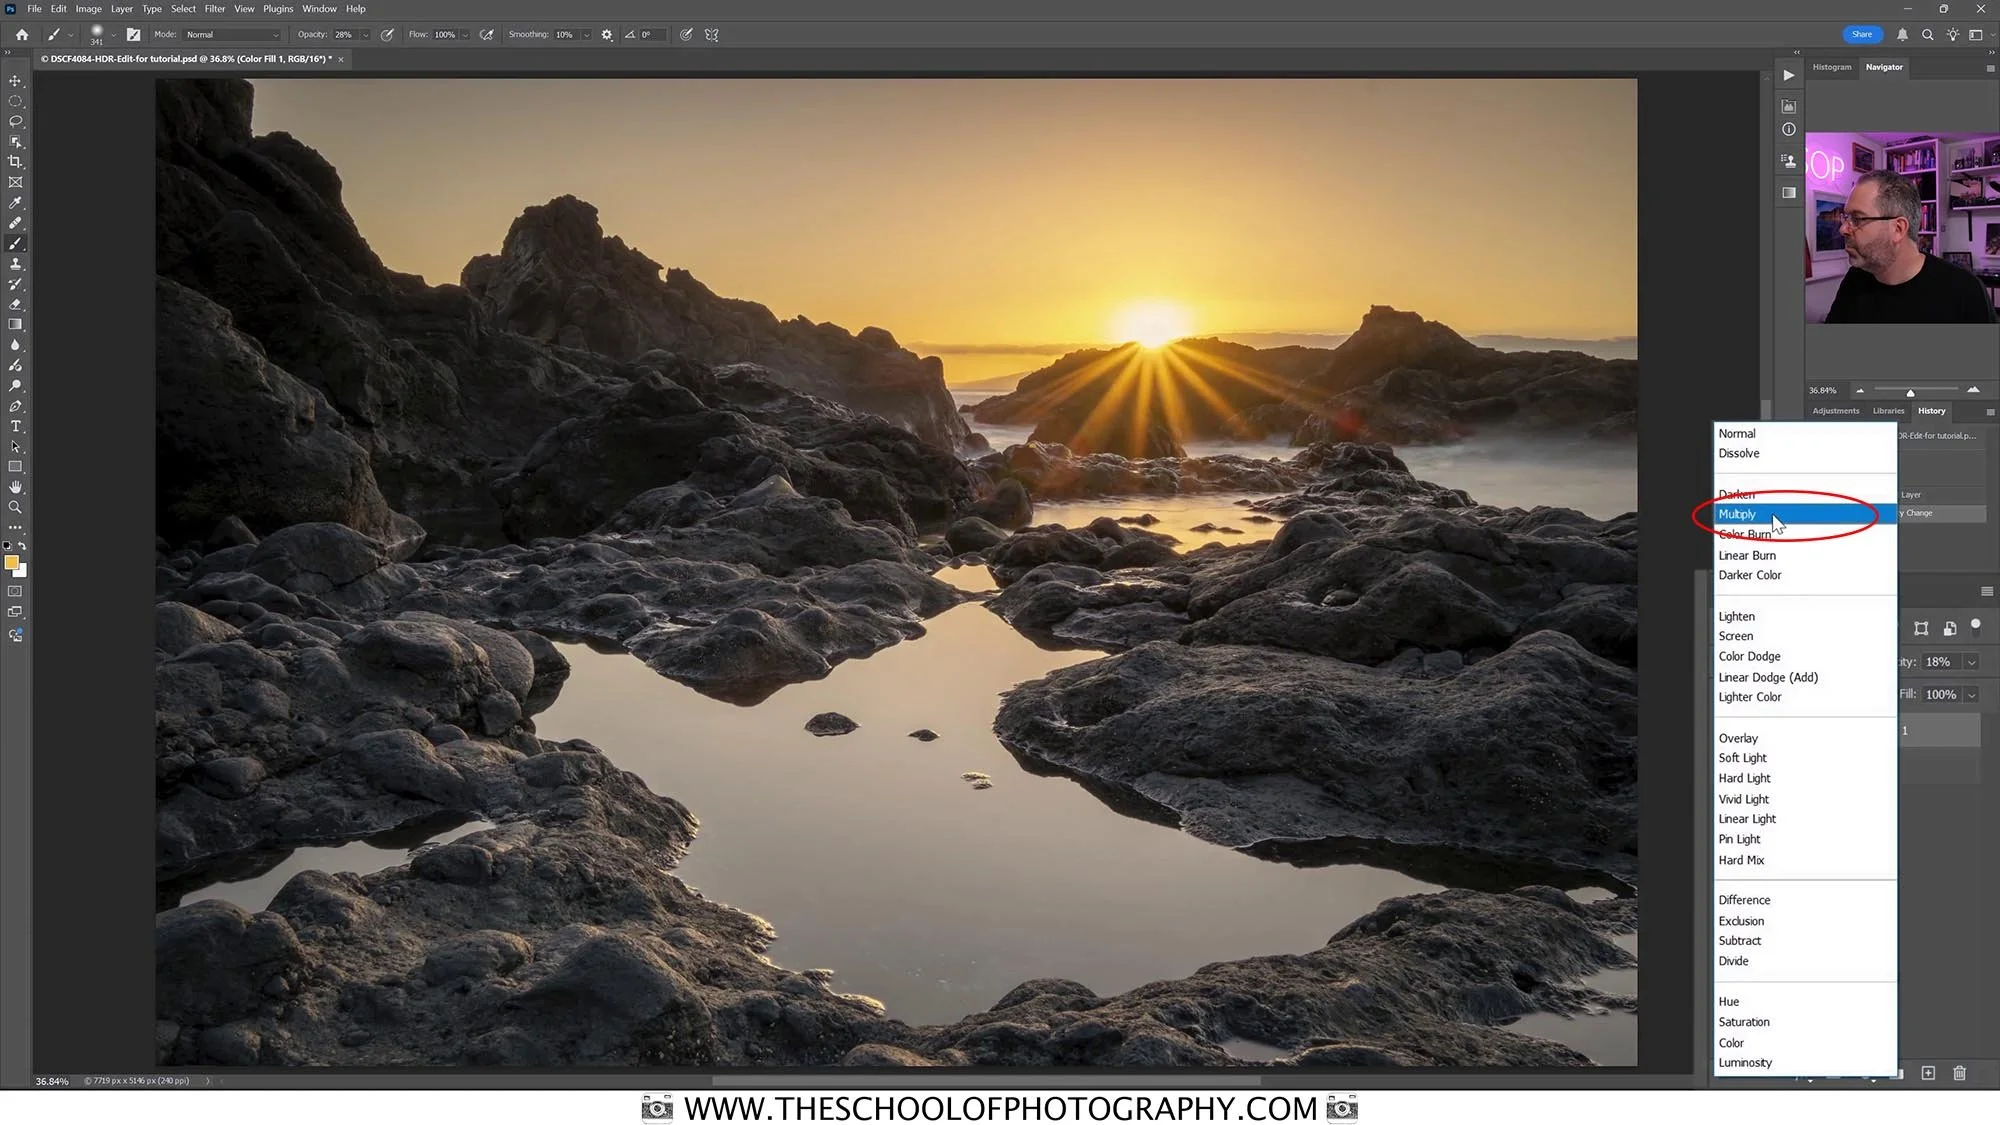
Multiply
Fix blown out highlights in Photoshop – Step 5:
Adjust and refine to suit
This is the time to perfect the effect.
Adjust the opacity of the colour fill layer to suit.
Change the blend modes to suit – Darken, Multiply and Soft Light tend to work well in cover blown out highlights in a subtle way.
Use the mask of the colour fill layer to mask the effect off areas you don’t want it to affect.
Before & After

Before - Harsh, blown-out whites

After - Warm, toned-down sunburst highlights
Using this quick technique creates a natural glow and brings back detail without needing advanced techniques or heavy retouching.
Conclusion
Blown-out highlights don’t have to ruin your photography. With this simple Photoshop technique you can quickly bring warmth and balance back into your image.
It’s a fast, non-destructive workflow that works for landscapes, portraits, and any photo where the highlights feel too harsh. Next time you’re editing a blown-out picture, give this method a try—you’ll be amazed at how much more natural and professional your photo will look.
Like this? - Check out more free tutorials below


I hope you enjoyed this tutorial about how to fix blown out highlights in photoshop. If you did, please leave us a comment and support us by sharing it with your friends and subscribe to our newsletter at the bottom of this page for more.
We also have an excellent learning community on social media so please join us there as well.
Thanks for watching and remember – Learn more at The School of Photography.

Marc Newton