Smartphone Photography: How to Take Good Photos with a Phone (11 Killer Tips)
Want to take better Smartphone Photography? In this guide, you’ll learn how to take good photos with a phone using simple techniques that instantly improve sharpness, lighting, composition, and editing — so your mobile photos look far more professional.
These days, everyone carries a camera in their pocket. Smartphone cameras might not always match DSLR quality, but mobile photography has improved rapidly. For many people, their phone is the only camera they use. That’s why learning Smartphone Photography basics is one of the most useful skills you can build today — whether you shoot with an iPhone or Android.
So, let’s get into practical Smartphone Photography tips you can use immediately.
Take this guide with you wherever you go! Download our guide for free below. You could even keep it on your phone 😊
Why Smartphone Photography Matters
Let’s face it — smartphones today are on another level. Since the first iPhone, pocket-sized devices have transformed how we communicate, learn, and create. Smartphone Photography is no different.
If you own a smartphone, you have constant access to a digital camera — not just for selfies and video calls, but as a tool to learn real photography skills. Modern phones can shoot in RAW, reach 50MP and beyond, include multiple lenses, and offer advanced features like HDR, Night Mode, Portrait Mode, and Pro/Manual controls. When you understand the fundamentals, Smartphone Photography becomes a powerful creative tool.
Smartphone Photography Basics: Start With Light and Exposure
The rules of photography apply to phones too. If you’re serious about improving Smartphone Photography, focus first on the fundamentals — especially light.
Understanding how light behaves (direction, softness, colour, and intensity) is the most important principle in photography, no matter what camera you use. Great smartphone photos usually come down to good natural light, strong composition, and clean exposure.
If you don’t know the basics yet, join our beginner course here.

Smartphone Photography Tip 1: Use Burst Mode for Action Shots
Capture Multiple Frames for Perfect Timing
One of the best things about Smartphone Photography is you can take loads of photos, instantly review them, and improve quickly.
If you’re photographing kids, pets, sports, or fast-moving moments, use Burst Mode. Burst captures multiple frames as your subject moves — then you simply choose the sharpest, best-timed image afterwards. For mobile photography, this is one of the fastest ways to improve your hit rate.
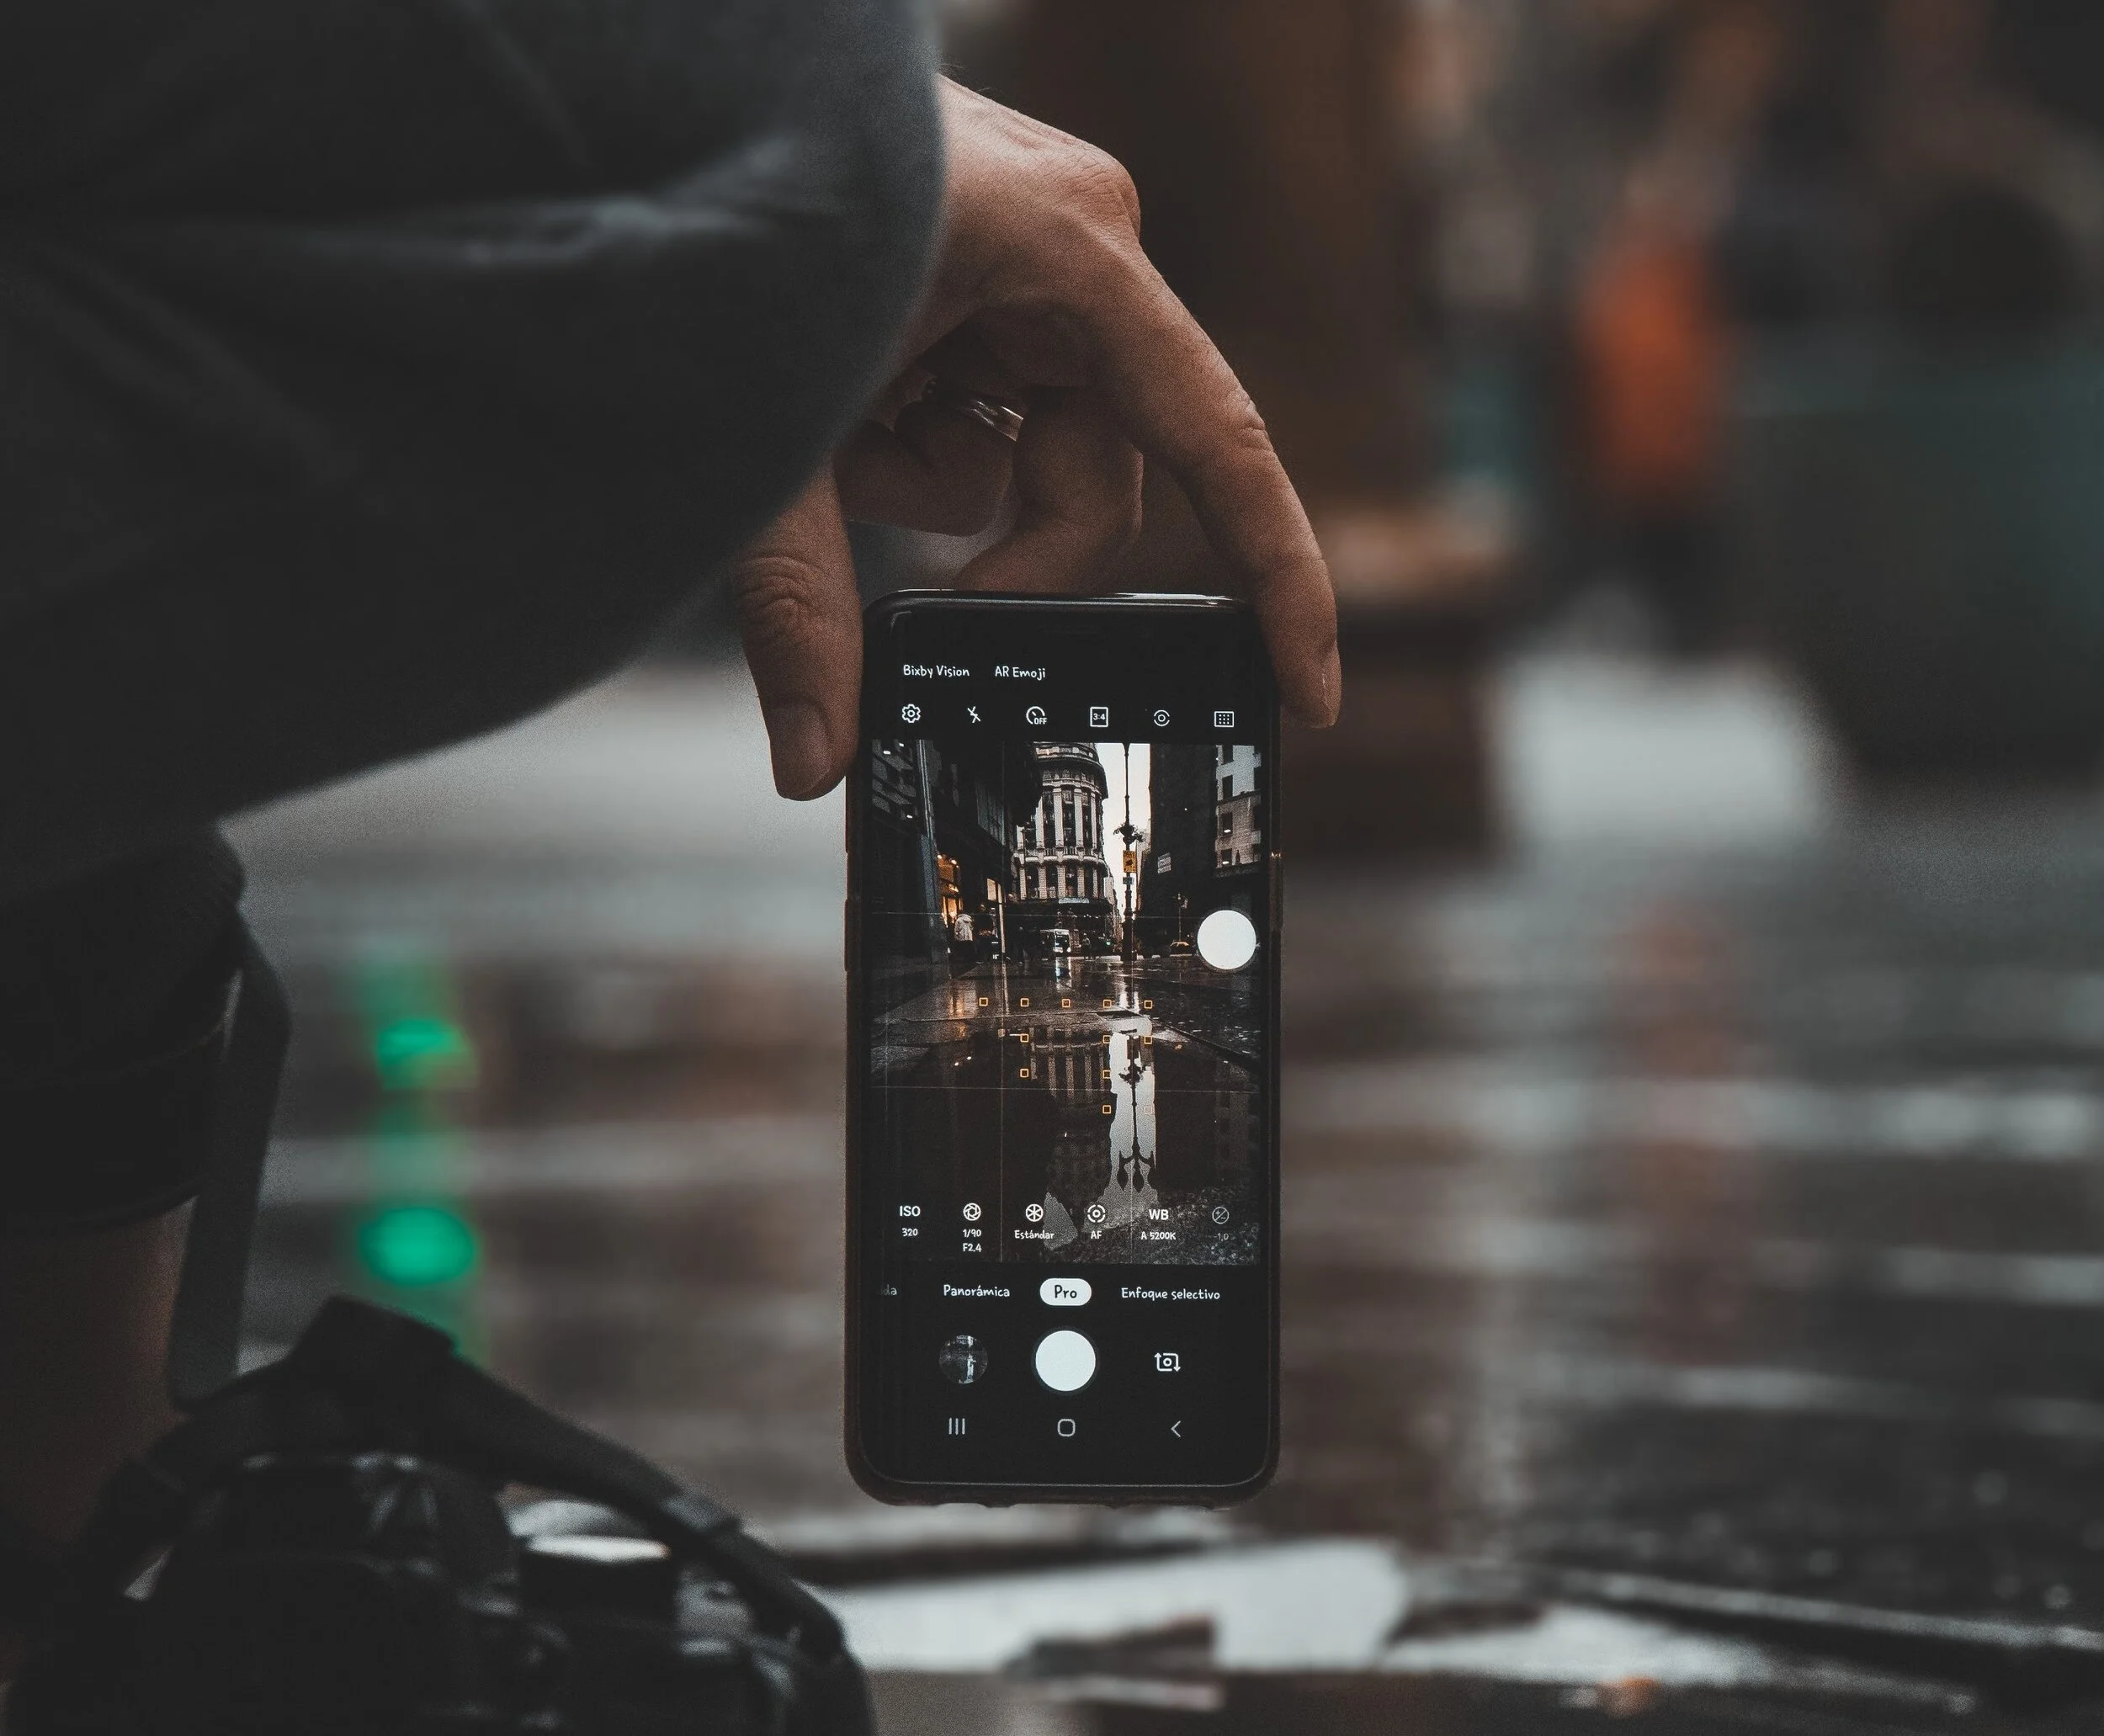
Smartphone Photography Tip 2: Learn Your Phone Camera Modes
Understand Your Phone Camera Settings and Features
Open your camera app and explore what your phone can do. To improve Smartphone Photography, you need to understand the tools built into your phone camera.
Check:
Which shooting modes are available?
Are you capturing at the highest resolution/quality?
Can you shoot RAW (or “ProRAW” on some iPhones)?
Can you tap to focus and adjust exposure?
Do you have exposure compensation or manual focus?
Most phones allow “tap to focus,” and many also let you drag exposure up/down after tapping. This is a key step in better Smartphone Photography.
Common Phone Camera Modes for Smartphone Photography
Portrait Mode – best for people and background blur
Food Mode – boosts detail and colour for close-ups
Macro/Close-up – for texture and small subjects
Panorama – stitches images into wide scenes
Scan/Document – captures text clearly
Pro/Manual Mode – controls ISO, shutter speed, white balance, and exposure (varies by device)
If your phone doesn’t have Pro mode, apps like Lightroom Mobile can offer extra control.
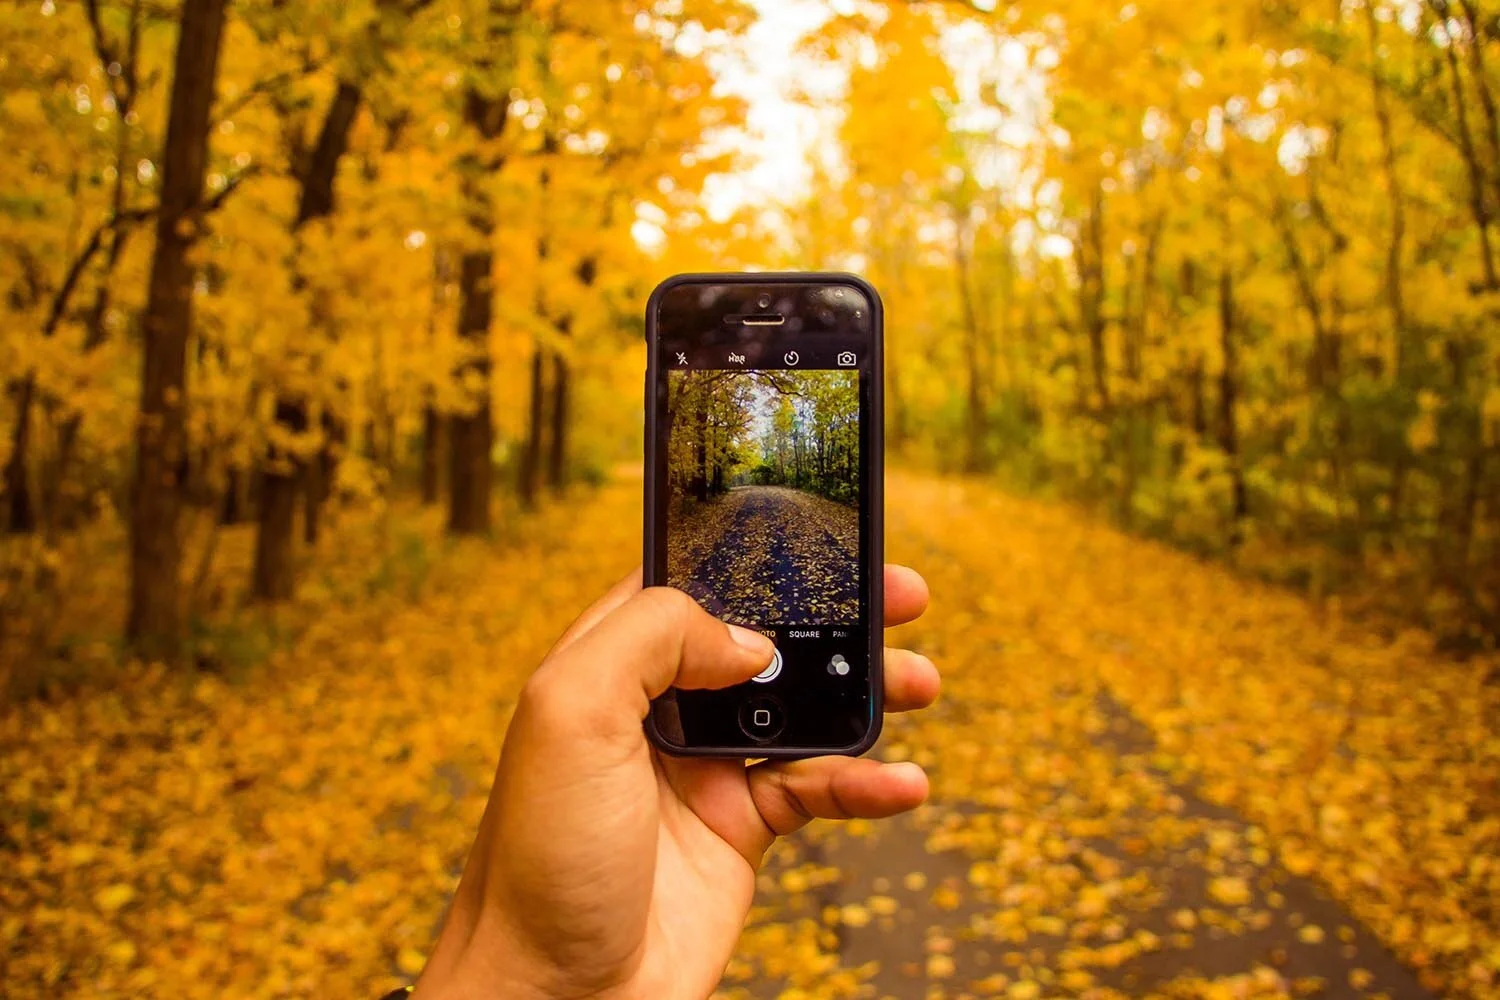
Smartphone Photography Tip 3: Shoot Outdoors in Natural Light
Use Natural Light for Cleaner, Sharper Mobile Photos
Most smartphones struggle indoors because of small sensors. If you want a quick upgrade in Smartphone Photography, shoot outdoors whenever possible.
Good natural light improves:
sharpness
colour
skin tones
noise levels
overall image quality
Lighting controls not only brightness, but mood, tone, and atmosphere — and natural light is usually the easiest way to get great smartphone photos.
Get access to ALL our online courses – 1000’s of videos, worksheets, critiques of student’s work, personalised support and much more with our monthly membership.
Smartphone Photography Tip 4: Avoid Digital Zoom
Keep Image Quality High Without Losing Detail
Digital zoom usually produces poor results because it crops the image and reduces resolution. If you’re working on Smartphone Photography, avoid digital zoom whenever you can.
Instead:
move closer to your subject
use optical zoom (if your phone has a telephoto lens)
crop later in editing if needed
Optical zoom is increasingly common on modern smartphones and is far better for image quality.


Smartphone Photography Tip 5: Use HDR for Balanced Exposure
Improve Highlights and Shadows in Tricky Lighting
HDR (High Dynamic Range) is a powerful tool in Smartphone Photography, especially for landscapes and bright skies.
If there’s a big difference between the brightest and darkest parts of a scene (sky vs ground), HDR helps balance exposure and retain detail. This is a simple win when shooting in harsh sunlight or backlit scenes.
Smartphone Photography Tip 6: Edit Your Photos for a Professional Finish
Use Mobile Editing Apps to Improve Colour and Contrast
Editing is one of the fastest ways to level up Smartphone Photography. Even great photos can look flat straight out of the camera — a quick edit can transform them.
You can edit using:
your phone’s built-in editor
apps like Adobe Lightroom, Snapseed, or Photoshop
Typical edits include:
cropping/straightening
exposure and contrast
highlights/shadows
colour temperature (white balance)
sharpening (lightly!)
At The School of Photography, we teach Lightroom, Photoshop and more in our membership.


Smartphone Photography Tip 7: Use Composition Rules on Your Phone
Improve Mobile Photography Composition Instantly
Composition is one of the biggest “secret weapons” in Smartphone Photography. Turn on your phone’s grid overlay and apply these simple rules:
Rule of Thirds – place key subjects near grid intersections
Rule of Odds – odd numbers of subjects often look more natural
Leading Lines – guide the viewer’s eye through the frame
Symmetry – clean, ordered, and powerful
Negative Space – make your subject stand out
Patterns – create visual rhythm and interest
Triangles – strong structure for groups and portraits
Learn more composition tips and how to take better pictures in our course the Complete Guide to Photography.

Smartphone Photography Tip 8: Stabilise Your Phone in Low Light
Reduce Blur and Noise in Dark Conditions
In dark conditions, Smartphone Photography can suffer from:
camera shake (blur)
high ISO noise (grainy photos)
To reduce blur, stabilise your phone by resting it on a flat surface (wall, table, ledge). This is especially useful at concerts, bars, music venues, and night scenes.
You can also consider adding a small LED light or using a tripod — more on that below.
Smartphone Photography Tip 9: Use Better Smartphone Photography Apps
Get More Control for Shooting and Editing
Default camera apps are decent, but third-party apps can improve your Smartphone Photography by giving you more control over capture and editing.
Recommended apps:
VSCO (editing + presets)
Snapseed (powerful free editor)
Lightroom Mobile (shoot RAW + advanced editing)
PhotoPills (planning and tools)
Moment (excellent if using add-on lenses)
Flickr / Instagram (sharing + community)
Smartphone Photography Tip 10: Try Smartphone Photography Accessories
Upgrade Your Mobile Photography Without Buying a New Phone
A growing range of accessories can massively expand what Smartphone Photography can do — without changing your handset.
Helpful accessories:
Phone cases that allow lens/light attachments
LED lights / ring lights for low light
Clip-on lenses (macro, telephoto, fisheye)
Tripods for stability and long exposure mobile photography
Filters for creative control (and glare reduction)
Bluetooth remote triggers for shake-free shots
Instant printers (e.g., Instax)


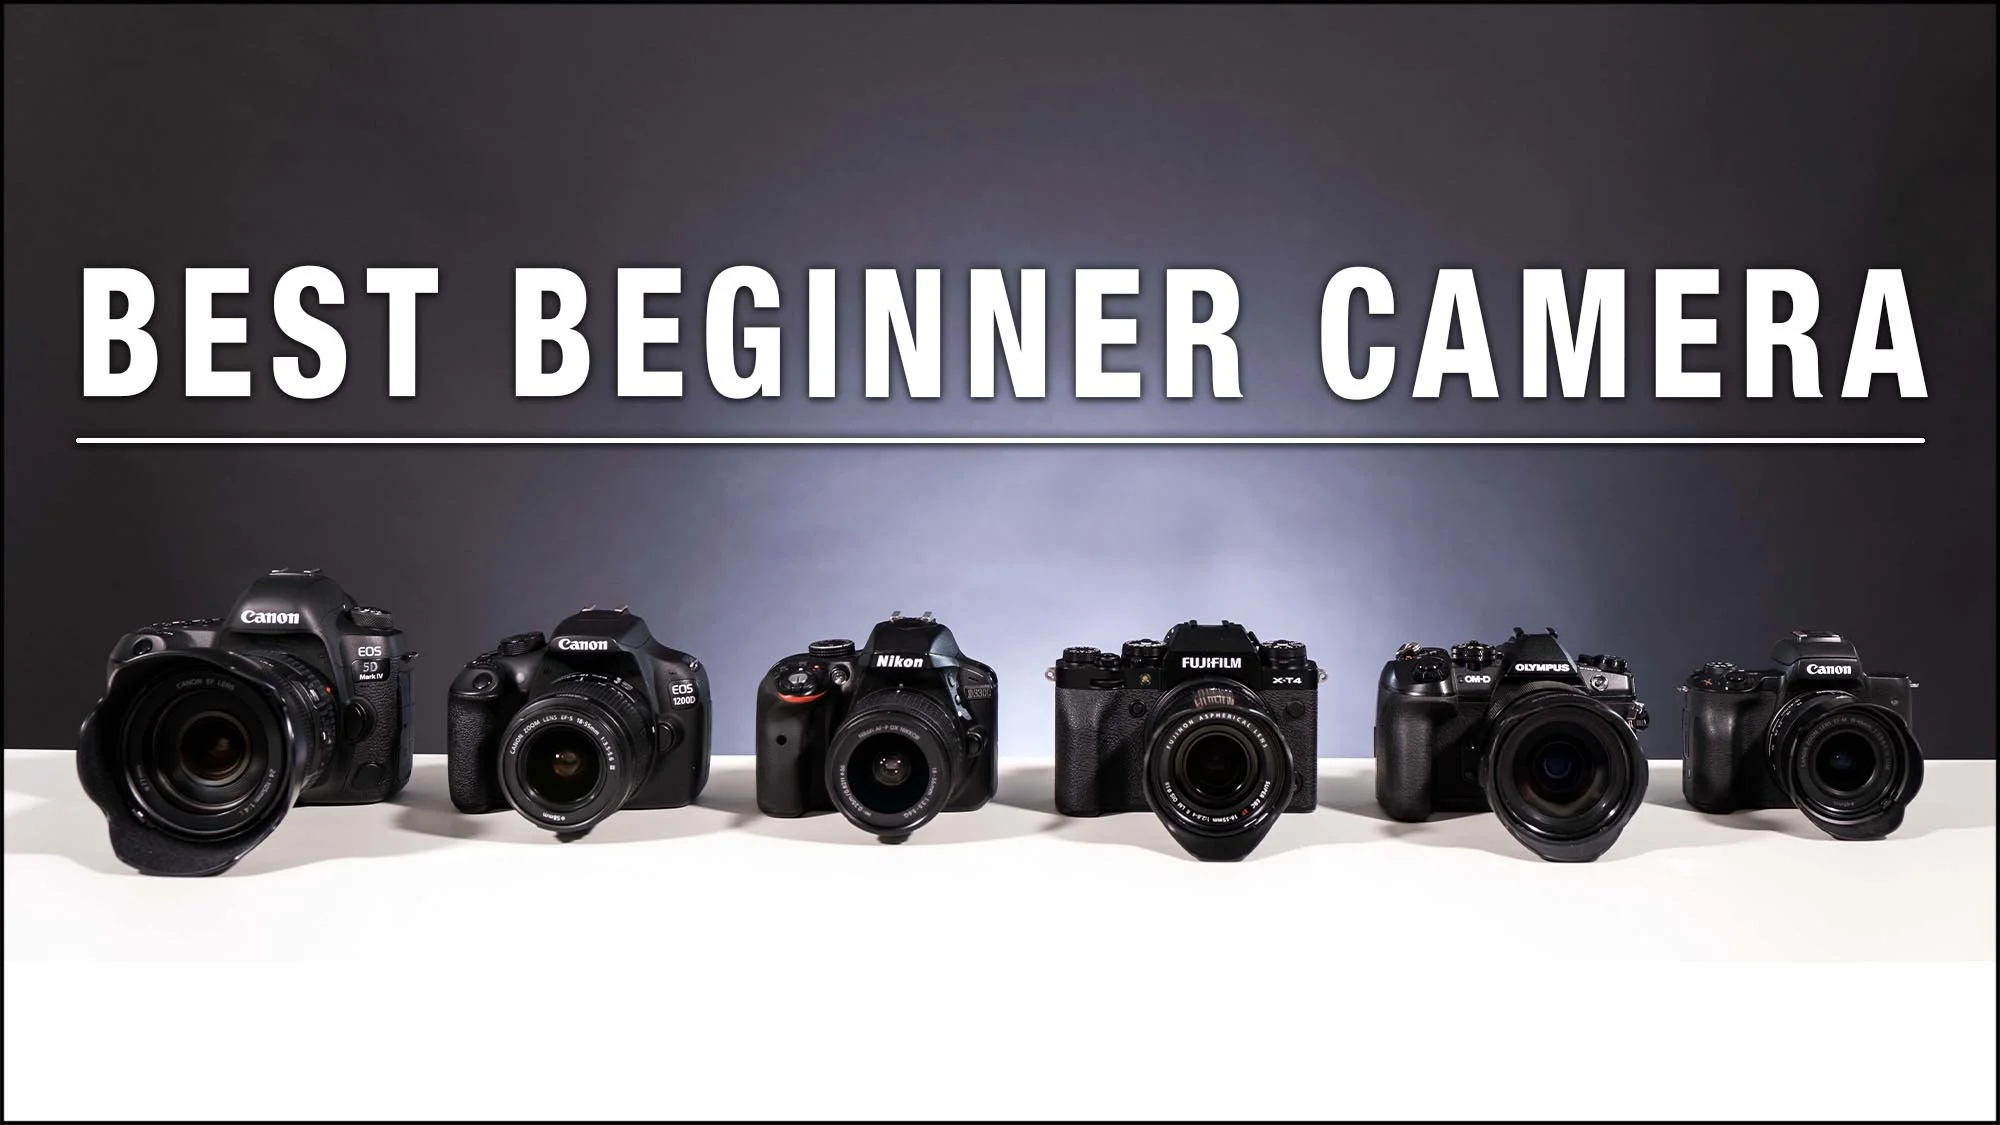
Smartphone Photography Tip 11: Should You Upgrade Your Phone Camera?
Choosing a Better Camera Phone for Smartphone Photography
Sometimes the fastest way to improve Smartphone Photography is upgrading your phone — camera quality varies a lot between models.
If you’re choosing based on camera performance, strong options include:
Google Pixel 8 / 8 Pro
Apple iPhone 15 / 15 Pro / 15 Pro Max
Samsung Galaxy S24 / S24 Ultra
OnePlus 12
Samsung Galaxy Z Fold 5
(If you want, I can rewrite this section to be more evergreen so it doesn’t date quickly.)
Bonus Smartphone Photography Tip: Practice and Review Your Shots
If you want to master Smartphone Photography, practice is the real unlock. Take lots of photos, review them, and make quick notes:
Is the lighting flattering or harsh?
Is the subject clear and intentional?
Is the composition strong?
Is there blur from camera shake?
Are highlights blown out (too bright) or shadows crushed (too dark)?
Work out what you’re doing well and what needs improvement — and keep going. If you want structured learning, our online courses can help you progress faster.
Like this? - Check out similar tutorials below

I hope you liked this tutorial on how to take good photos with a phone. If you did please leave us a comment and support us by sharing it with your friends and subscribe to our newsletter at the bottom of this page for more.
We also have an excellent learning community on social media so please join us there as well.
Thanks for watching and remember – Learn more at The School of Photography.
