
Macro photography opens up a fascinating world of subjects and details that are often difficult to see with the naked eye. From flowers and insects to water droplets and everyday household objects, there are countless subjects you can explore with your camera.
Here are 20 of the best macro photography ideas ranked from easiest to hardest. Whether you're completely new to macro photography or looking for more creative ideas for macro photography, these examples will help you practice focusing, lighting, composition and higher magnification techniques.
Starting with simple macro photography at home using budget equipment, we'll gradually work towards more advanced subjects and techniques, including photographing insects and handheld focus stacking.
Completely new to the world of macro photography? No problem! Check out our Macro Photography Course with multi-award-winning photographer Oliver Wright. Oliver will show you how to get started with macro photography, from choosing equipment and camera settings to focusing, lighting and high-magnification techniques. You'll also learn how to photograph insects and other tiny subjects while creating sharp, detailed macro photographs.
Macro Idea 1 - Pencils
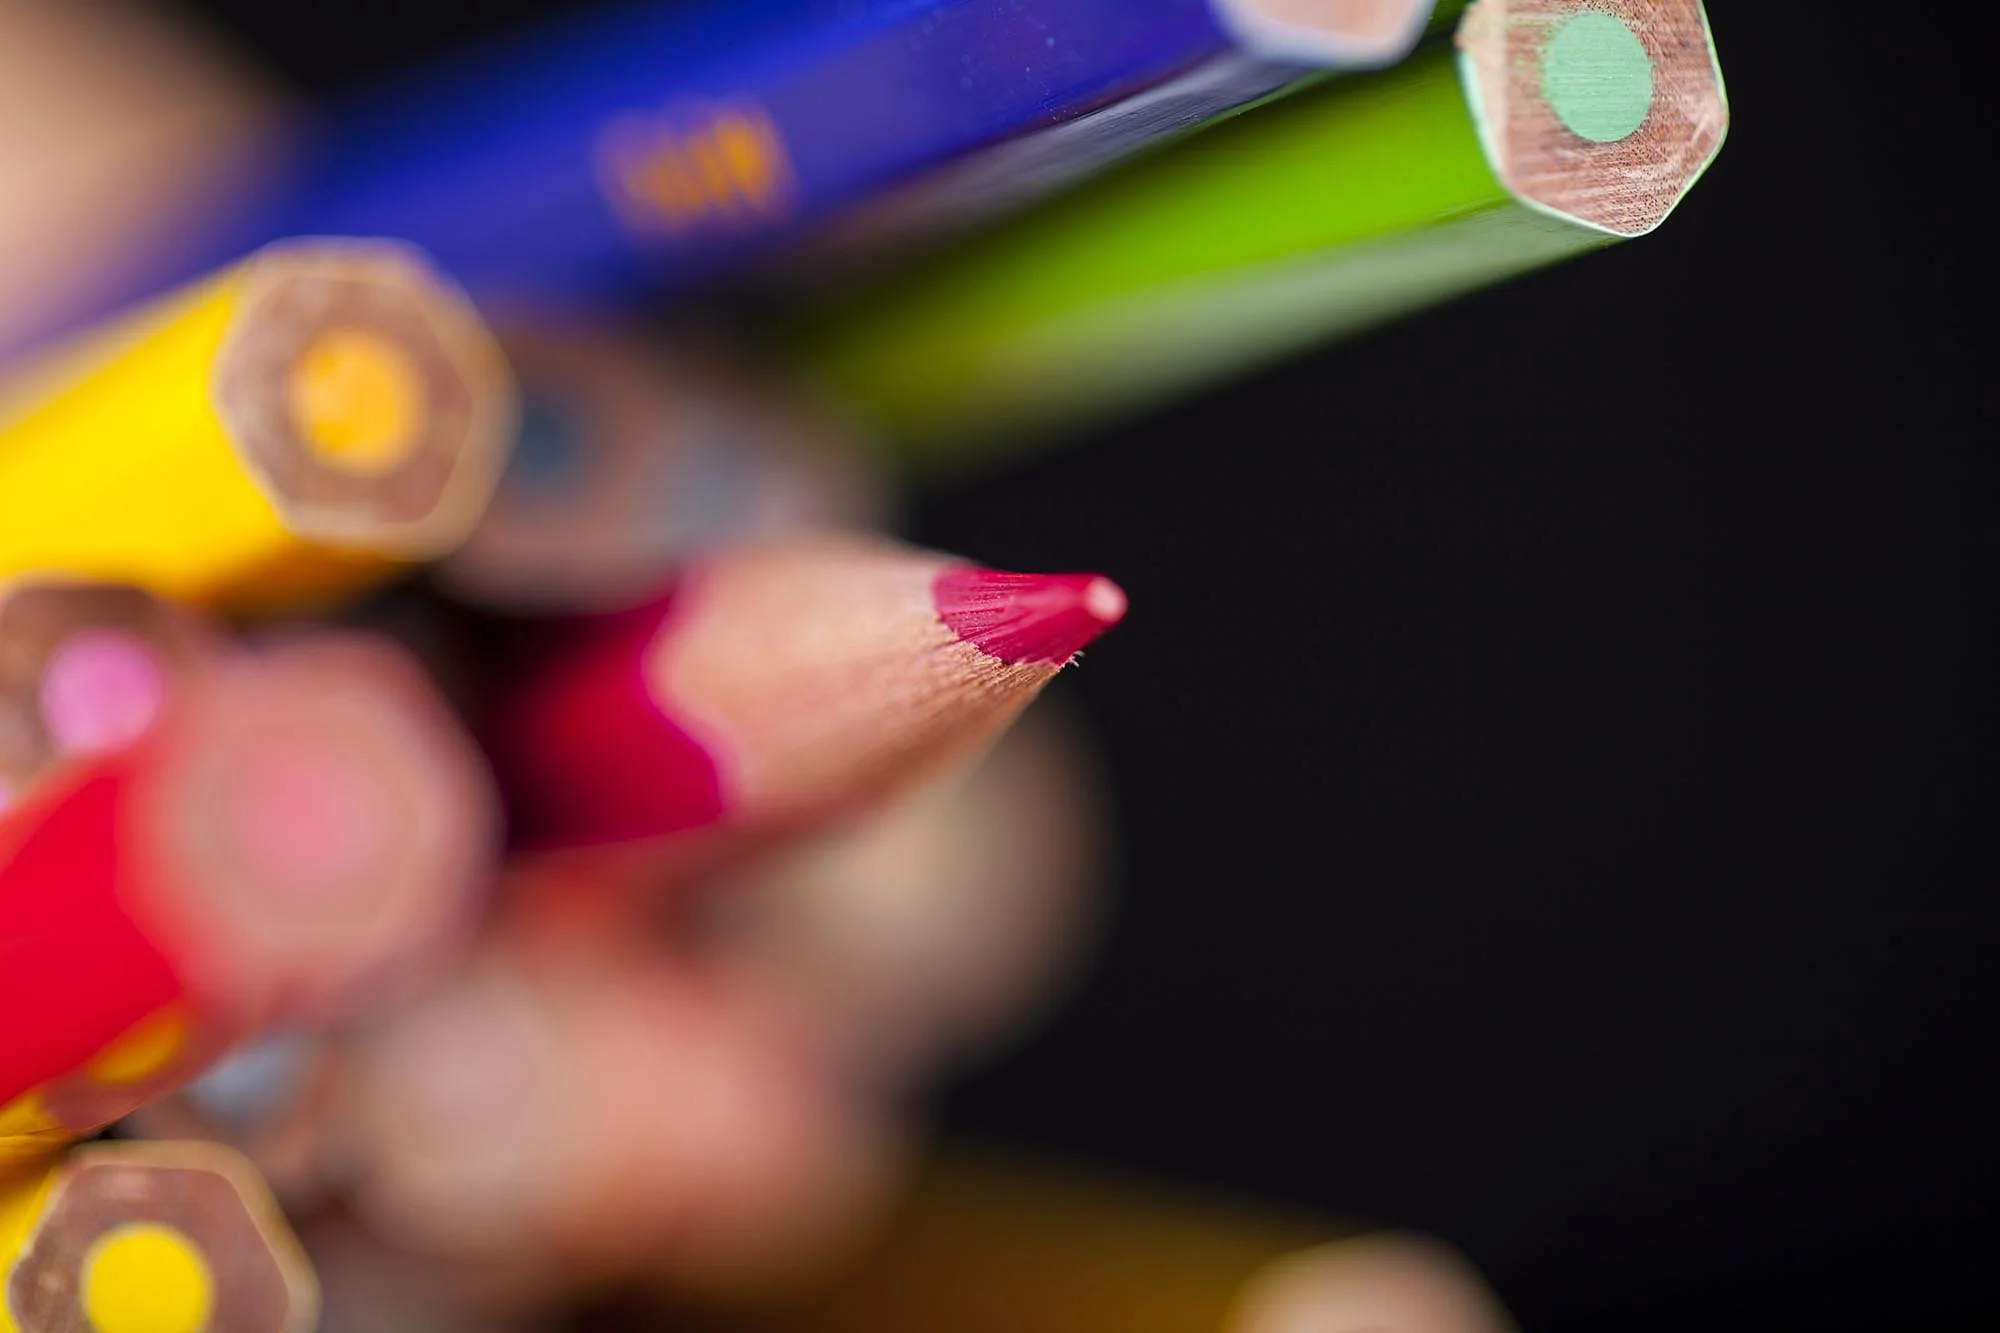
Glide a pencil across some paper and snap some photos. Got a pack of coloured pencils? Even better. Group them together to create some contrast in colour.
Pencils are an ideal subject for macro photography at home because they're easy to find and give you plenty of time to experiment with your camera settings. Get close and focus on the tiny details that are difficult to see with the naked eye. Patterns, texture, colour and contrast can transform a simple everyday object into an interesting macro photograph.
Credit: Engin Akyurt on Pixabay

Credit: Opal on Pixabay
Macro Idea 2 - Toys
Most parents will know of a toy car lurking beneath the sofa. Well, time to rescue it from its dark depths and get snapping! Photograph it in the home or take it outside of the house to play around with perspectives.
Using subjects such as toys are a great way to experiment with macro photography and it’s also an extremely creative way to capture some interesting images.

Credit: Wilfried Pohnke on Pixabay

Credit: Engin Akyurt from Pixabay
Get access to ALL our online courses - 1000’s of videos, worksheets, critiques of members work, personalised support and much more with our monthly membership.
Macro Idea 3 - Water droplets on a CD
If you enjoy experimenting with colours and reflections, then this idea is for you. Water droplets will create a rainbow effect as they react with the light reflecting off the CD. Experiment with angles to get different colour patterns.
Here’s the technique - Using a spray bottle of water, cover portions of a compact disk, get close and photograph it. Easy!

Credit: Strikers from Pixabay

Credit: Vinicius Amnx Amano on Unsplash
Macro Idea 4 - Leaves
If you look closely at a leaf, you’ll discover an incredible amount of structure, texture and detail. The veins, edges and surface patterns make leaves one of the easiest natural subjects for macro photography.
Try finding a few dry leaves experiment with side lighting to emphasise their texture. As you increase the magnification, pay particular attention to your focus and depth of field, as only a very small area of the subject may appear sharp.


Macro Idea 5 - Needle & Thread
For this you will need a needle with a big eye. Then try threading different coloured threads for some contrast. If you don’t have different coloured thread, don’t worry! Often the appeal in a photo can lie in its simplicity; a single thread and needle is perfectly fine.

Credit: Dejan Dodic on Pixabay

Credit: Paul Robinson on Pexels
Macro Idea 6 - Feathers
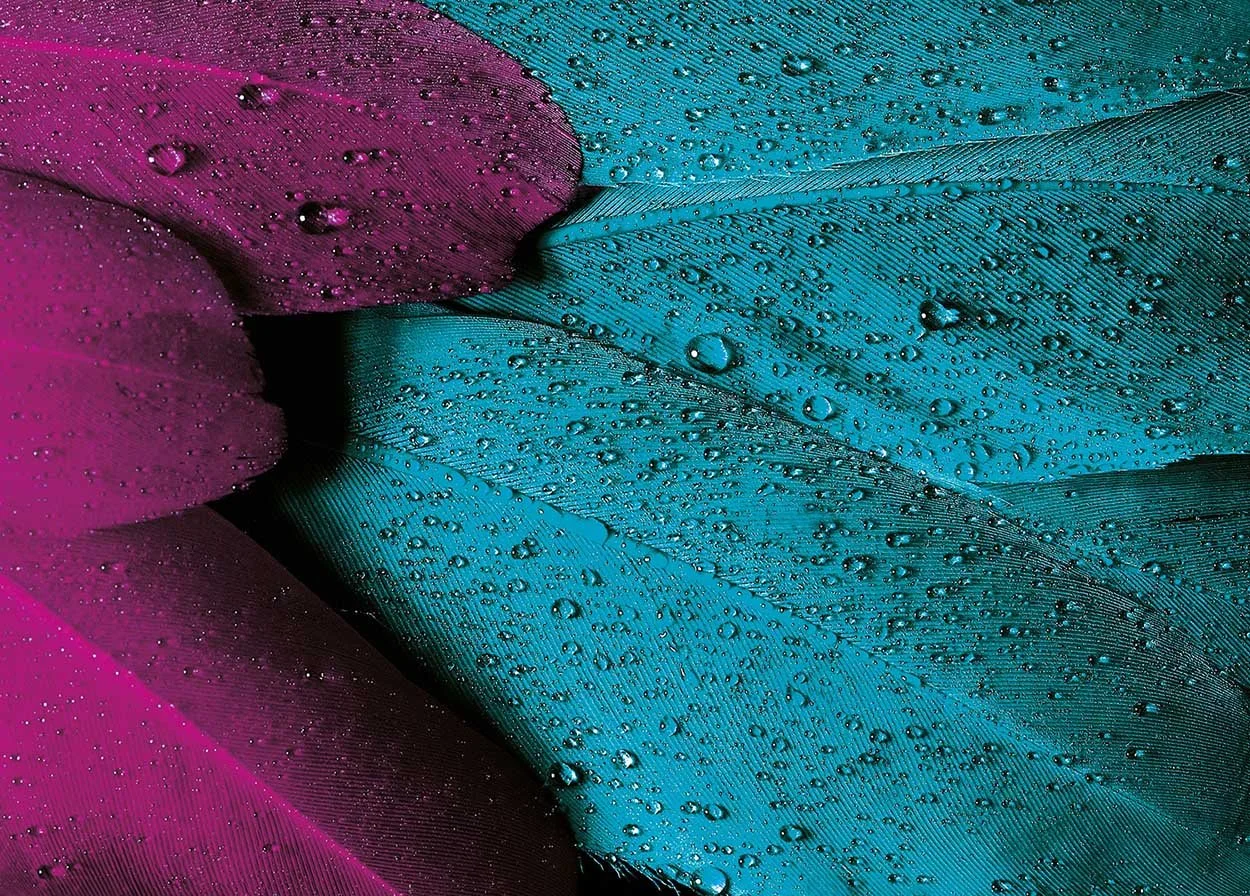
Feathers are made of lightweight material called keratin, just like our fingernails. This gives feathers their delicate texture that enables us to take great macro photos.
With birds growing a new set of feathers each year, you’ll most likely find them on the ground in wooded areas. If you can’t find any on the ground and the idea of opening up a pillow isn’t appealing, your local craft shop will likely stock them.
With macro photography, thinking about the placement of your subject is crucial, especially with such a delicate object like a feather. Try to find a place free of background distractions to really focus on the delicate details of a feather.

Macro Idea 7 – Bubbles
Bubbles are really simple to make and create really effective macro photography. Start by using a clear dish. Add water and some liquid soap. Then shake and stir until you get loads of bubbles. A bit like making a small bubble bath. Then it’s a matter of getting close and photographing them.
For the best effect add a LED lamp, the torch on your phone or any other light source under the clear dish to provide some backlighting. You can even add colour to the light by covering it with coloured gels or sweet wrappers.
Bubbles are great at refracting light, so expect to pick up some multi-colours with this one. Check out our lightroom course to learn how to make these colours stand out even more.

Credit: Alexas Fotos on Pixabay

Credit : Esudroff from Pixabay
Macro Idea 8 - Finger Tips
Another interesting idea is the Fingertips! Again, an easy idea as you should be able to find one of these pretty easily!
Our fingertips have unique detail and varying textures that, when captured, can often resemble other materials.
Photographing fingertips is great practice for using a macro lens or close up filter. This is because it will give you the time needed to work out the right exposure settings and give you good practice in focusing correctly.

Credit: Michael Lai on Unsplash
Macro Idea 9 - Flowers
Flowers are one of the most popular subjects in macro photography and provide almost endless creative possibilities. You can photograph them indoors where you have complete control over the conditions, or head outside and capture flowers in their natural environment.
Outdoor flower macro photography is particularly useful for learning how to deal with changing light, wind and very shallow depth of field. Try photographing the same flower at different times of day and notice how the direction and quality of the light changes the final image.
To watch a pro take macro photos of wild flowers, click here.


Macro Idea 10 - Fizzy Drinks with objects
Time to take a break from photographing everything in your house and pour a nice refreshing drink. Actually, whilst you’re there…..
Fizzy drinks can be a great source of inspiration for macro photography. If you add objects into fizzy drinks, the bubbles will stick to them. Getting close to this will create some fantastic results in a macro photo.
There are lots of ways you can add to this effect. One common one is to add a black backdrop and some backlighting as mentioned in the bubble’s idea.
Then simply add some fruit into a glass of fizz and see what happens!

Credit: Rebecca Diack on Pexels

Credit: Rebecca Diack on Pexels
Macro Idea 11 - Morning grass
Set those alarms and enjoy the fresh morning air. Early mornings, especially in the spring/summer, will give morning dew on growing grass. This provides a great opportunity for macro photography.
Get to grass level and focus on a single water droplet on a blade of grass. This works great if you have touch screen focusing and a flip screen on your camera.
Also think about the positioning of the sun. Having the sun in front of you will provide a back lit image which really suits this subject. However, shooting into the sun can cause you to over or under expose the picture. To avoid this, bracket your pictures by at least 2 stops either side of the camera’s exposure.
To learn about exposure bracketing, click here.

Credit: Erop from Pixabay

Credit: Myriams-fotos from Pixabay
Macro Idea 12 - Pets
They say ‘never work with animals or children’. Well let’s put that to the test. It’s time to grab your furry friends and ask them to strike a pose. Animals have some beautiful features for macro photography. Try taking a close-up photos of their eyes, nose, fur and claws. Might sound a bit weird but it does make for some interesting macro photography.

Credit: Pezibear on Pixabay
Macro Idea 13 - Water & Oil
This idea is very effective with a nice easy set up. We recommend using a clear glass dish to capture the shapes clearly and allow light to be projected through the water.
Simply add some drops of oil onto water and as the oil reacts with the water it will create what looks like bubbles. You can use an eyedropper tool with olive oil, sunflower oil or any vegetable oil to create this effect.
If you want to take it a step further, try shining a coloured light through the bottom of the glass container. Using coloured light in this way creates abstract results and, in some instances, enhances the separation of the water and oil.

Credit: A Different Perspective on Pixabay

Credit: Konyvesotto on Pexels
Macro Idea 14 - Matchsticks
Capturing fire and wispy smoke with matchsticks is a simple idea that will give you interesting results.
Try striking a match against its box and see if you can capture that spark close up. Let the match burn a little and take some photos of the flame. Once done, blow the matchstick out and capture the smoke drifting off the matchstick. Smoke offers beautiful wispy shapes that can be tricky to capture but keep practising and the results will be worth it.

Credit: Felix Wolf on Pixabay

Credit: Roegger on Pixabay
Macro Idea 15 - Eyes
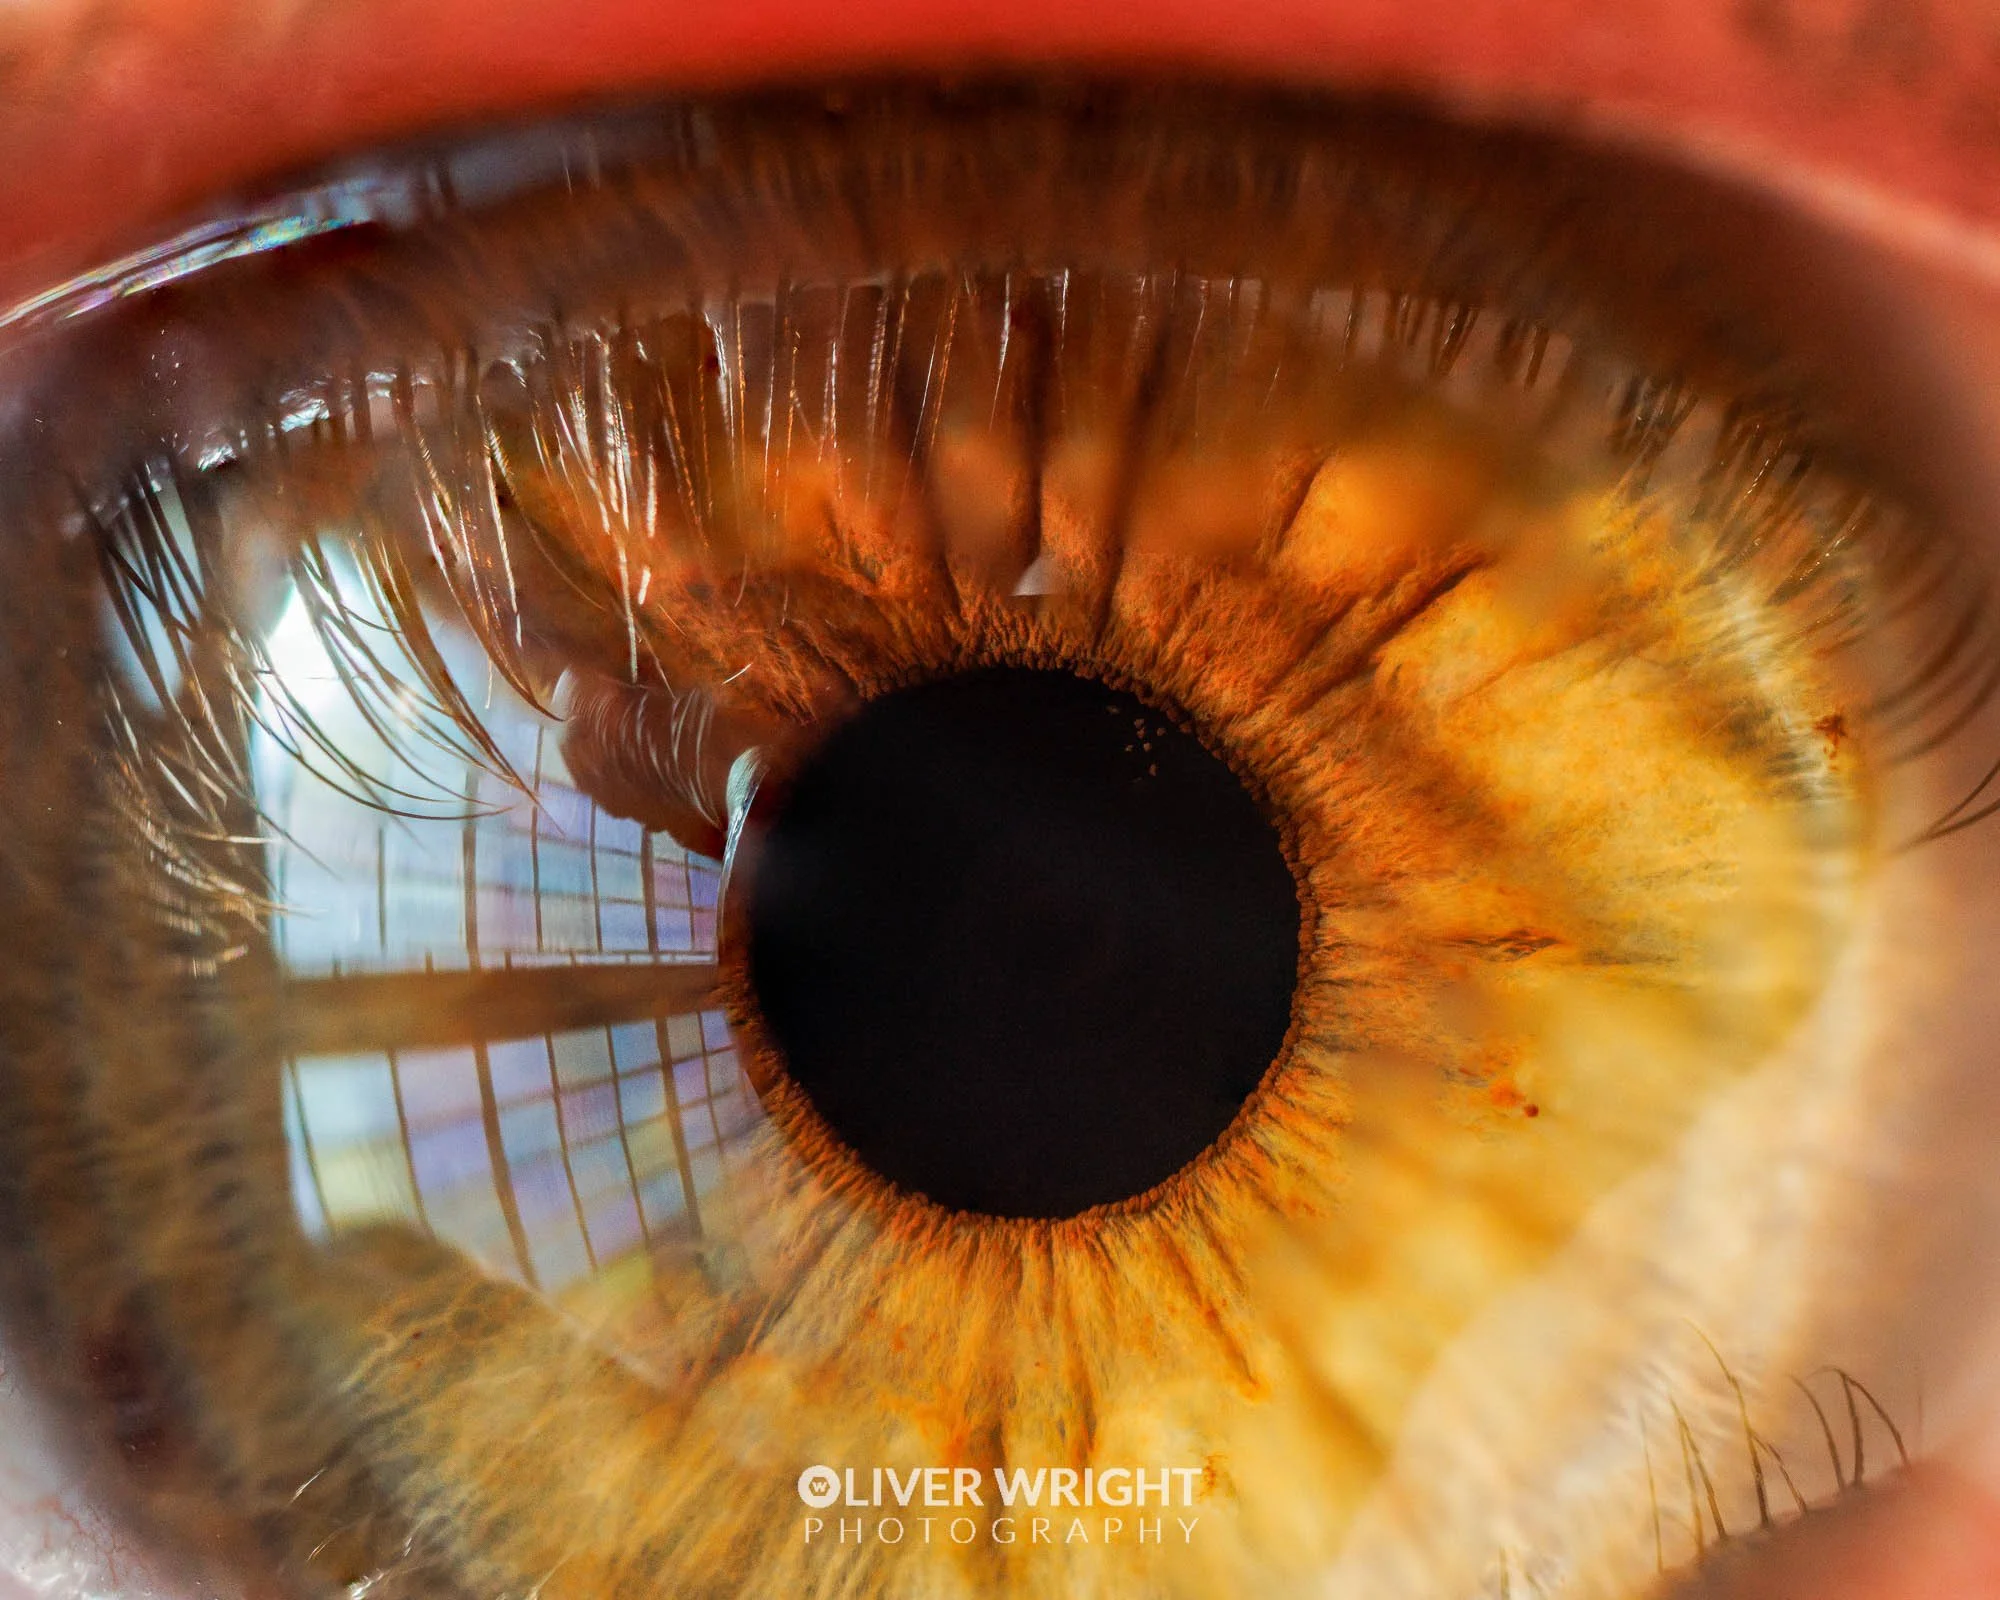
The detail you can find in eyes is incredible! This idea will need high magnification techniques so it’s a good one to practice if you’ve just bought a new, and expensive, macro lens. Find a willing model, get close, and photograph their eye.
Clearly you don’t use flash for this idea, but you will need a lot of light so the pupil contracts. In front of a window is fine. As the pupil contracts it will expose the coloured part of the eye which is much more interesting than the dark black pupil.

Macro Idea 16 – Water Drop Refraction
There’s a lot of room to be creative when it comes to photographing water droplets and, in this example, we will use them to refract light.
The refraction of light in its simplest term is the bending of light as it passes from one transparent substance into another.
By placing an object or picture behind a water droplet, you will be able to capture that subject refracted in the water droplet. It takes a bit of practice and a lot of patience but here’s the technique:
1 > Put water droplets on something that will not move. Doing this inside is a good idea to avoid unnecessary movement created by gusts of wind
2 > Set up your camera and macro lens on a tripod. Then get them as close to your water droplet set up as possible without losing focus
3 > Then move the background subject towards and away from the water droplets until it looks sharp within them. A bit like how you would move a magnifying glass.
After a few practice runs this effective technique will create stunning results.

Credit: Beverley Buckley on Pixabay

Credit: Gary Yost on Unsplash
Macro Idea 17 - Snowflakes
Clearly weather pending but getting that signature snowflake shot is crucial to every macro photographer’s portfolio. Since every snowflake is unique, your photos will be too!
To get really good results with this idea you will need to use high magnification macro techniques. To learn what they are and how to create them, click here.

Credit: Aaron Burden on Unsplash

Credit: Aaron Burden on Unsplash
Macro Idea 18 - Butterflies
It is safe to say that everyone thinks butterflies are beautiful and amazing to photograph, but how difficult is it really? Well, very difficult in fact!
Butterflies tend to rest when the temperatures are a lot cooler, so trying to photograph them midday in nearly impossible! Make the effort to go out in the very early morning, just before sunrise. Believe me it will be worth your while. Butterflies tend to roost in long grass and it’s a good idea to get to know your area before you go photographing. If you see butterflies there in the daytime, it’s likely they are roosting there in the morning.
Also consider the different species of butterflies that are active at different times of the year. It is constantly changing!
Watch pro macro photographer Oliver Wright teach you how to take macro pictures of butterflies here.


Macro Idea 19 - Insects
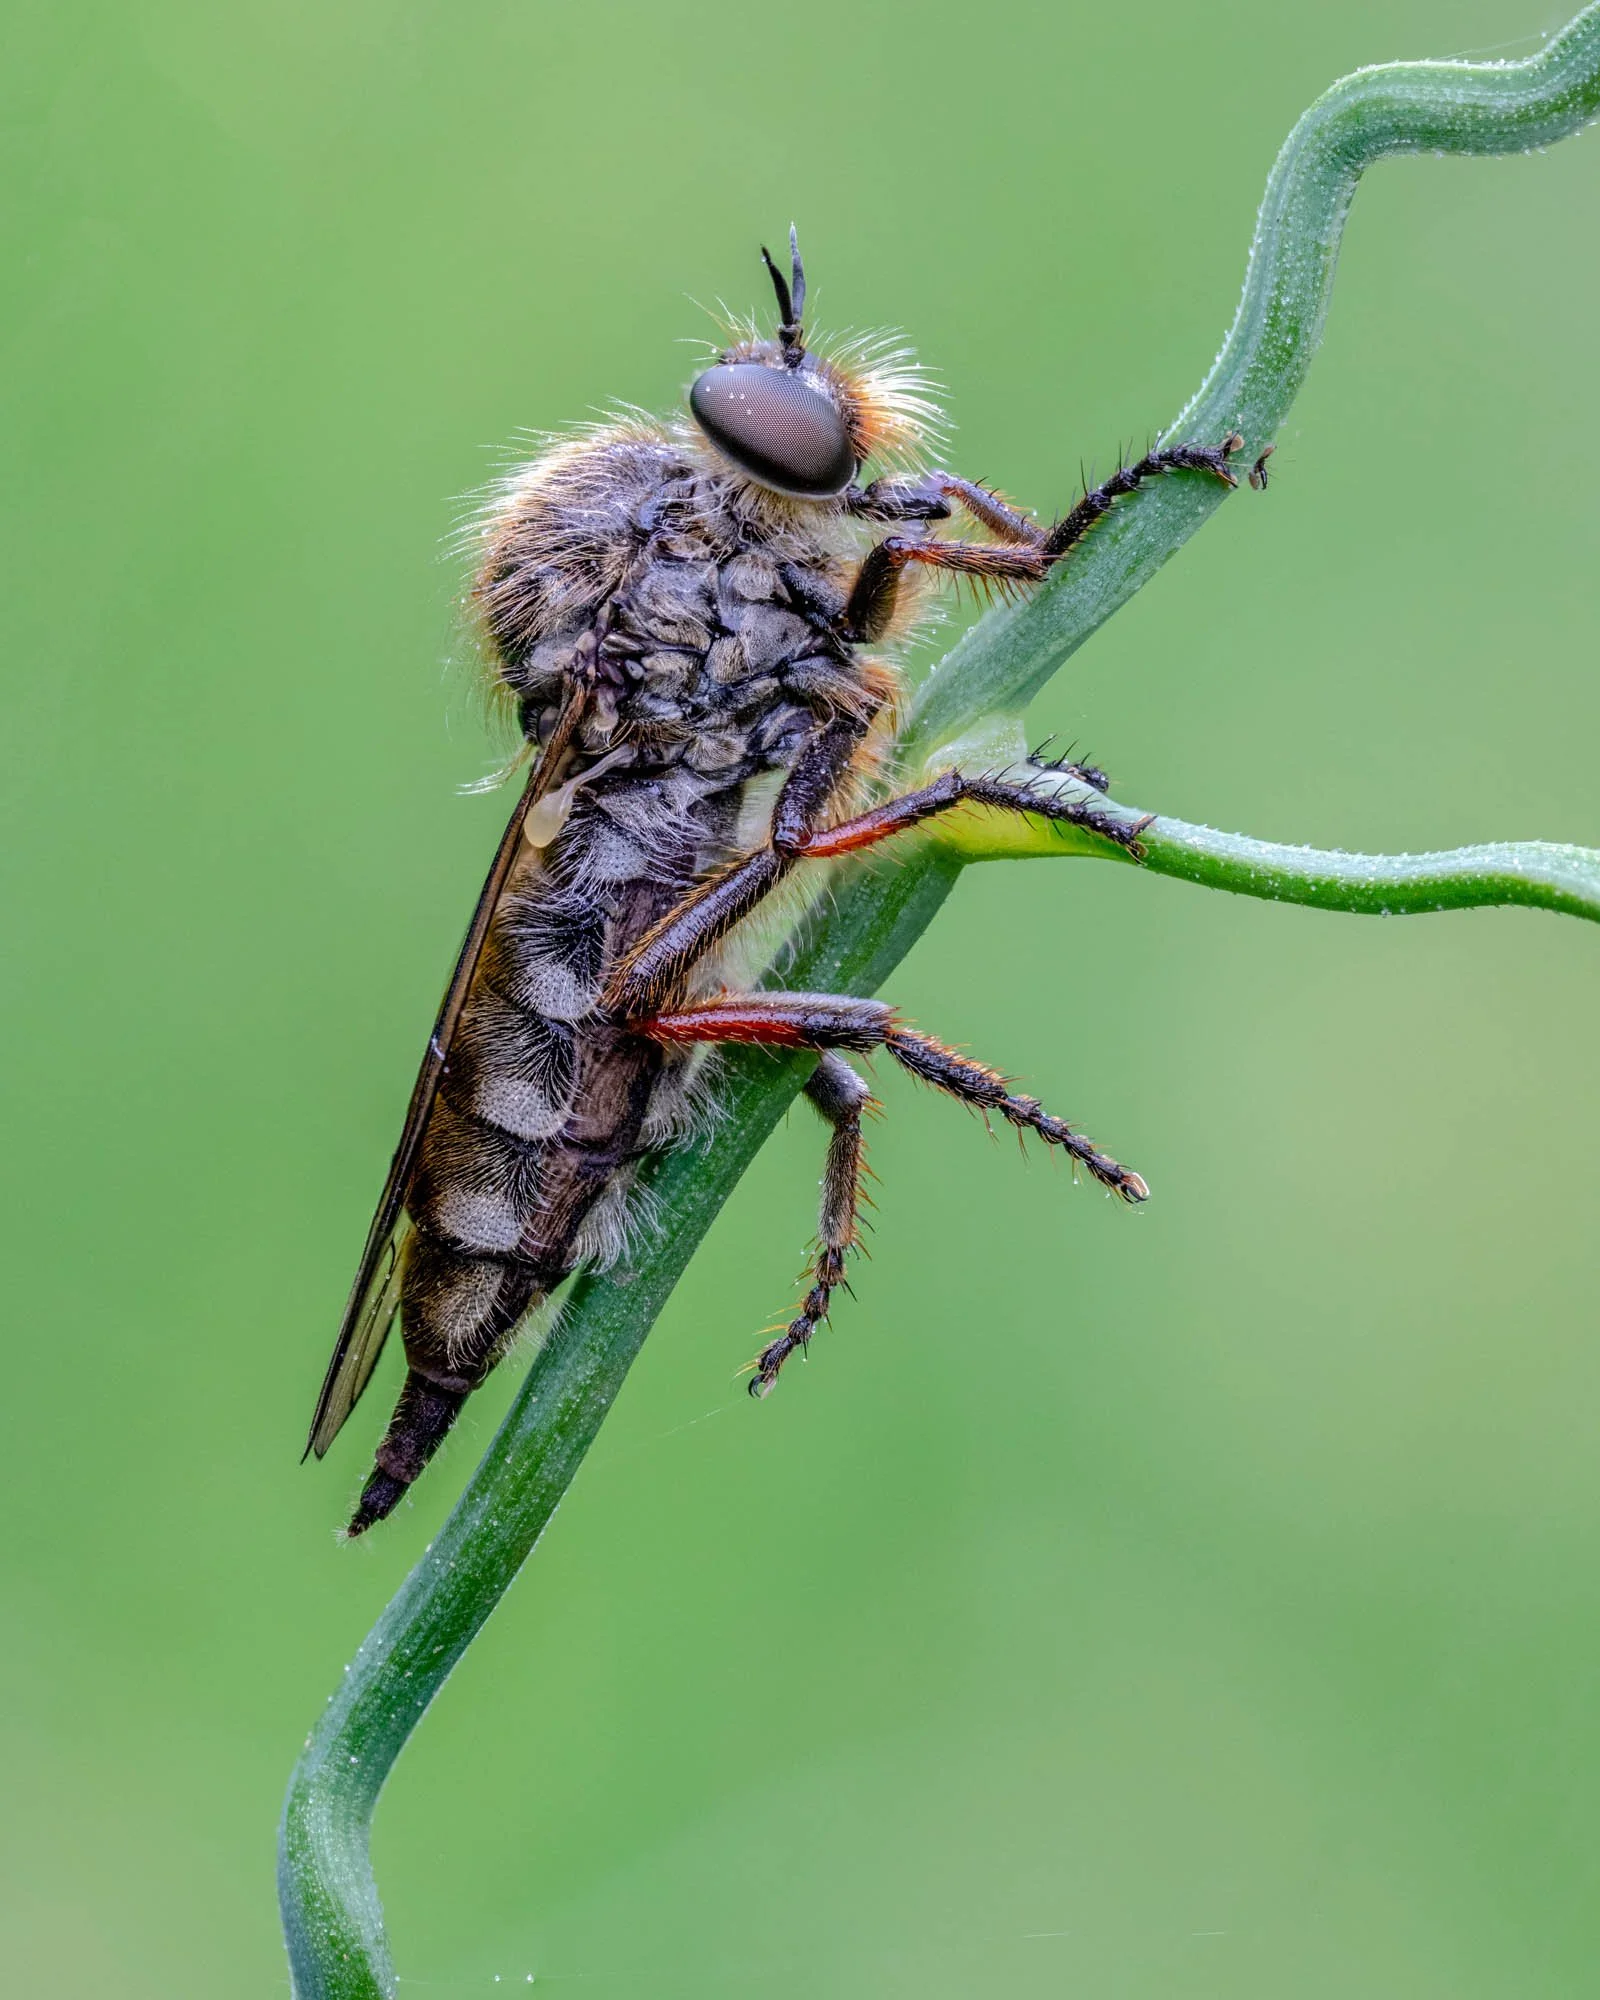
If you’ve come over from our Macro course, you will have seen Oliver’s incredible work with the insect world. Why not have a go yourself, but please do not go steaming into this type of photography from the offset. Training and practice are essential here.
Insect macro photography is considerably more challenging because you're working with tiny subjects that rarely stay still. Alongside understanding your camera, macro lens, focusing and lighting, you'll also need some knowledge of the insects you're photographing.
Of course, this isn’t something you can just learn overnight! Learning where insects live, when they're active and how they behave is known as fieldcraft. Developing these skills can dramatically improve your chances of getting close enough to capture detailed macro photographs without disturbing your subject.

Macro Idea 20 - Spiders
Spiders are extremely difficult to photograph which is why it’s a must for any aspiring macro photographer, to get a picture. In particular, the famous jumping spiders! It takes patience, plenty of practice and an understanding of the species you want to photograph.
Spiders are very different to butterflies in terms of movement and activity. Jumping spiders for instance, will not be found on cold mornings. You see them when the day heats up and with the heat comes active movement. Clearly this movement makes them very difficult to photograph.
You will find them crawling out of small cracks and holes in wood and brick. Before you try to get a photograph spend time watching the movement of the spider and notice its actions. The key here is to know when it’s going stay still; when it’s still, grab that picture!
To get truly sharp and crisp macro pictures you may need to use a technique called handheld stacking. To learn that technique and watch a macro pro take pictures of jumping spiders, click here.


FAQs
What is macro photography?
Macro photography is a genre of photography that focuses on enlarging small things. Using photography, you enlarge things so they can be seen clearly. It can provide an incredibly detailed view of the world that you can never see with the naked eye.
What are the best subjects for macro photography?
There is no best subject for macro photography, but there are a few that macro photographers tend to photograph more often. These are insects, plants or flowers.
What equipment do I need for macro photography?
You can start macro photography with the basic basics of equipment such as a beginner DSLR or mirrorless camera. However, it is very beneficial for you to use a specific macro lens. Each camera brand will have its own specialized macro lens for its cameras. The main difference between a macro lens and a normal lens is the focus distance. Macro lenses are designed so that you can get extremely close to your subject whilst keeping sharp focus.
What camera settings are best for macro photography?
There are no best settings for macro photography, as each situation will require a different approach to using settings. Macro photography is not a beginner photography technique and the key is to have the knowledge to adapt your settings in each situation that you are presented with. Thankfully, this is taught in-depth in our macro photography course.
Do I need a macro lens for macro photography?
You don't necessarily need a macro lens for macro photography; however, it does help, as macro lenses are designed specifically to get close to a subject, enabling you to enlarge the fine details that you would not see with the naked eye.
Why is focusing difficult in macro photography?
Focusing can be difficult in macro photography, as people tend to get too close to the subject that they are photographing, and their lenses are not designed to have a close focusing distance. Other reasons can be that the shutter speed is too slow or the camera moves during the exposure. Also, the aperture could be too wide. Understanding your camera settings fluently is essential for good macro photography. If you would like to learn how to control your camera settings and exposures properly, check out our beginners photography course.
What is 1:1 magnification in macro photography?
One-to-one magnification in macro photography simply means the physical size of the subject that you are photographing is being projected onto the camera's digital sensor in that exact real-world size. This means if you are photographing a subject that is 10 mm long, it will be projected at exactly 10 mm in size on your camera's sensor. That will then mean that you can enlarge that photograph on a screen or in print to really see the fine detail of the subject that you are photographing.
What is focus stacking in macro photography?
Focus stacking in macro photography is where you take a series of photographs of the same subject at different focus distances then blend these photographs together in post processing. In a real‑world scenario, you will focus on a subject, hold your focus point, take a picture, move your camera approximately one millimetre forward, take another photograph, move your camera another one millimetre forward, take another photograph, and you will repeat that process usually 20–50 times. You then take all of the photographs, add them to a program such as Photoshop, and blend all of the pictures together to create a focused stacked image. To learn how to do this technique properly, click here.
Can I do macro photography at home?
Yes, you can do macro photography at home, and it's recommended that you start with home macro photography projects. In fact, we have whole lessons on home macro photography in our course here.
How do you take sharp macro photographs?
You take sharp macro photographs by knowing all about camera settings, camera equipment, and the subject that you are photographing, and then practicing this technique several times. This is exactly what we teach in our in-depth macro photography course.
I hope you liked this blog on macro photography ideas, please leave us a comment and support us by sharing it with your friends and subscribe to our newsletter at the bottom of this page for more.
We also have an excellent learning community on social media so please join us there as well.
Thanks for popping by and remember, learn more at The School of Photography.
