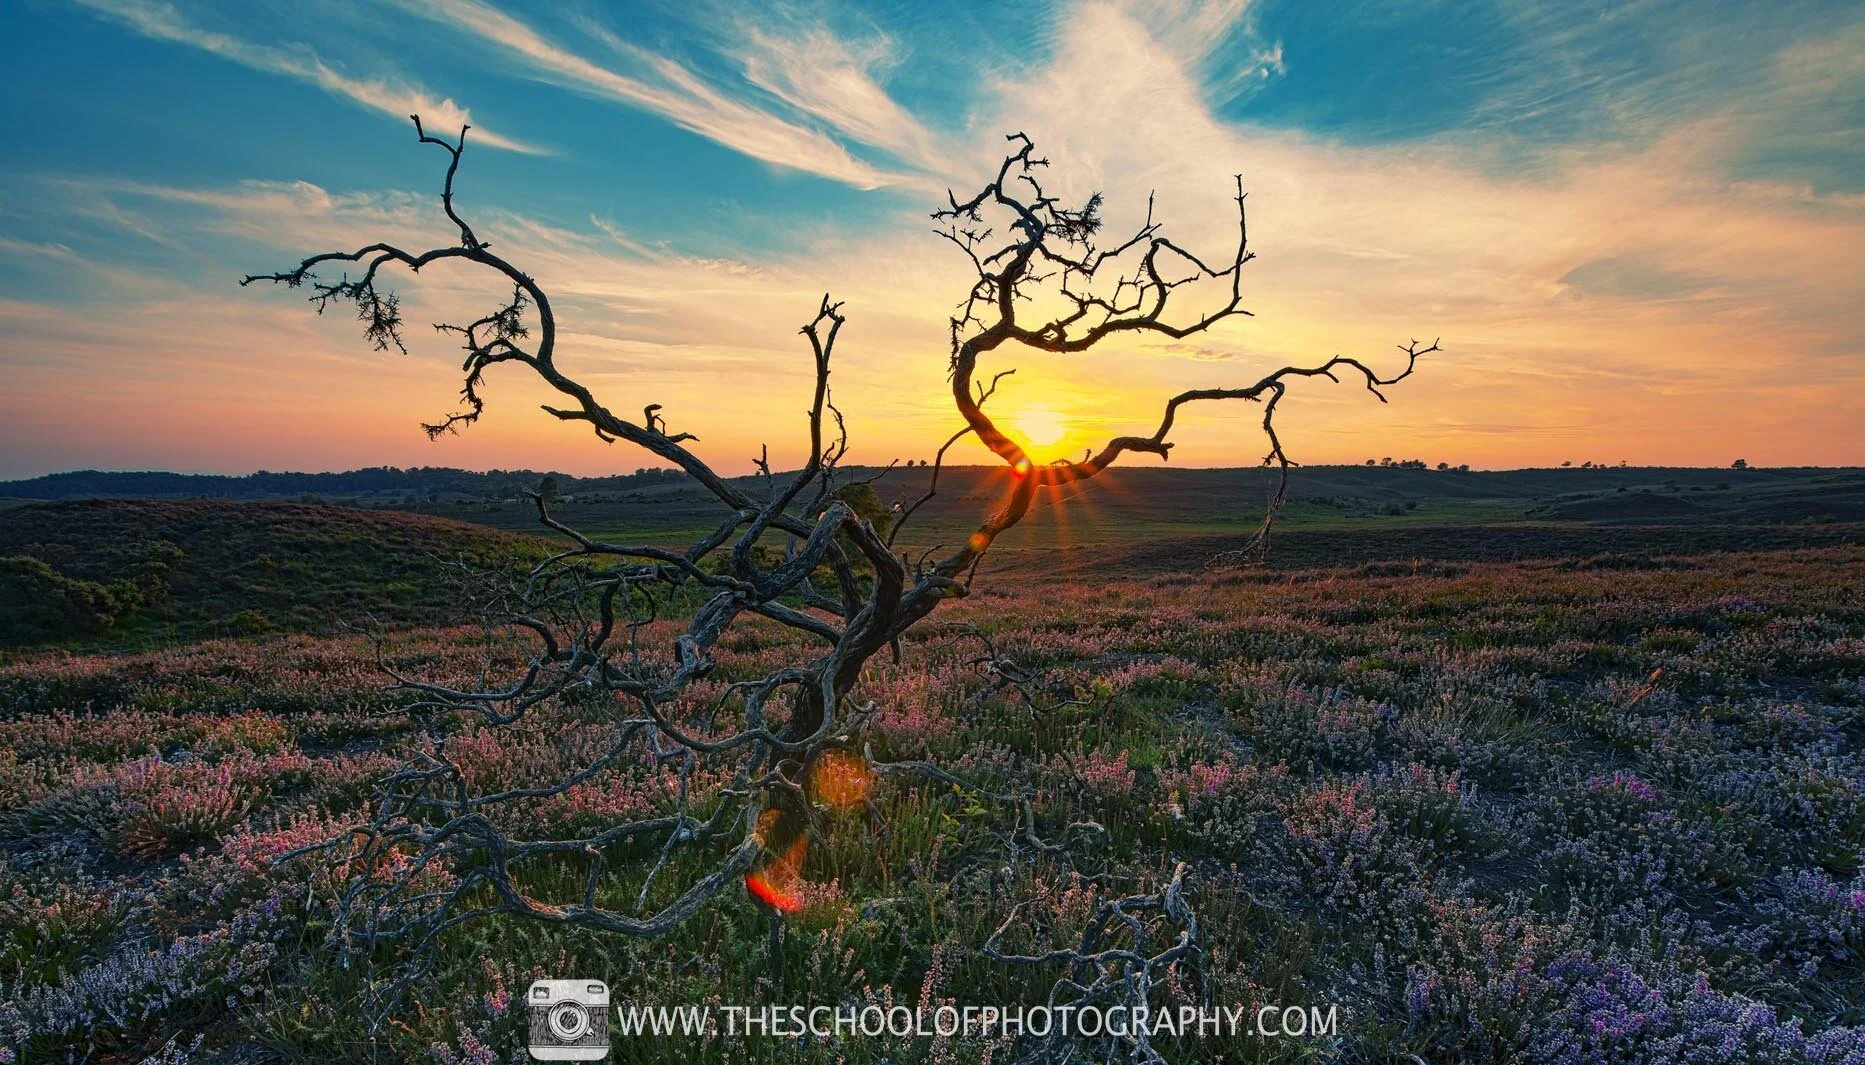
Sunset Photography Tips for Perfect Exposure Every Time
Sunset photography can be tricky to get right. You see a stunning orange sky, take the shot, and end up with a photo where the sky is blown out or the foreground is far too dark. This usually comes down to how exposure works in photography, and it’s a common frustration for photographers at every level.
So how do the pros achieve perfectly balanced sunset images? In this guide, you’ll learn four proven sunset photography tips that will help you control exposure, retain detail, and capture beautifully exposed landscape phtotographs and sunset photos every time.
Get access to ALL our online courses - 1000’s of videos, worksheets, critiques of members work, personalised support and much more with our monthly membership.
Why Is Sunset Photography So Hard to Expose Correctly?
Exposure in photography refers to how bright or dark an image appears. You might photograph a beautiful sunset scene only to find the sky is too bright or the foreground is far too dark. This is a very common issue and happens to everyone, whether you’re a beginner or using the best camera available.
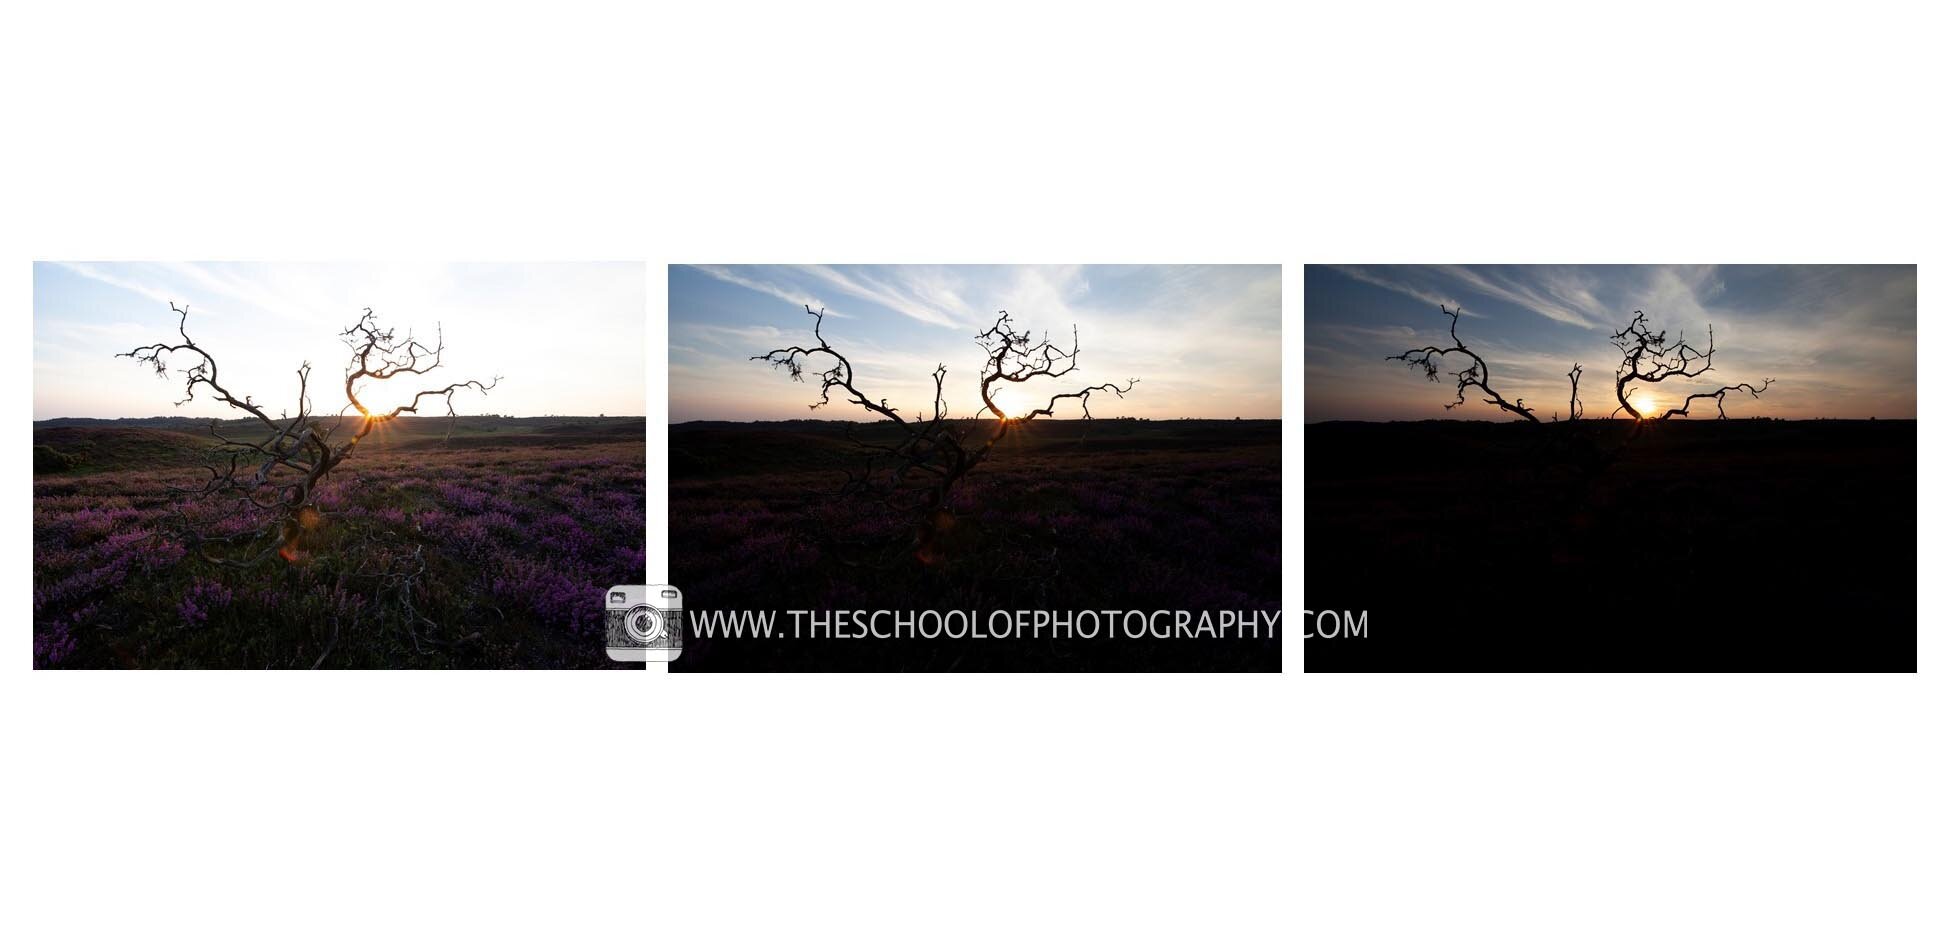
The reason is simple: during sunset photography, the sky is much brighter than the ground. In most situations, the sky can be around two stops brighter than the foreground, making it difficult for a camera to capture detail in both areas in a single exposure.

Sunset photograph exposed for the sky, resulting in a silhouetted foreground.
Camera settings: 16mm · 1/12 sec · f/16 · ISO 100

Sunset photograph exposed for the ground, preserving foreground detail while the sky appears brighter.
Camera settings: 16mm · 0.4 sec · f/16 · ISO 100
When you look at a scene, your eyes constantly adjust. If you focus on the sky, you can see colour and detail clearly. Look down at the ground and your eyes adapt again, allowing you to see detail there too. This happens automatically, without you even noticing.
A camera doesn’t work the same way. It records the entire scene at once — both the bright sky and the darker foreground. Because the sky is so much brighter, the camera physically can’t expose accurately for both areas in a single shot.
This is the core challenge of sunset photography — choosing how to handle extreme differences in brightness.
To achieve correct exposure, you need to balance the scene’s highlights and shadows, also known as the image’s luminosity. There’s no single solution, which is why the tips below will show you several effective techniques professionals use to capture perfectly exposed sunset photos.
Tip 1: Use Graduated ND Filters for Better Sunset Photography Exposure
Most photographers agree that achieving the correct exposure in-camera is ideal whenever possible. One of the most effective and traditional ways to do this in sunset photography is by using graduated ND filters, which help balance the exposure between a bright sky and a darker foreground.
An ND filter works much like sunglasses for your camera lens, reducing the amount of light entering the camera. ND stands for Neutral Density, meaning the filter darkens the image without altering colour. A graduated ND filter transitions from dark at the top to clear at the bottom, allowing you to darken bright skies while keeping the foreground correctly exposed.

Photographer positioning a graduated ND filter to balance sky and foreground exposure during sunset photography.
Using graduated ND filters involves placing a filter in front of the lens to darken the sky without affecting the foreground. This is done with a filter holder that attaches to the front of the lens, allowing the filter to slide up or down for precise placement.
Graduated ND filters are available in different strengths, depending on how bright the sky is. For example, a 3-stop ND grad is ideal for very bright sunset skies, while a 1-stop grad works well when the brightness difference is more subtle.
There are also two main types of graduated ND filters:
Hard grad filters have a defined transition line and are best suited to scenes with a clean, straight horizon, such as seascapes.
Soft grad filters have a smoother transition between dark and clear, making them ideal for uneven horizons, like landscapes with trees or hills.
By using graduated ND filters in sunset photography, you darken the sky at the moment of capture, helping to balance the exposure between the sky and the ground in a single shot.
ND Filters – An in-depth Guide
Want to see our full range of Recommended Filters.

Comparison of graduated ND filters: a soft grad filter (left) with a smooth transition and a hard grad filter (right) with a defined edge.

A filter holder used to mount graduated ND filters onto the front of a camera lens for sunset photography.
There are cons to using grad filters and that is that if you have a horizon line with trees or mountains etc., even with a soft grad it will darken down the tops of trees and mountains in a way you may not like.
Example of Using Graduated ND Filters in Sunset Photography

Sunset photograph exposed for the ground, preserving detail in the landscape while the sky appears brighter.
Camera settings: 17mm · 1/60 sec · f/11 · ISO 100

Same exposure using a 2 stop hard grad filter – This has darkened the sky and balanced the exposure. / Camera Settings: 17 mm Focal Length - 1/60th Second - f/11 - ISO 100
The same scene photographed using a 2-stop hard graduated ND filter, darkening the sky and balancing the overall exposure.
Camera settings: 17mm · 1/60 sec · f/11 · ISO 100
Take Two Photos and Blend Them for Perfect Sunset Exposure
Blending two images together is a simple and highly effective technique for sunset photography. All you need to do is capture two exposures — one correctly exposed for the foreground and one exposed for the sky.
In Photoshop (or similar editing software), you place the brighter sky exposure on top, then use a layer mask to blend it with the darker exposure underneath. This allows you to retain detail in both the sky and the foreground, resulting in a naturally balanced sunset image.

Two sunset photos blended together in Photoshop using layer masking to balance the sky and foreground exposure.
Example of merging sunset photography

Sunset photograph exposed for the sky, preserving cloud detail while the foreground appears darker.
Camera settings: 16mm · 1/30 sec · f/11 · ISO 100
Sunset photograph exposed for the foreground, preserving detail in the landscape while the sky appears brighter.
Camera settings: 16mm · 1/10 sec · f/11 · ISO 100
Final merged landscape image created by blending sky and foreground exposures for a balanced sunset photograph.
Camera settings: 16mm · 1/10 sec · f/11 · ISO 100
Now I know this isn’t the best example of a sunset photo but it does illustrate the ease of this technique if you know how to use layer masks in Ps. To learn Photoshop properly, click here
Again, there are cons to doing it this way as well. A scene with a lot of detail between the sky and the ground i.e. trees will take a lot of time masking out!
Tip 3: Use HDR Photography for Balanced Sunset Exposures
HDR (High Dynamic Range) photography is a technique used to capture a wider range of tones and colours than a single exposure can record. In sunset photography, this allows you to retain detail in both the bright sky and the darker foreground, giving you greater control over highlights and shadows.
An HDR image is created by merging three or more photos of the same scene, all taken from the same position but at different exposures. Typically, this includes one underexposed image, one correctly exposed image, and one overexposed image — usually spaced about one stop apart, though this can be extended to two stops each side in high-contrast scenes.
These images are then merged in editing software such as Adobe Lightroom to produce a single image with balanced exposure and enhanced detail across the entire scene.
To learn more about balancing exposures using stops, click here.
Example of HDR Photography
Three bracketed landscape photographs taken at different exposures, used to create an HDR image in sunset photography.
Final HDR sunset photograph created by merging multiple exposures to retain detail in both the sky and the foreground.
The cons to using this technique is that everything needs to be extremely still for it to work. So, a windy day photographing a scene with trees in won’t work as they will move during each exposure. Also, HDR images can sometimes look over-processed, however, it is up to you how much you would like to process your images.
To learn how to create HDR sunsets in Lightroom, click here
Tip 4: Shoot in RAW for Greater Control in Sunset Photography
A RAW file contains the maximum amount of data your camera can capture — much like a digital version of the old film negative. Compared to a JPEG, a RAW file offers significantly greater dynamic range, meaning more detail is preserved in both highlights and shadows.
Shooting in RAW gives you far more flexibility during post-processing, allowing you to recover detail from bright skies and darker foregrounds — something that’s especially valuable in sunset photography.
It’s also worth noting that sensor size plays a role in dynamic range. Larger sensors generally capture more tonal information, which is why full-frame cameras typically offer greater dynamic range than crop-sensor cameras. This is one of the reasons many professional landscape photographers favour full-frame systems.
Camera Sensor Size Comparison – Which one should you use?
Example of processing a Raw sunset photo

RAW sunset photograph straight out of the camera, showing natural colour and tonal range before editing.
Camera settings: 17mm · 1/50 sec · f/16 · ISO 100

Final sunset photograph processed in Lightroom, enhancing colour, contrast, and overall balance from the original RAW file.
Like this? - Check out similar tutorials below


I hope you found this sunset photography guide helpful. If you have any questions or tips of your own, feel free to leave a comment below — and if you found it useful, please share it with friends who love photography too.
For more tutorials, tips, and inspiration, make sure you subscribe to our newsletter at the bottom of the page. You can also join our growing photography community on social media, where we share advice, feedback, and learning resources every week.
Thanks for reading, and remember — learn more at The School of Photography.

Marc Newton