What Is Aperture in Photography? (Beginner’s Guide)
What is aperture in photography? What is an f-stop, and how does it affect your images? If you’ve ever wondered how photographers create a beautifully blurred background or control how sharp a scene appears, you’re not alone. Aperture is one of the most important—and often most confusing—camera settings for beginners. But don’t worry, we’ll break it down clearly and simply. You’ll learn exactly what aperture is in photography and, more importantly, how to use aperture settings to control depth of field and visual effects in your photos. Aperture definition: In photography, aperture is the adjustable opening inside a camera lens that controls how much light reaches the camera sensor. Understanding what aperture means is the first step to controlling exposure and depth of field.
To help you put this into practice, you can also download our free guide to aperture, f-stops, and depth of field, which includes a practical task to reinforce what you’ve learned. Grab the guide below and start mastering aperture with confidence.
Timestamps: 00:50 What is an Aperture? | 01:32 Why the F? | 02:03 Aperture Sequences 03:55 | f-stops Explained | 05:00 Apertures & Depth of Field | 06:08 Apertures Task
What is aperture in Photography?
Aperture is one of the most important parts of photography. Aperture is the adjustable opening inside your camera lens that controls how much light enters the camera and how much of your image appears in focus. Let’s keep this simple. Aperture refers to the opening inside a camera lens that controls how much light enters the camera. This opening can become larger or smaller depending on the aperture setting you choose.
A useful way to think about aperture is to compare it to the pupil in your eye. When the aperture is wide, more light is allowed in. When the aperture is narrow, less light reaches the camera sensor. This control over light is what makes aperture such a powerful setting in photography.
That’s the quick explanation. Below, you’ll learn how to use aperture in photography to control important visual effects like depth of field.
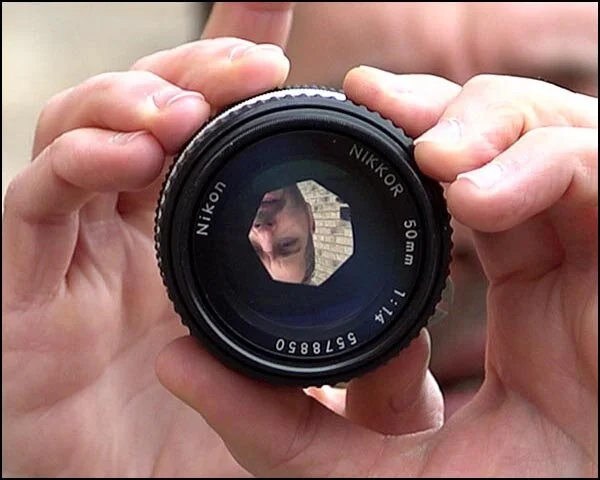
Aperture in a camera lens
Get access to ALL our online courses - 1000’s of videos, worksheets, critiques of students work, personalised support and much more with our monthly membership.
The Aperture Sequence
Below is a typical aperture sequence you’ll find on most cameras. As the aperture opening becomes smaller, the aperture number (f-stop) becomes larger. This is often the first confusing part of learning what aperture is in photography, but there’s an easy way to remember it: think in opposites. A wide aperture lets in more light but uses a smaller f-number, while a narrow aperture lets in less light and uses a larger f-number.
It’s also worth noting that very wide apertures, such as f/2 or f/2.8, are usually found on higher-quality zoom lenses or prime lenses. If you’d like to understand how different lenses affect aperture and image quality, you can learn more about lenses in photography here.

Typical aperture sequence found on cameras.
Why Is Aperture Measured in F-Stops?
To understand what aperture means in photography, aperture values are shown using an f-stop, written as a number with the letter f in front, such as f/8. The “f” stands for focal ratio, which describes the relationship between the size of the aperture opening and the focal length of the lens.
When you look at your camera settings and see several numbers displayed, the value associated with the f-stop represents the aperture. On some camera brands, the letter “f” may not be shown, but the number still refers to the aperture setting. If you’re unsure where your aperture is displayed, check your camera’s manual to locate the aperture controls.
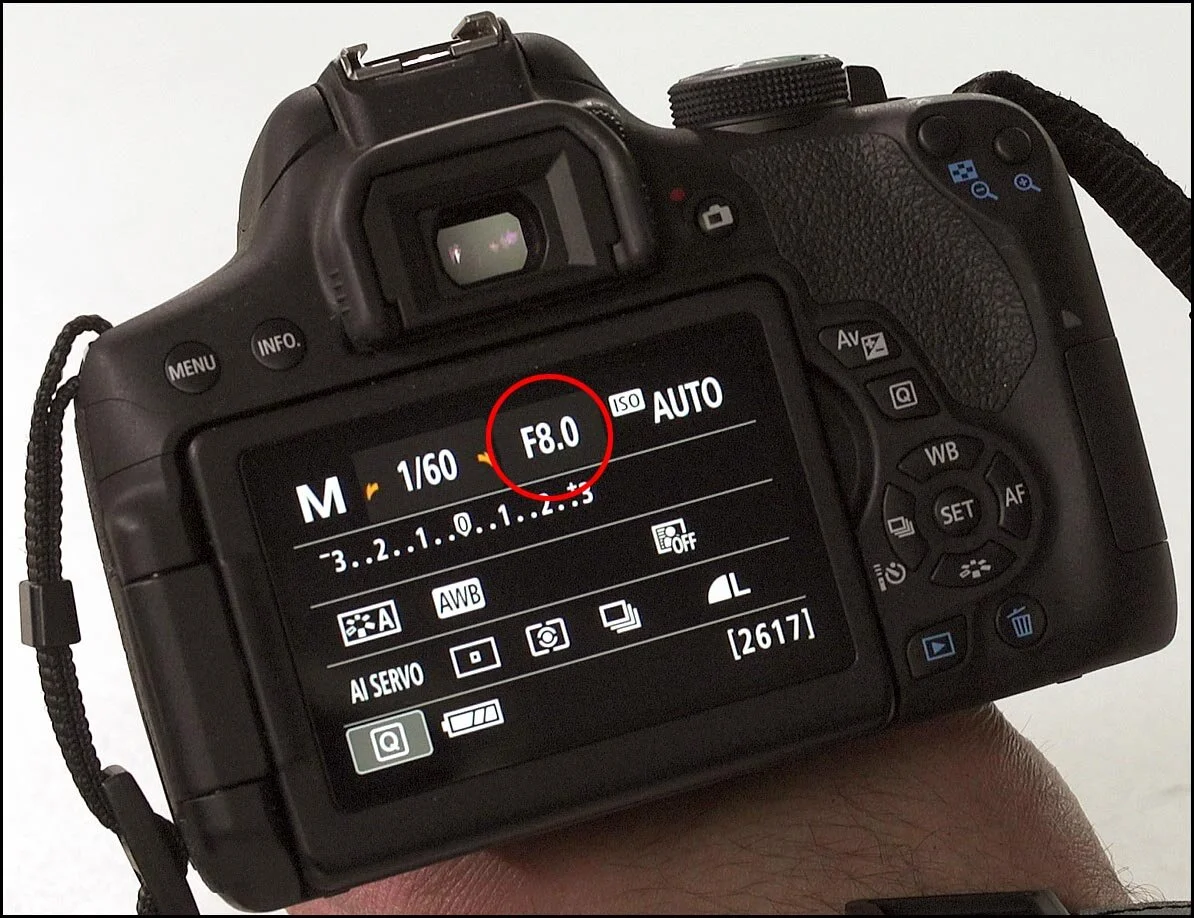
Aperture setting on back of camera
Understanding Aperture and F-Stops in Photography
Aperture explained: Once you understand the definition, the next step is learning how aperture affects exposure through f-stops. To fully understand aperture, it helps to understand the concept of stops in photography, which can feel complex at first. Put simply, a stop refers to halving or doubling the amount of light reaching the camera sensor. Moving one stop down reduces the light by half, while moving one stop up doubles the amount of light.
Aperture uses this stop system to control light exposure, which is why understanding stops is so useful when learning how aperture works in photography. If you’d like a more in-depth explanation of stops in photography, you can explore this topic further here.

Aperture relation to light

Apertures in stops
As shown in the images above, moving from one aperture setting to the next changes the exposure by one stop, meaning the amount of light is either halved or doubled. The f-stop simply refers to the f-number currently selected on your camera. For example, if your camera is set to f/8, then your aperture is set to an f-stop of f/8.
Modern cameras also include additional aperture values between full stops. These are known as third-stop increments, which allow for finer control over exposure. You can see examples of these smaller aperture adjustments in the image below.

Apertures with 1/3 increments
Third-stop aperture settings are included to allow for more precise exposure control, but when you’re learning what aperture is in photography, it’s best to focus on the main aperture values shown in the sequence above. In most real-world situations, being one-third of a stop over- or under-exposed will make very little visible difference to your photo.
For this reason, many photographers prefer to work using full aperture stops, especially when shooting in manual modes. Once you’re comfortable controlling aperture and exposure, you can explore finer adjustments if needed. To learn more about working in manual mode and controlling exposure, you can find a full guide here.
How Aperture Affects Depth of Field in Photography
In photography, aperture not only controls the amount of light entering the camera but also determines a visual effect known as depth of field.
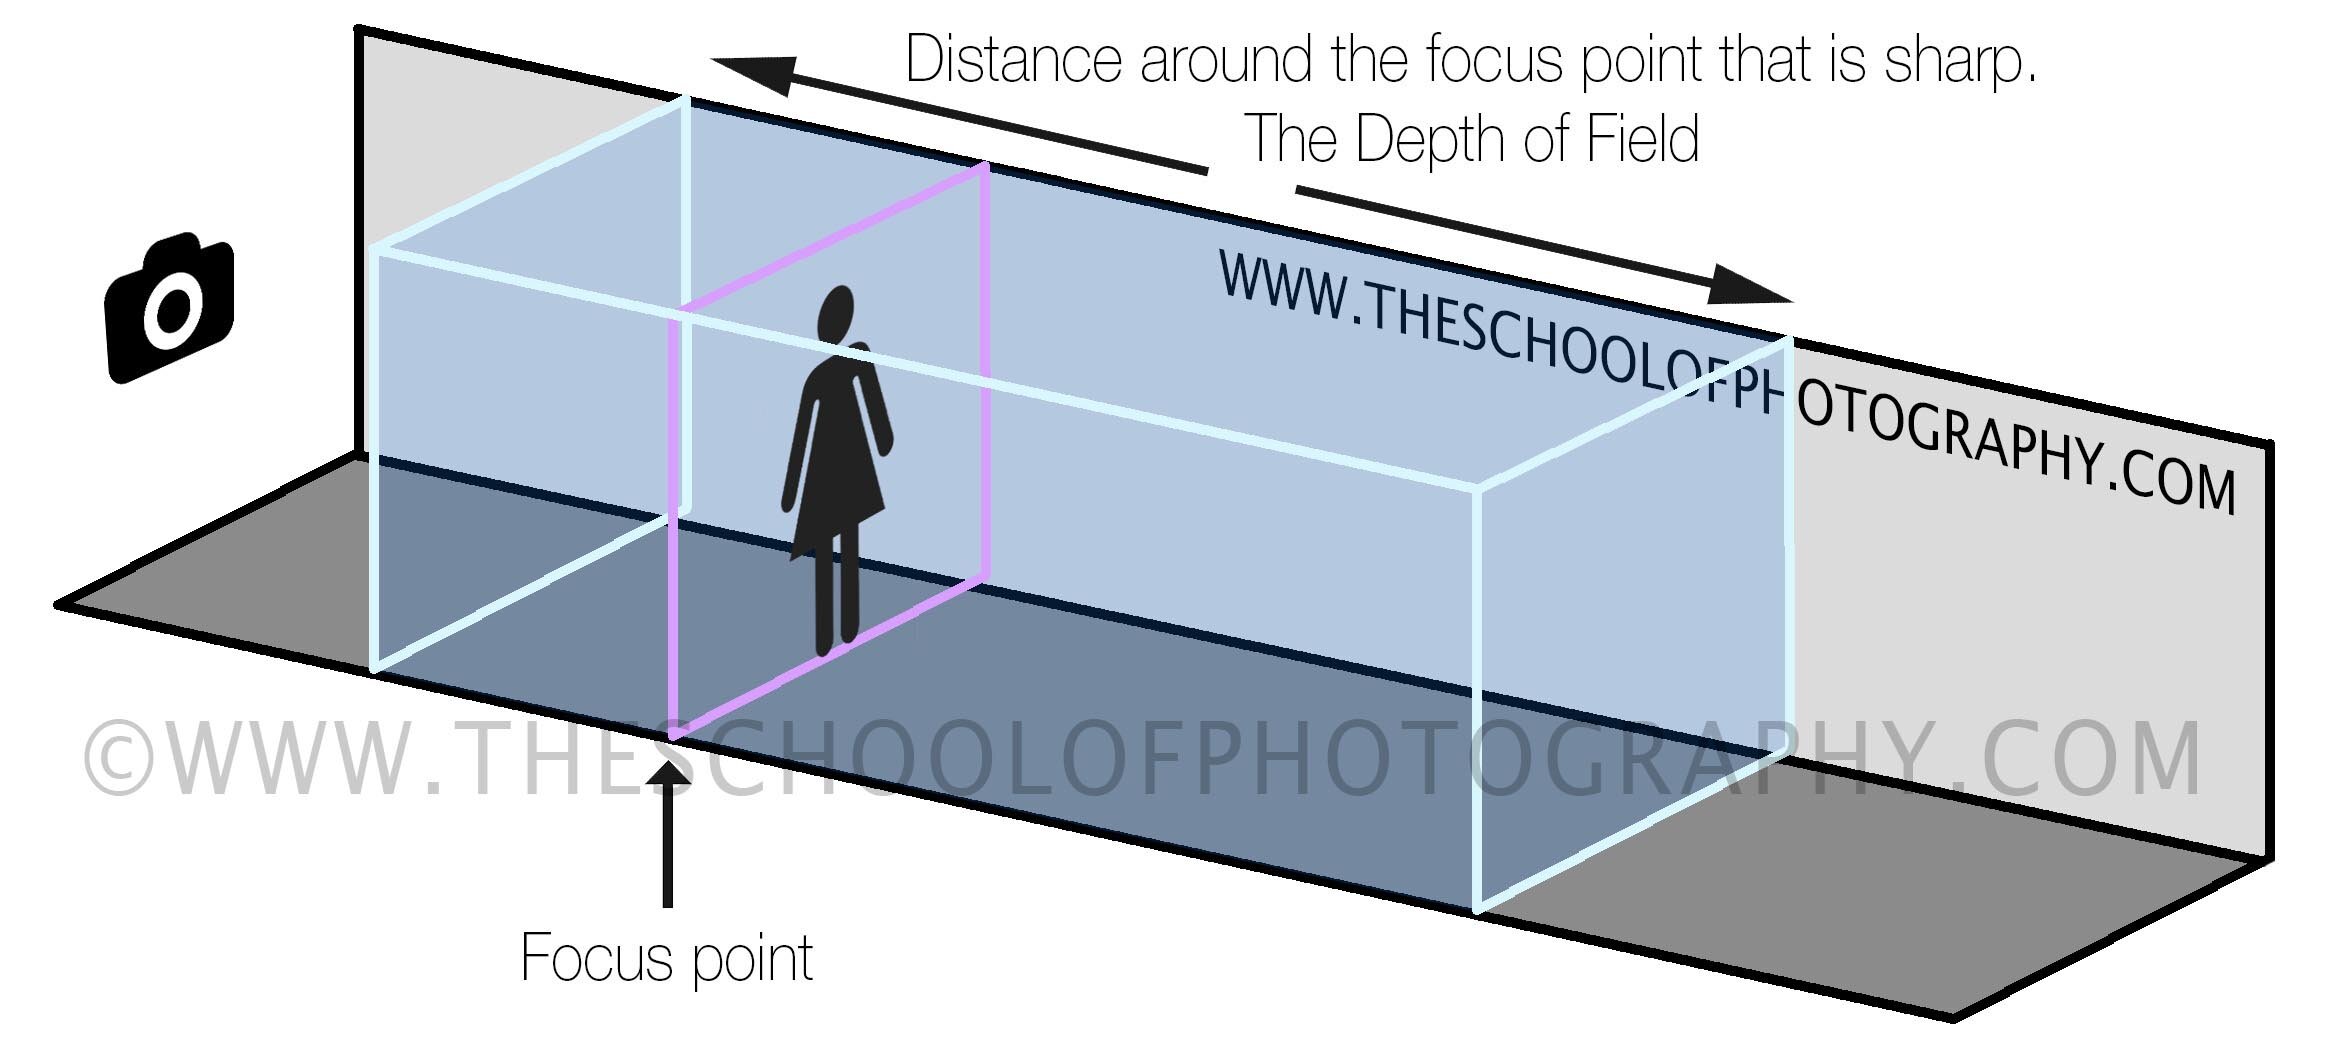
Depth of Field in Photography. The purple line is the focus point, and the blue box is the distance around that focus point that is sharp. This is the image’s Depth of Field
Knowing how to control depth of field using aperture allows you to create portraits with a beautifully blurred background, known as shallow depth of field, or capture landscapes where everything appears sharp from foreground to background, known as a deep depth of field. See the examples below.

Portrait using a wide aperture
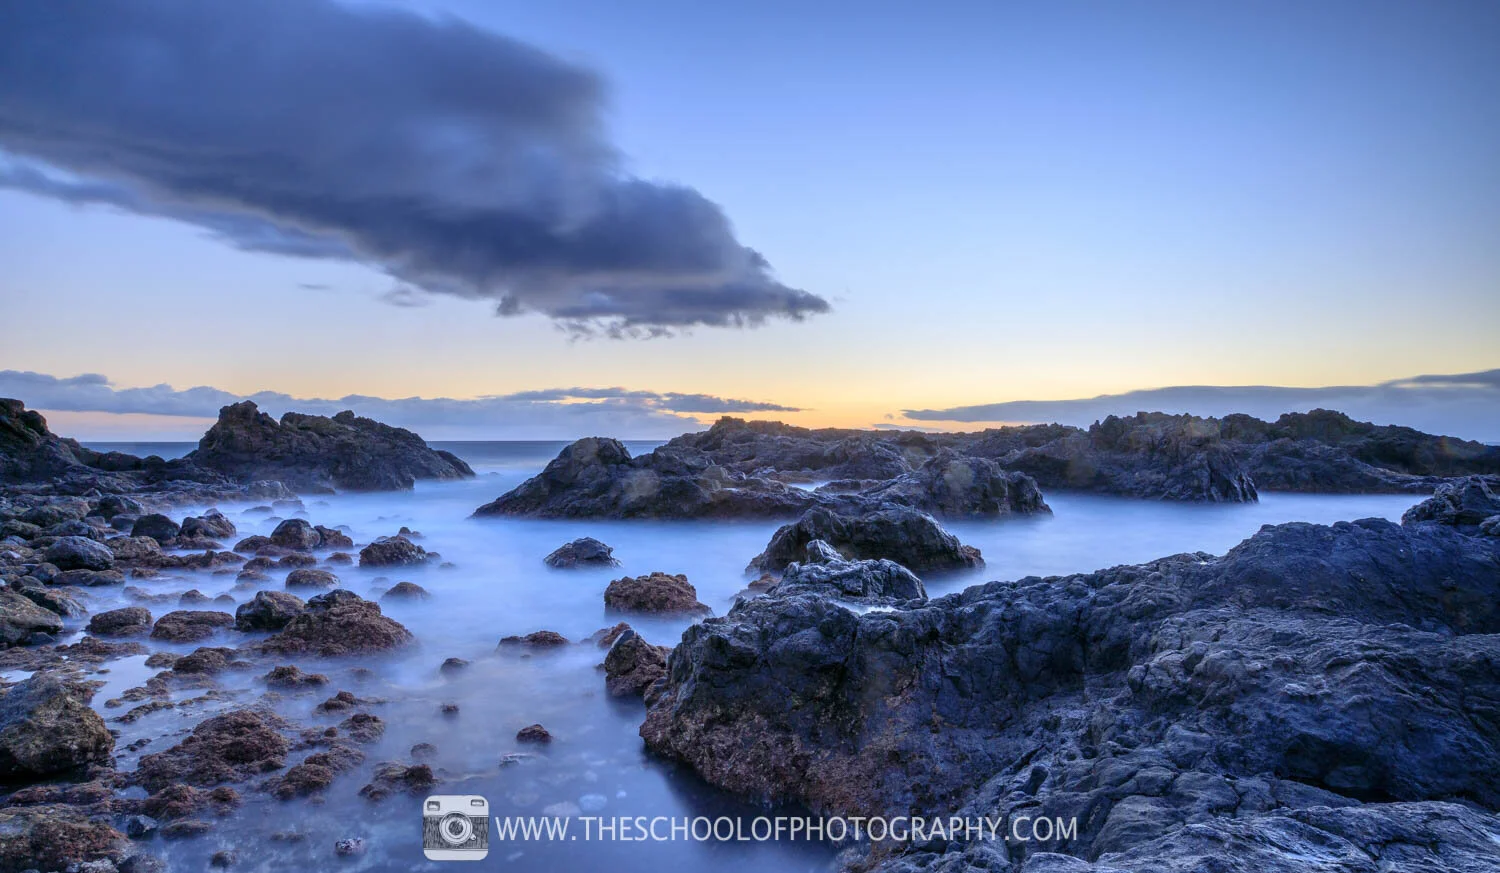
Landscape using a small aperture
The wider the aperture the shorter the depth of field will be in your photograph (less ‘distance’ will be sharp). Referred to as a ‘Shallow Depth of Field’.
The smaller the aperture the longer the depth of field will be in your photograph (more ‘distance’ will be sharp). Referred to as a ‘long Depth of Field’.
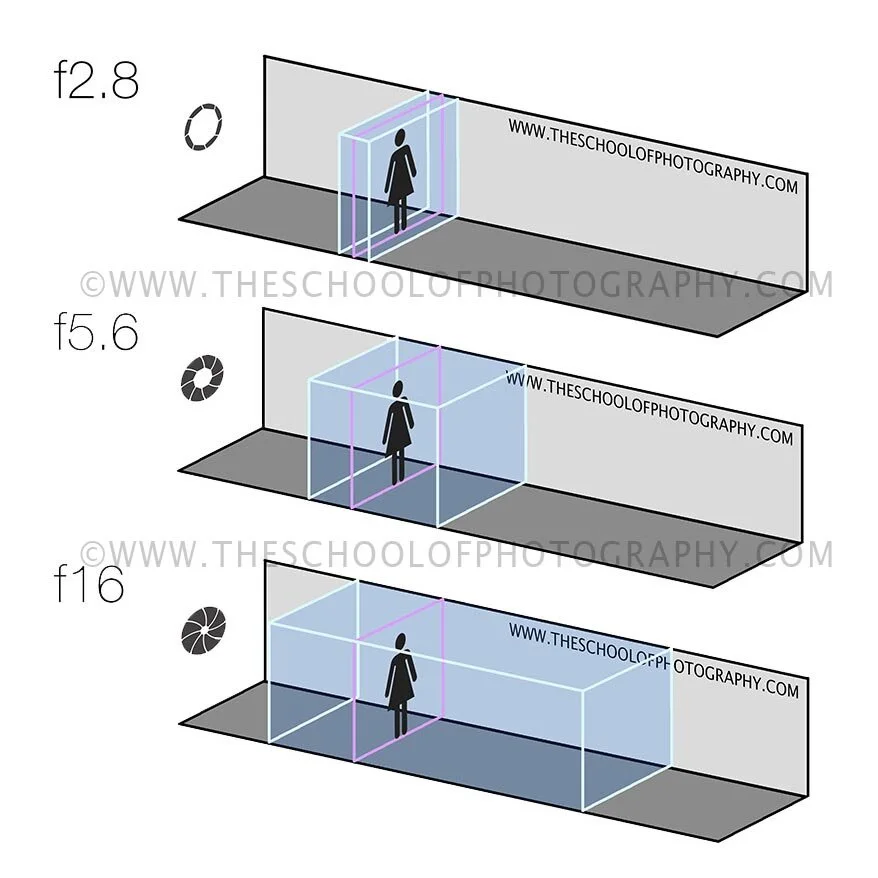
DOF being affected by the aperture. A larger aperture, f/2.8 give less depth of field. A smaller aperture f/16 give a longer depth of field
As you can see in this illustration a wide aperture of f/2.8 will give a shallow DOF, whereas a small aperture such as f/16 will create a long DOF.
Examples of Controlling Depth of Field with Aperture
Below you can see several pictures of the same subject (a brick wall), taken in the same place with the same focus point. But the depth of field changes between the shots due to the different aperture setting.

f/4 - 1/250 Second - ISO 100

f/5.6 - 1/125 Second - ISO 100

f/8 - 1/60 Second- ISO 100

f/11 - 1/30 Second - ISO 100

f/16 - 1/15 Second - ISO 100

f/22 -1/8 Second - ISO 100
Just by changing the aperture setting on your camera you can control the depth of field of the image.
Practice Aperture in Photography: Learn How It Works
Reading about aperture is helpful, but applying it in real shooting situations is what truly builds understanding. To help you master aperture in photography, we’ve included a practical task designed to reinforce what you’ve learned and develop your confidence quickly. This hands-on approach ensures you don’t just understand aperture in theory, but know how to use it effectively.
You can also download our free guide to aperture, f-stops, and depth of field, which includes this practice task so you can take it with you and apply it wherever you’re shooting. You’ll find the guide available at the bottom of the page.
Practice Task: Using Aperture in Photography
Stabilise your camera
Mount your camera on a tripod and set a 2-second self-timer or use a remote trigger. This keeps the camera completely still during each exposure.Set your camera to Aperture Priority mode
Switch your camera to A or Av mode, which allows you to control the aperture while the camera automatically adjusts the shutter speed.Set ISO to Auto
Using Auto ISO ensures consistent exposure while you focus on how aperture affects depth of field.Choose a suitable subject
Position your camera close to a wall, fence, or another subject with depth and distance. Repeating patterns such as brickwork or railings work especially well, but this isn’t essential. Refer to the image below for guidance.Lock your focus point
Keep the focus point in the same position for every shot to ensure that aperture is the only variable changing.Photograph using different aperture settings
Take several photos, moving through the available aperture stops on your camera. You don’t need every f-number shown in the sequence—just use the options your lens provides.Review and compare your images
View the images on a computer screen and compare them side by side to clearly see how changing aperture affects depth of field.
Voila – you’ve just controlled DOF in photography using apertures! To learn how to use your camera properly, click here.
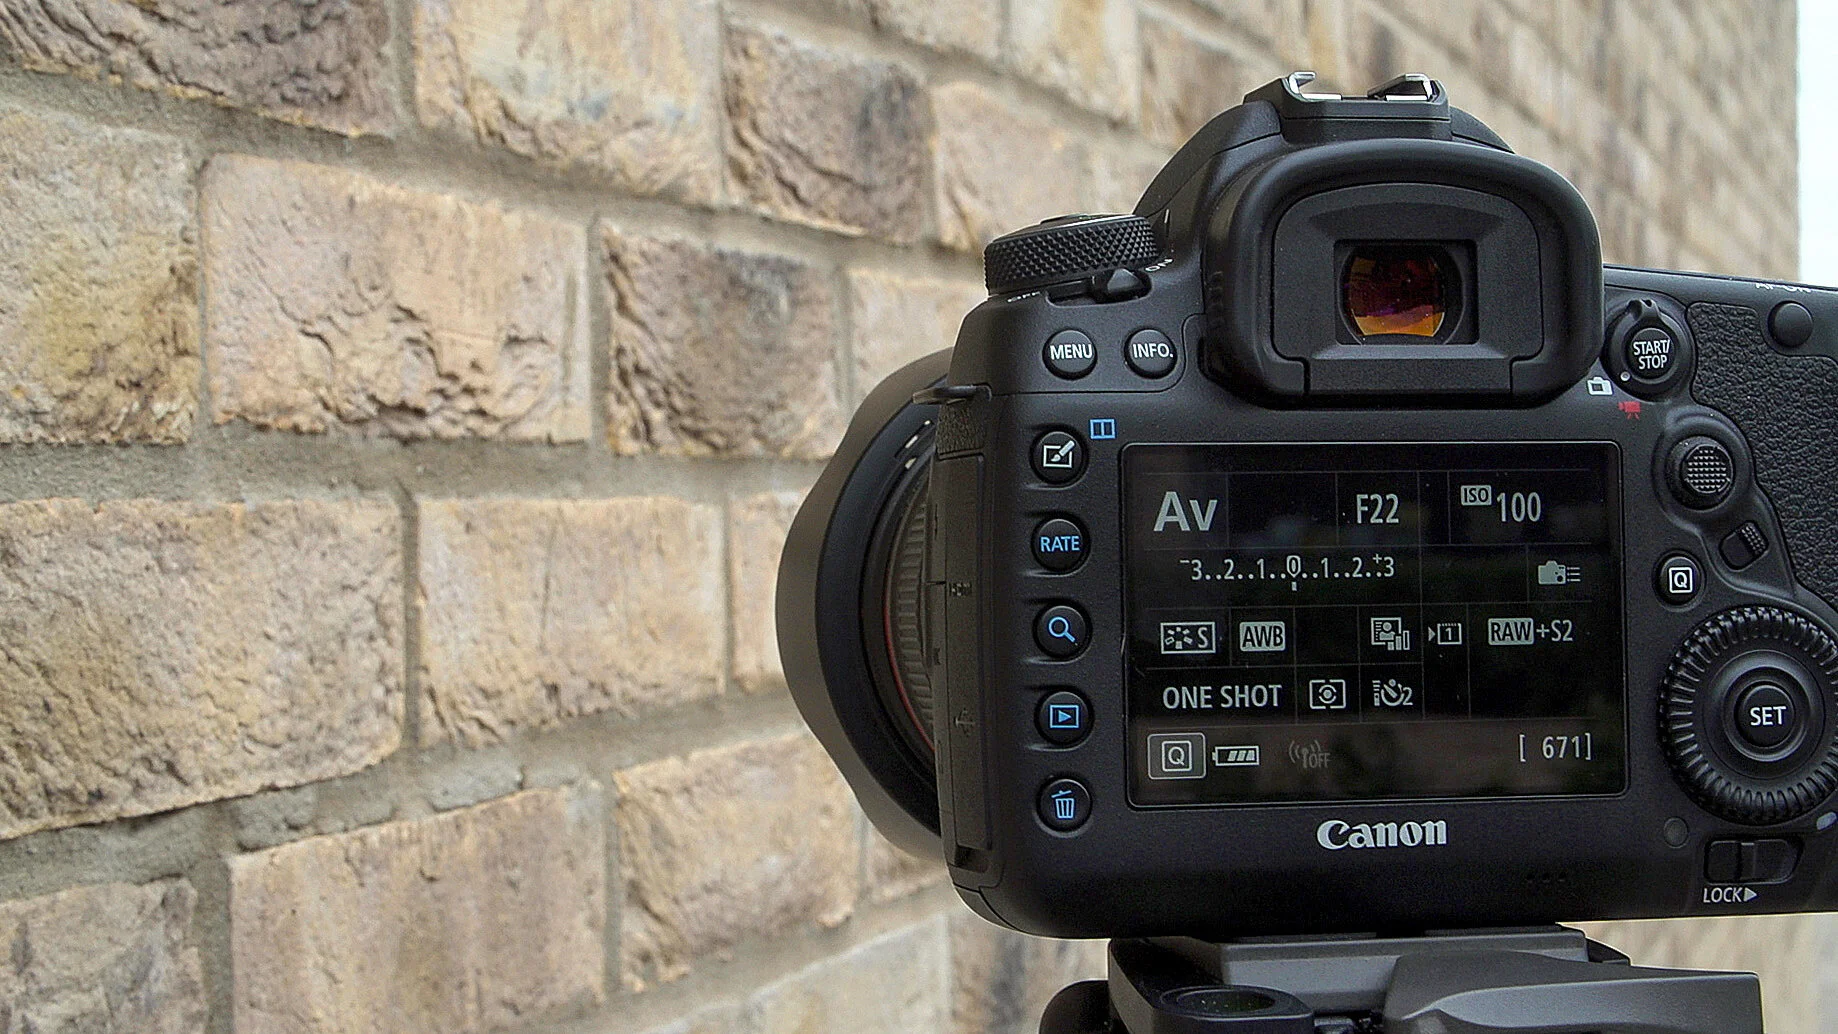
Camera set up for your aperture task
Summary: What Is Aperture in Photography?
In simple terms, the aperture definition in photography is the adjustable opening inside a camera lens that controls the amount of light reaching the camera sensor. Aperture values are shown using an f-stop, written with the letter f followed by a number, such as f/8. This f-number indicates the size of the aperture opening.
Aperture also plays a key role in controlling a visual effect called depth of field, which refers to how much of an image appears sharp. Wide apertures, such as f/2.8, create a shallow depth of field, making them ideal for portraits where the background is blurred. Narrow apertures, such as f/16, create a deep depth of field, which is commonly used in landscape photography to keep both the foreground and background sharp.
Like this? - Check out free tutorials below


I hope you liked this tutorial on what is aperture in photography, if you did, please leave us a comment and support us by sharing it with your friends and subscribe to our newsletter at the bottom of this page for more.
We also have an excellent learning community on social media so please join us there as well.
Thanks for watching and remember – Learn more at The School of Photography.
