
Lightroom Film Presets – One Click Analogue Editing For Free!
Transform your photography with our collection of 20+ free Lightroom film presets. Whether you're looking to add nostalgic vintage vibes or create high-contrast cinematic moods, these presets give your photos that timeless analogue look with just a click. Perfect for all types of photography, from portraits to landscapes, our presets offer a variety of styles to match your vision and help you edit faster with professional results.
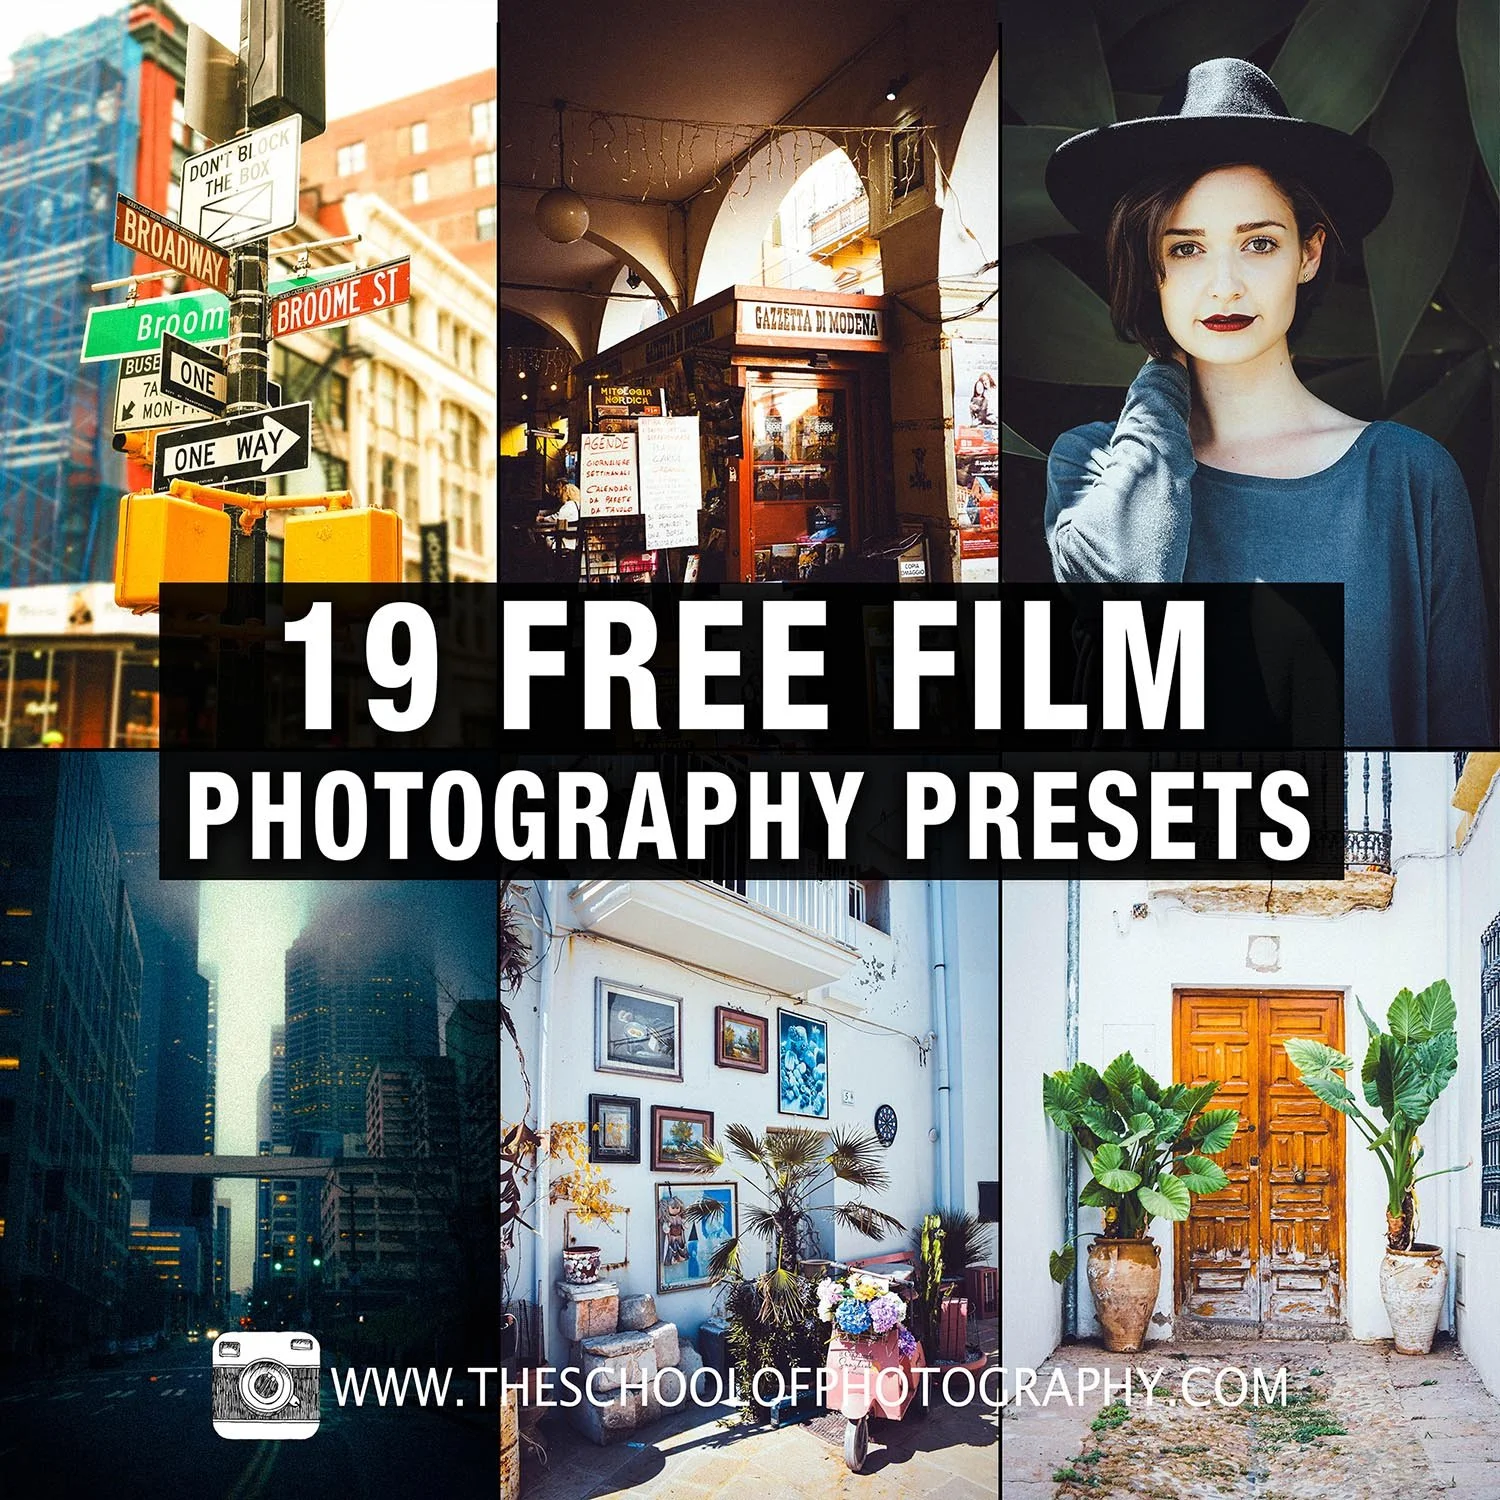
Download our free film photography presets by filling in the form below!
Why Lightroom Film Presets? The Art of Analogue Aesthetics
While presets can seem like a simple "one-click" solution, the real magic happens when you explore the variety of film looks available. The 20+ free Lightroom film presets you’re downloading are designed to give your photos a range of authentic analogue-inspired styles, from vintage tones to high-contrast moods, and everything in between. These lightroom film presets offer a good starting point to kick off your editing.
If you’re keen to find out how to make your own lightroom presets, check out our full tutorial here.
Get access to ALL our online courses - 1000’s of videos, worksheets, critiques of students work, personalised support and much more with our monthly membership.
Versatility for Every Photo Style
These presets are highly adaptable and work across various types of photography:
Portraits: Soft, dreamy tones, light contrast, and subtle grain can add a warm, nostalgic vibe to portraits, making skin tones more flattering and adding a timeless touch.
Landscapes: Some presets may bring out vibrant hues or create moody, faded looks that fit perfectly with expansive landscapes, sunsets, and nature shots.
Lifestyle/Street Photography: Light, airy film looks with muted colours, or a slightly faded effect are perfect for urban, candid photography, adding character and depth to casual shots.
Product Photography: Sharpened contrast or neutral tones in your presets can help products pop, while still retaining a soft, authentic feel rather than an overly polished digital look.
Each preset has been designed to help you quickly achieve a specific mood or aesthetic, but don’t feel limited by them! Mix and match, tweak settings, and adjust for your own unique creative style.
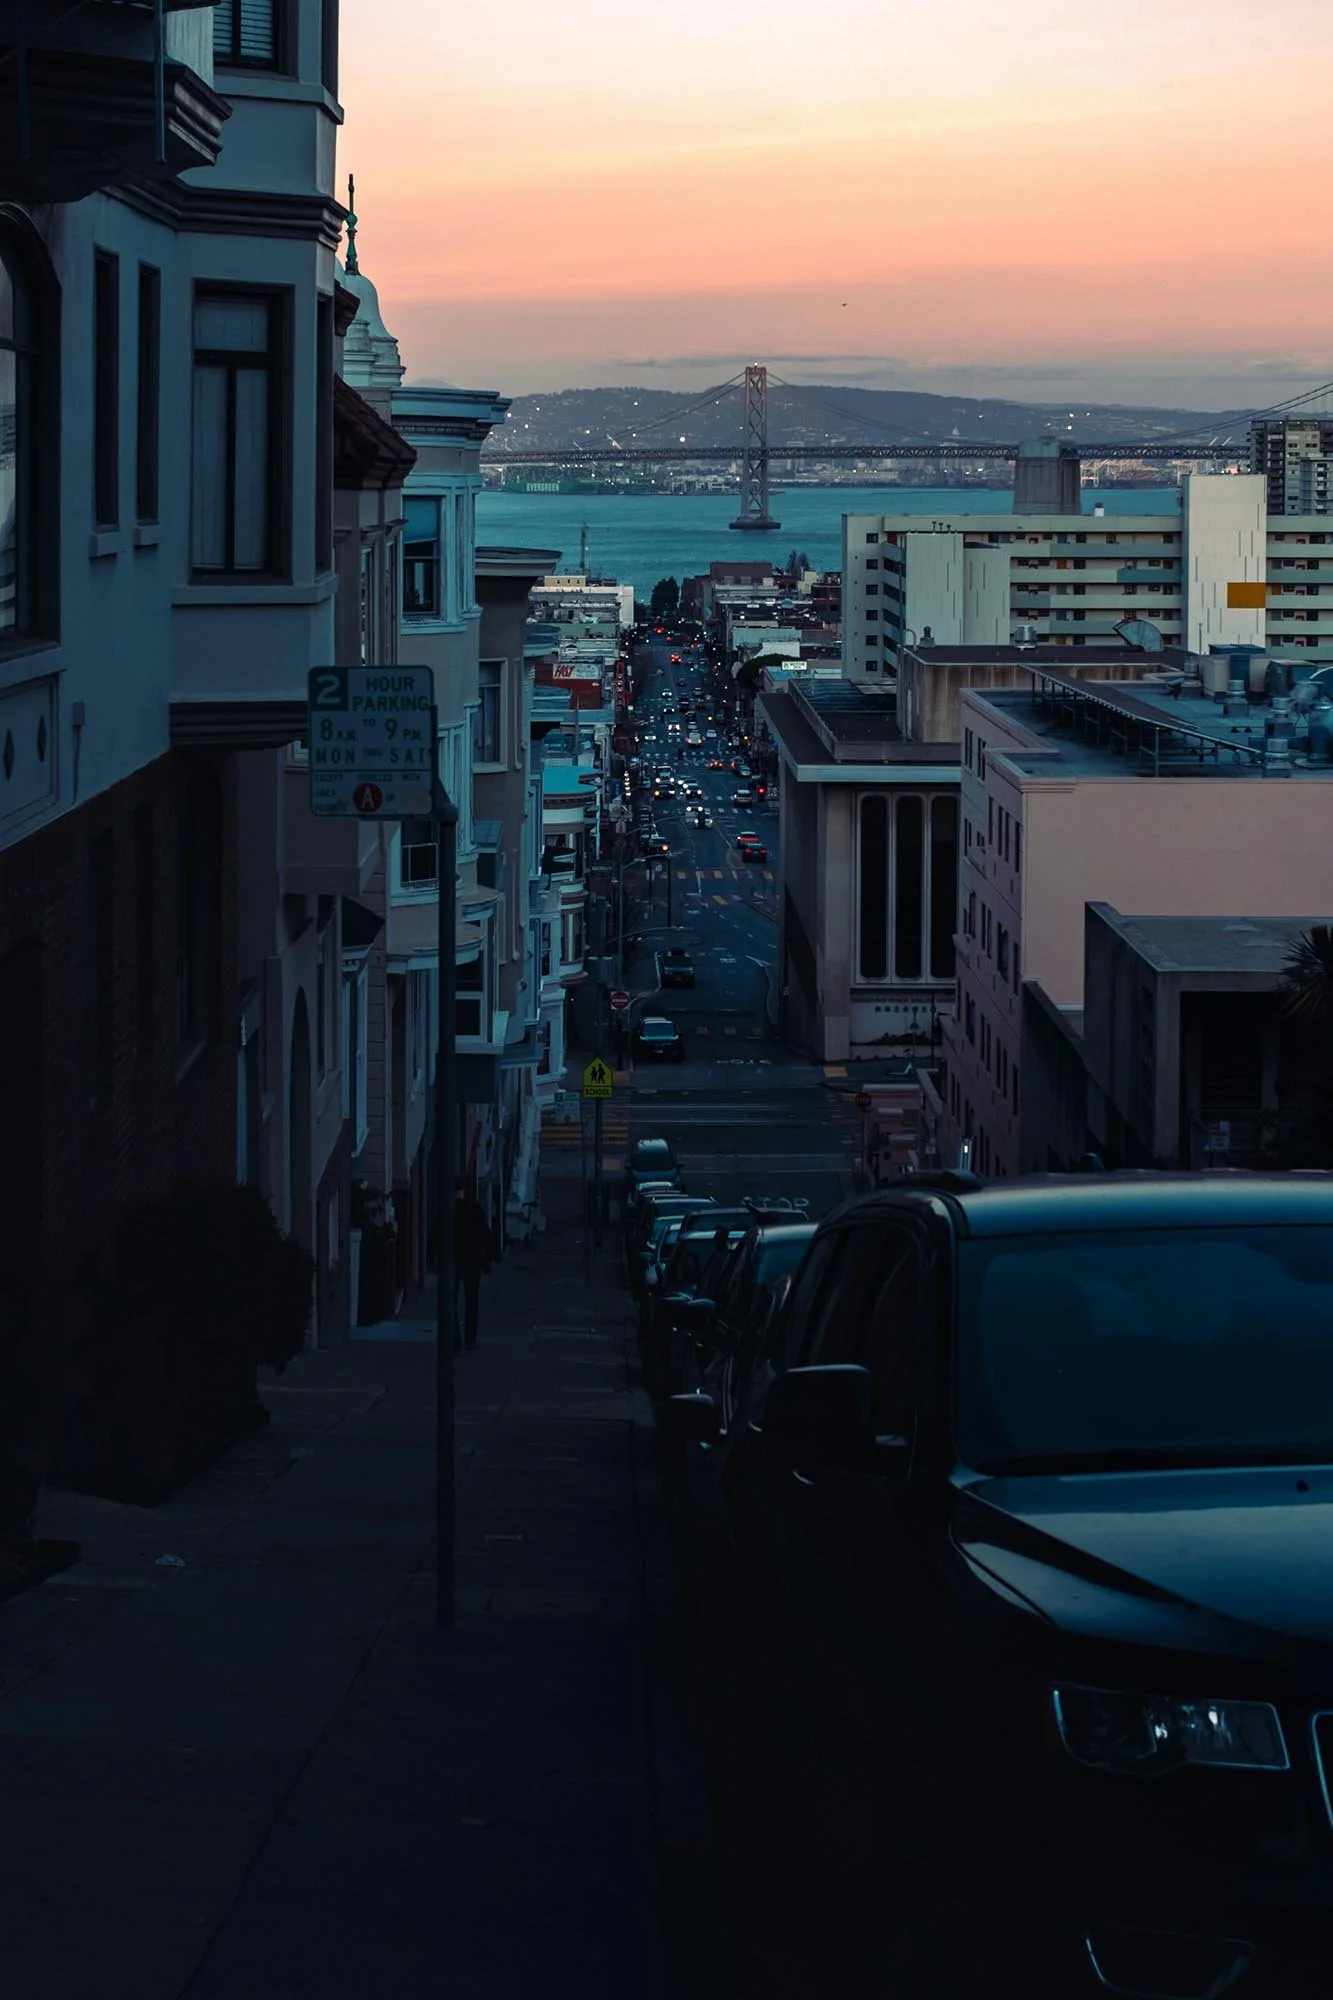
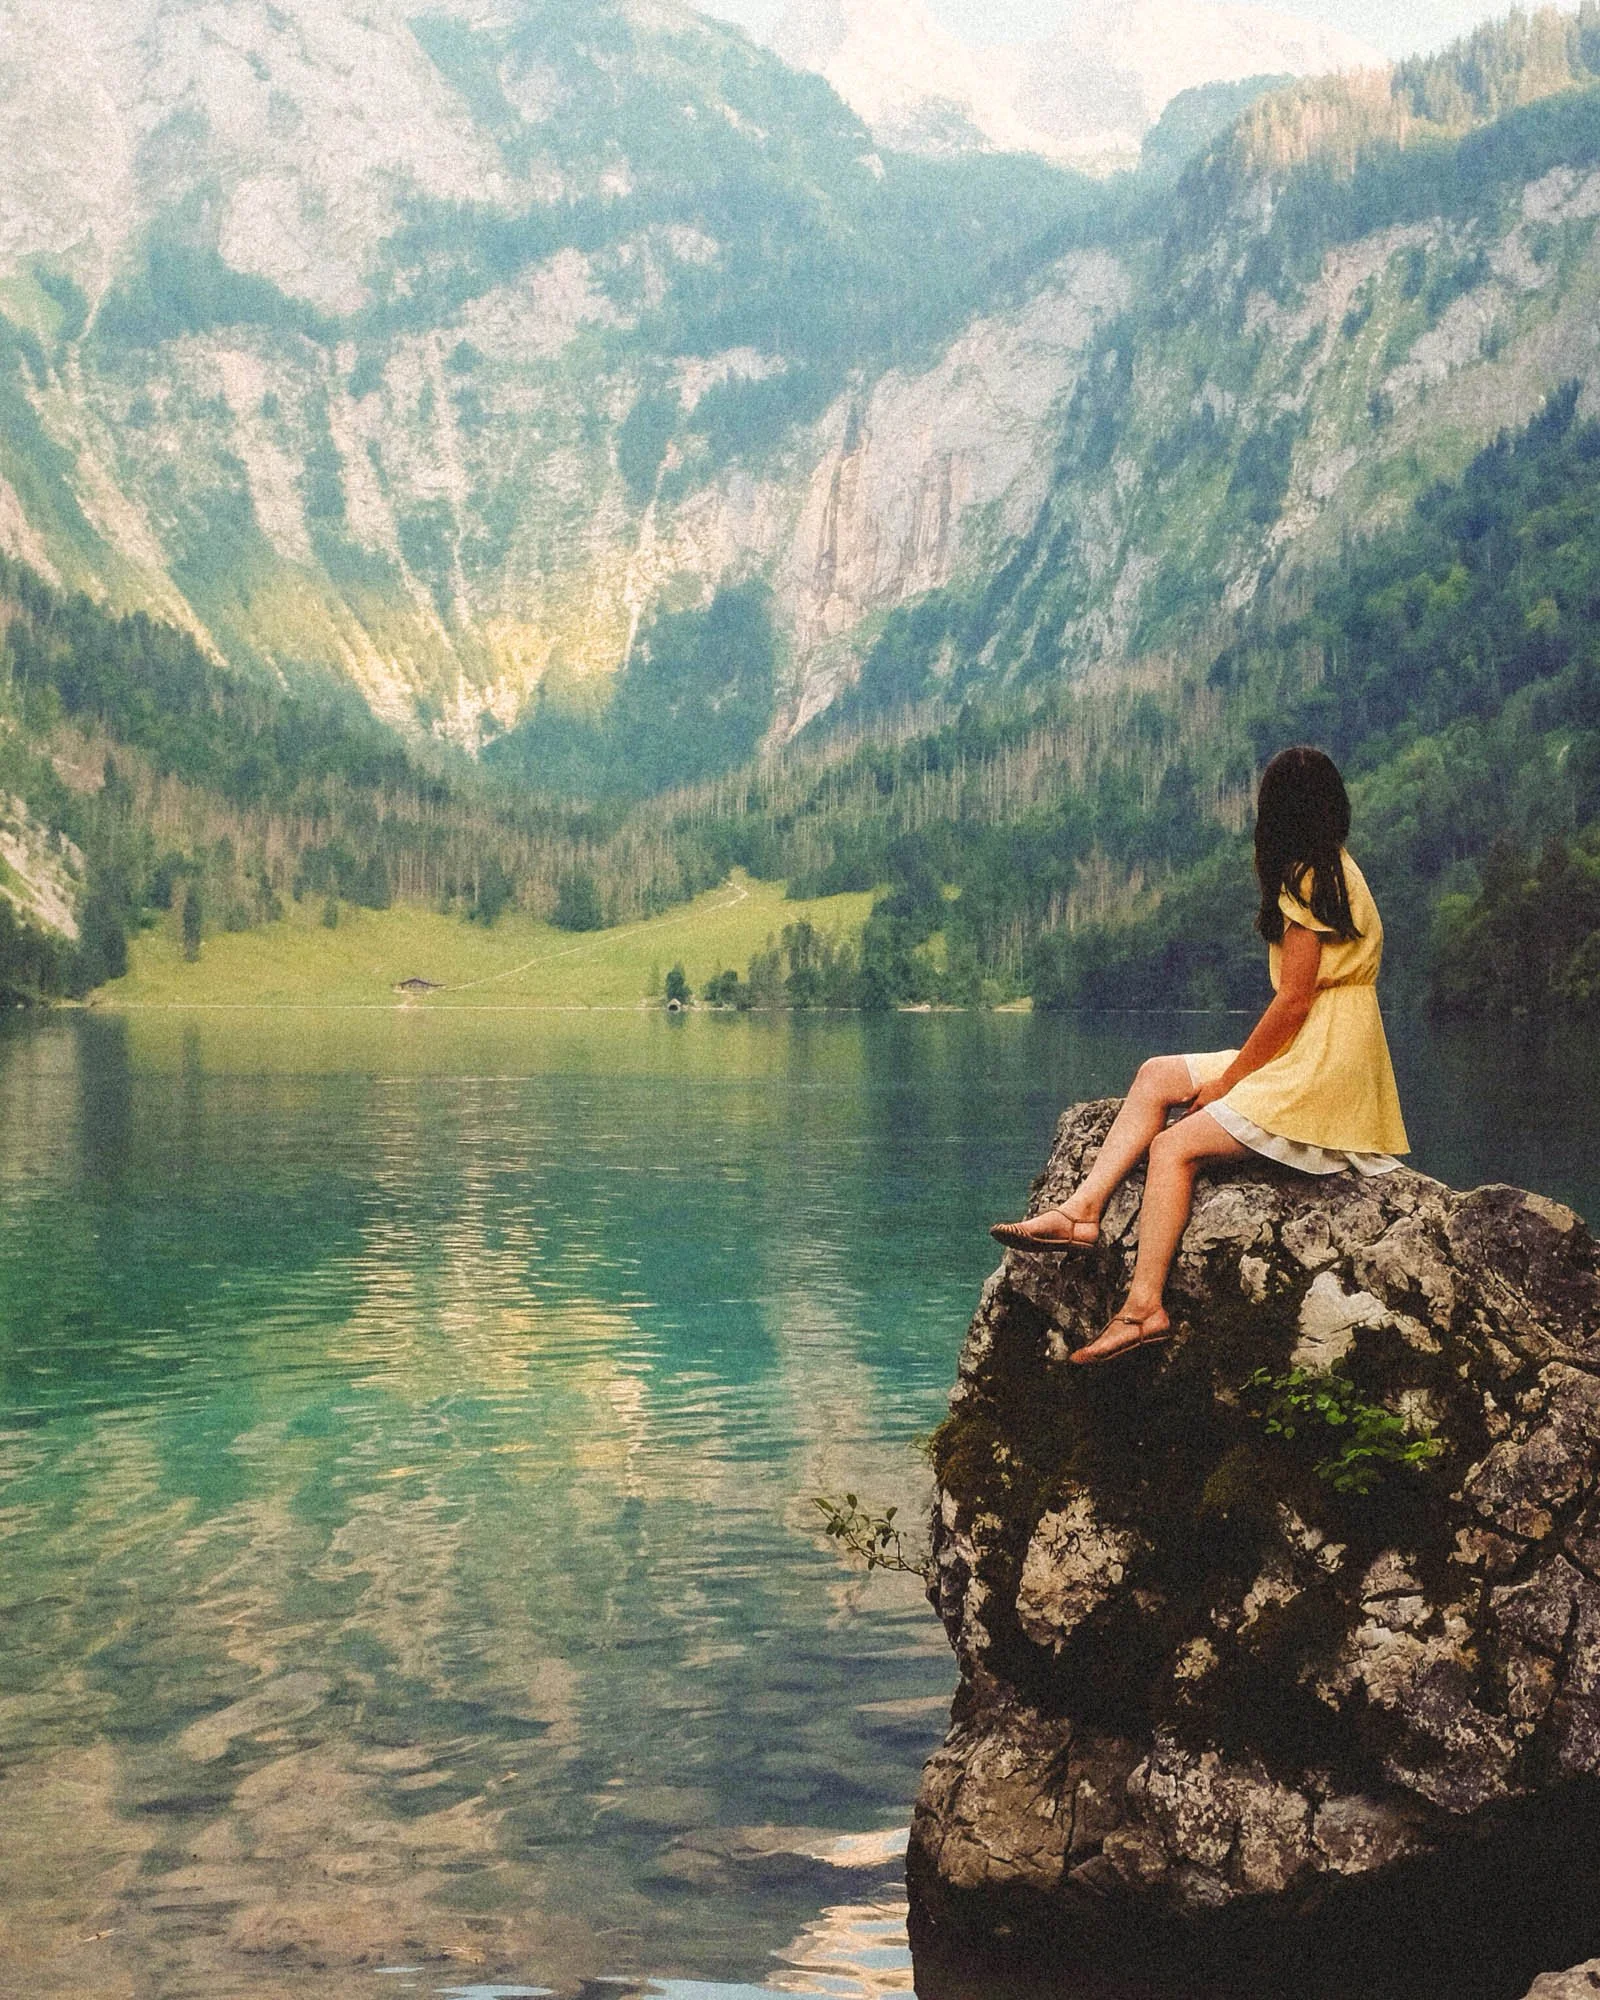
Kellen-Riggin on Unsplash.
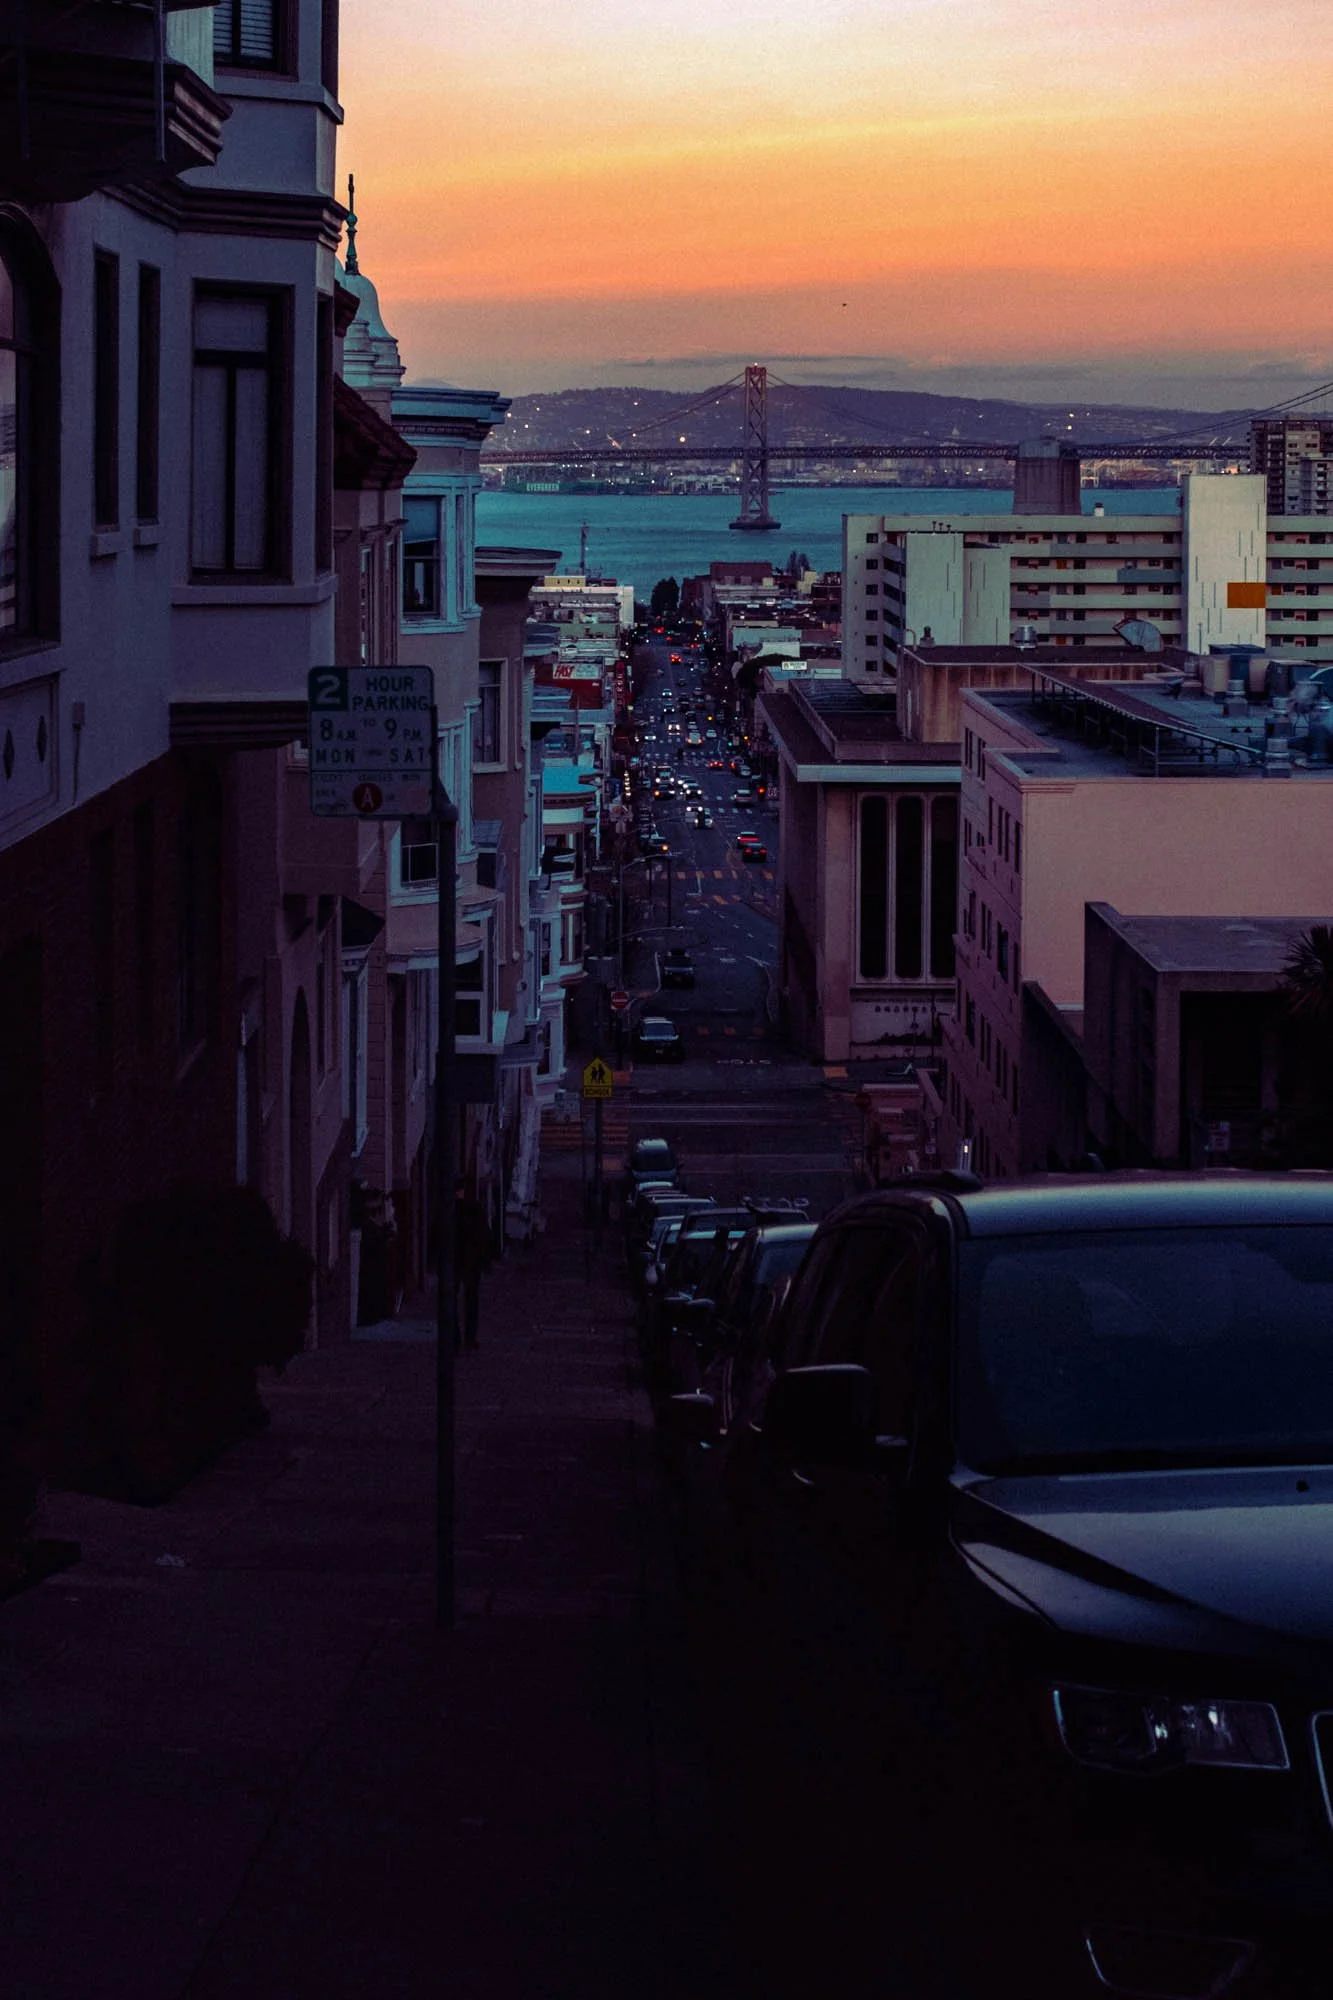
After our “Vibrant Film” preset was applied.
Get more out of your lightroom film presets
The beauty of Lightroom presets is that they give you a head start, but they’re not the end of your editing process. Let’s explore some advanced tips for fine-tuning these film-inspired presets and taking your editing to the next level.
Fine-Tuning for Your Personal Style
Once you've applied a preset, it’s time to adjust it to suit your specific vision. Here are some tips to refine the preset:
Highlights & Shadows: Don’t be afraid to tweak the highlights and shadows sliders to enhance the mood. If the preset darkens your shadows too much, lighten them to bring back details. On the flip side, if your highlights feel too bright or washed out, use the slider to bring them back to life.
Tone Curve: The tone curve allows you to adjust the overall contrast of your image. For a more dramatic look, create an S-curve to add contrast. Alternatively, for a more film-like, faded aesthetic, lower the highlights and raise the shadows a bit to flatten the image’s overall tone.
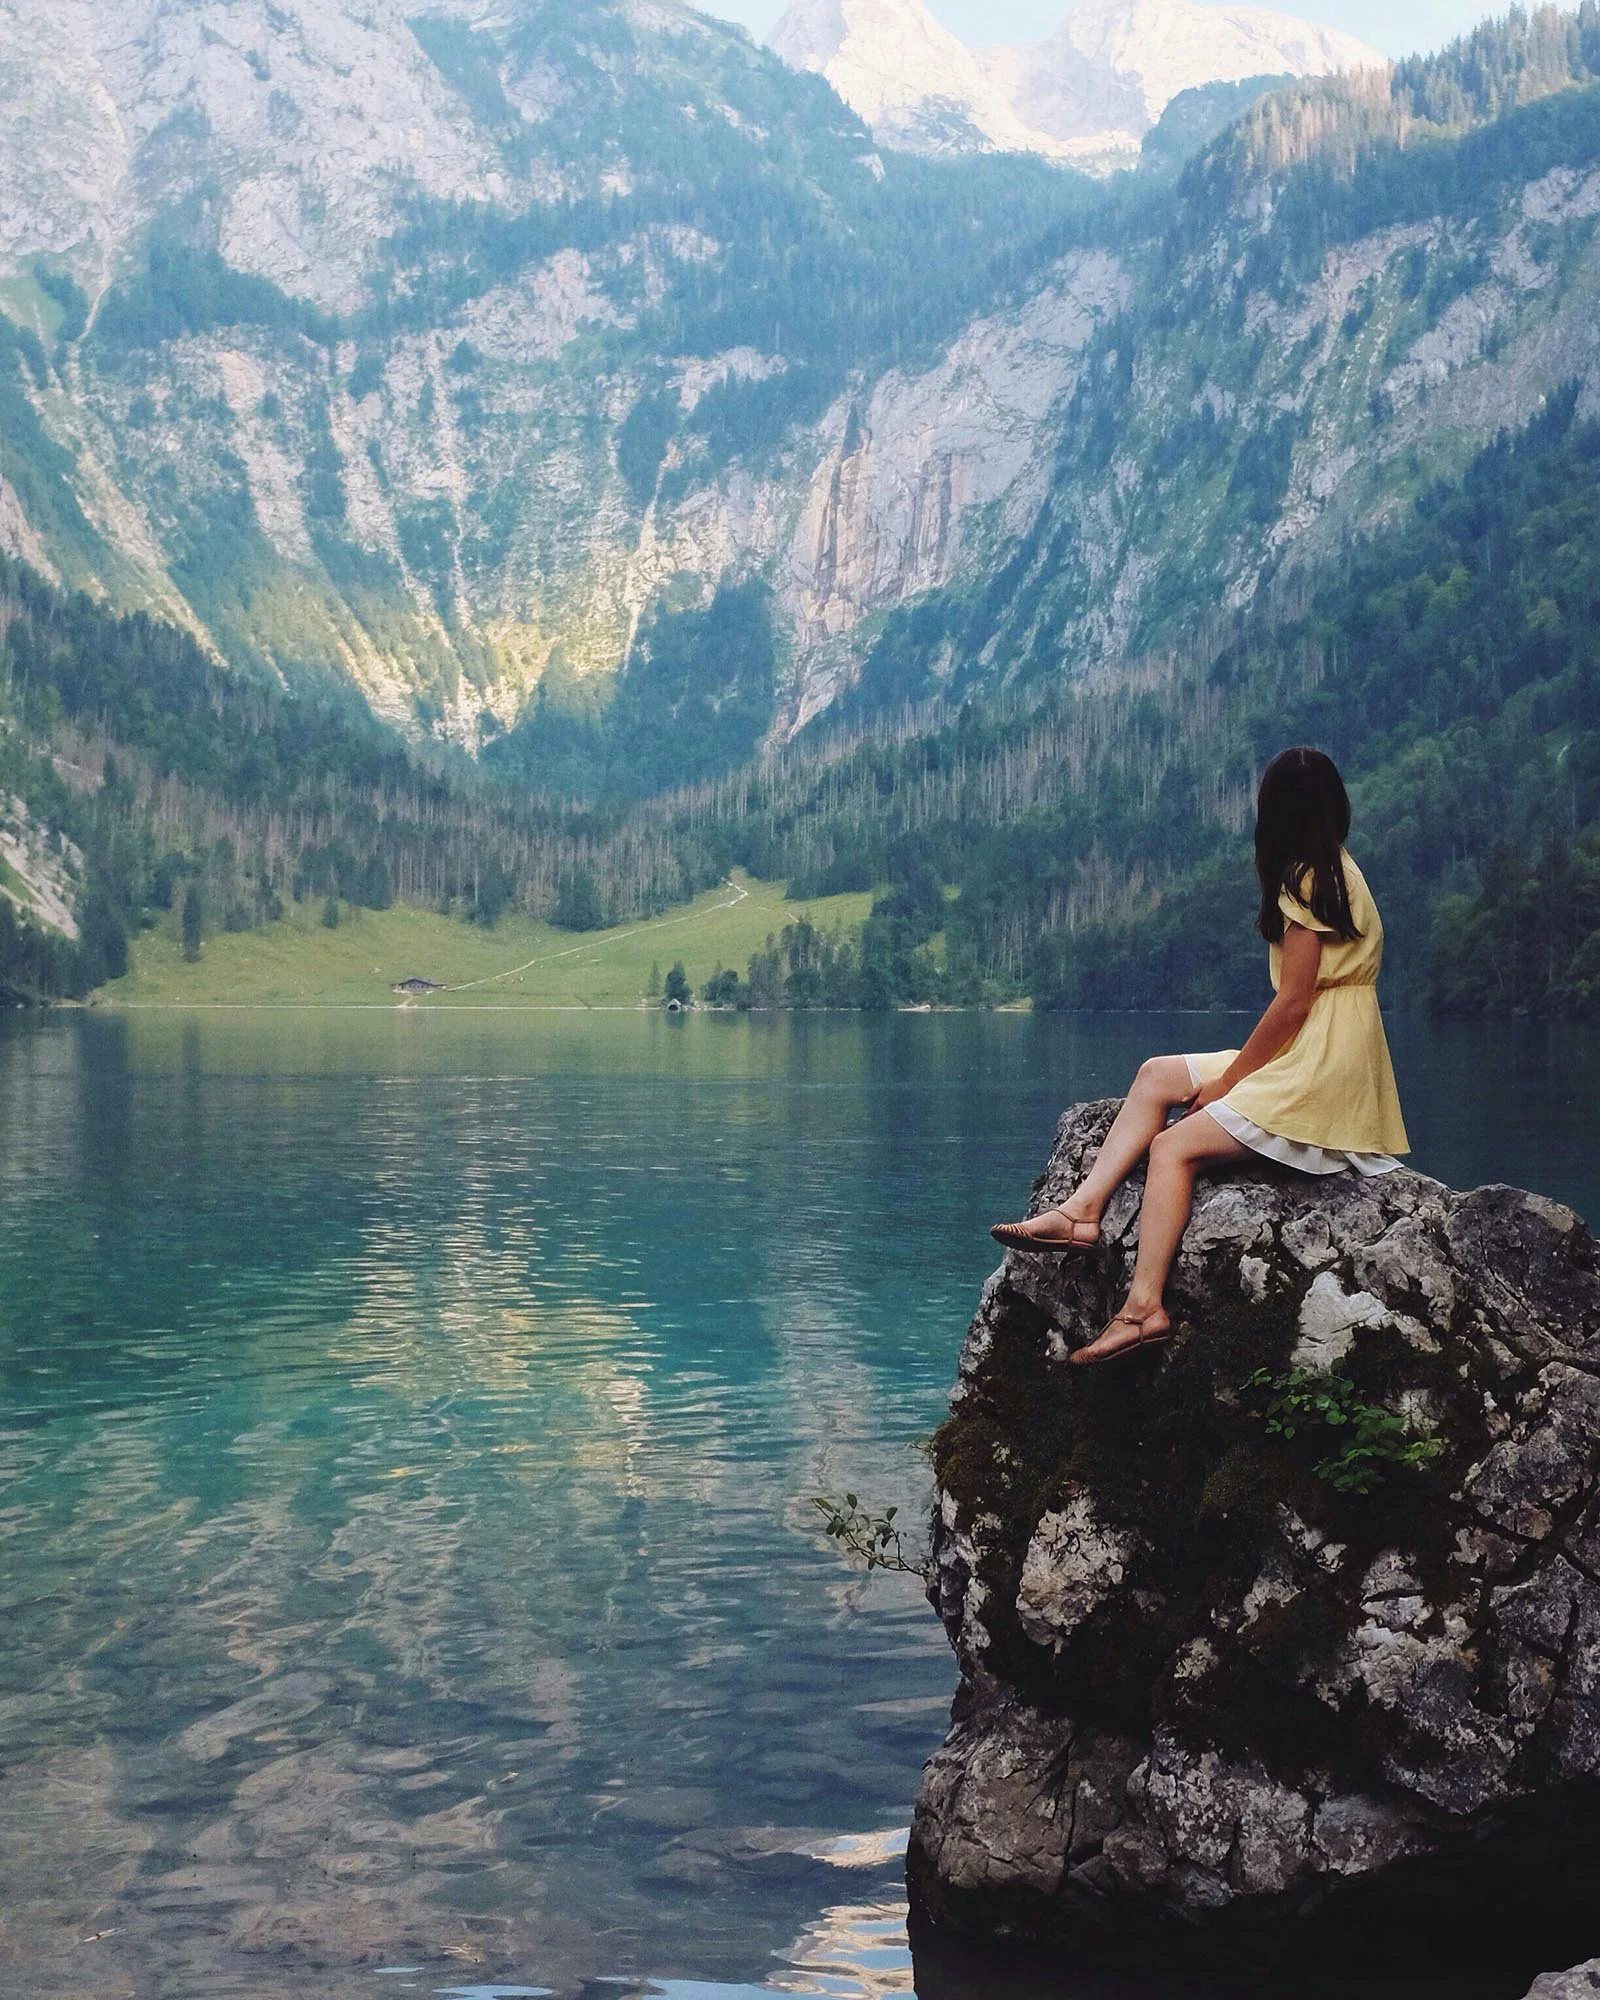
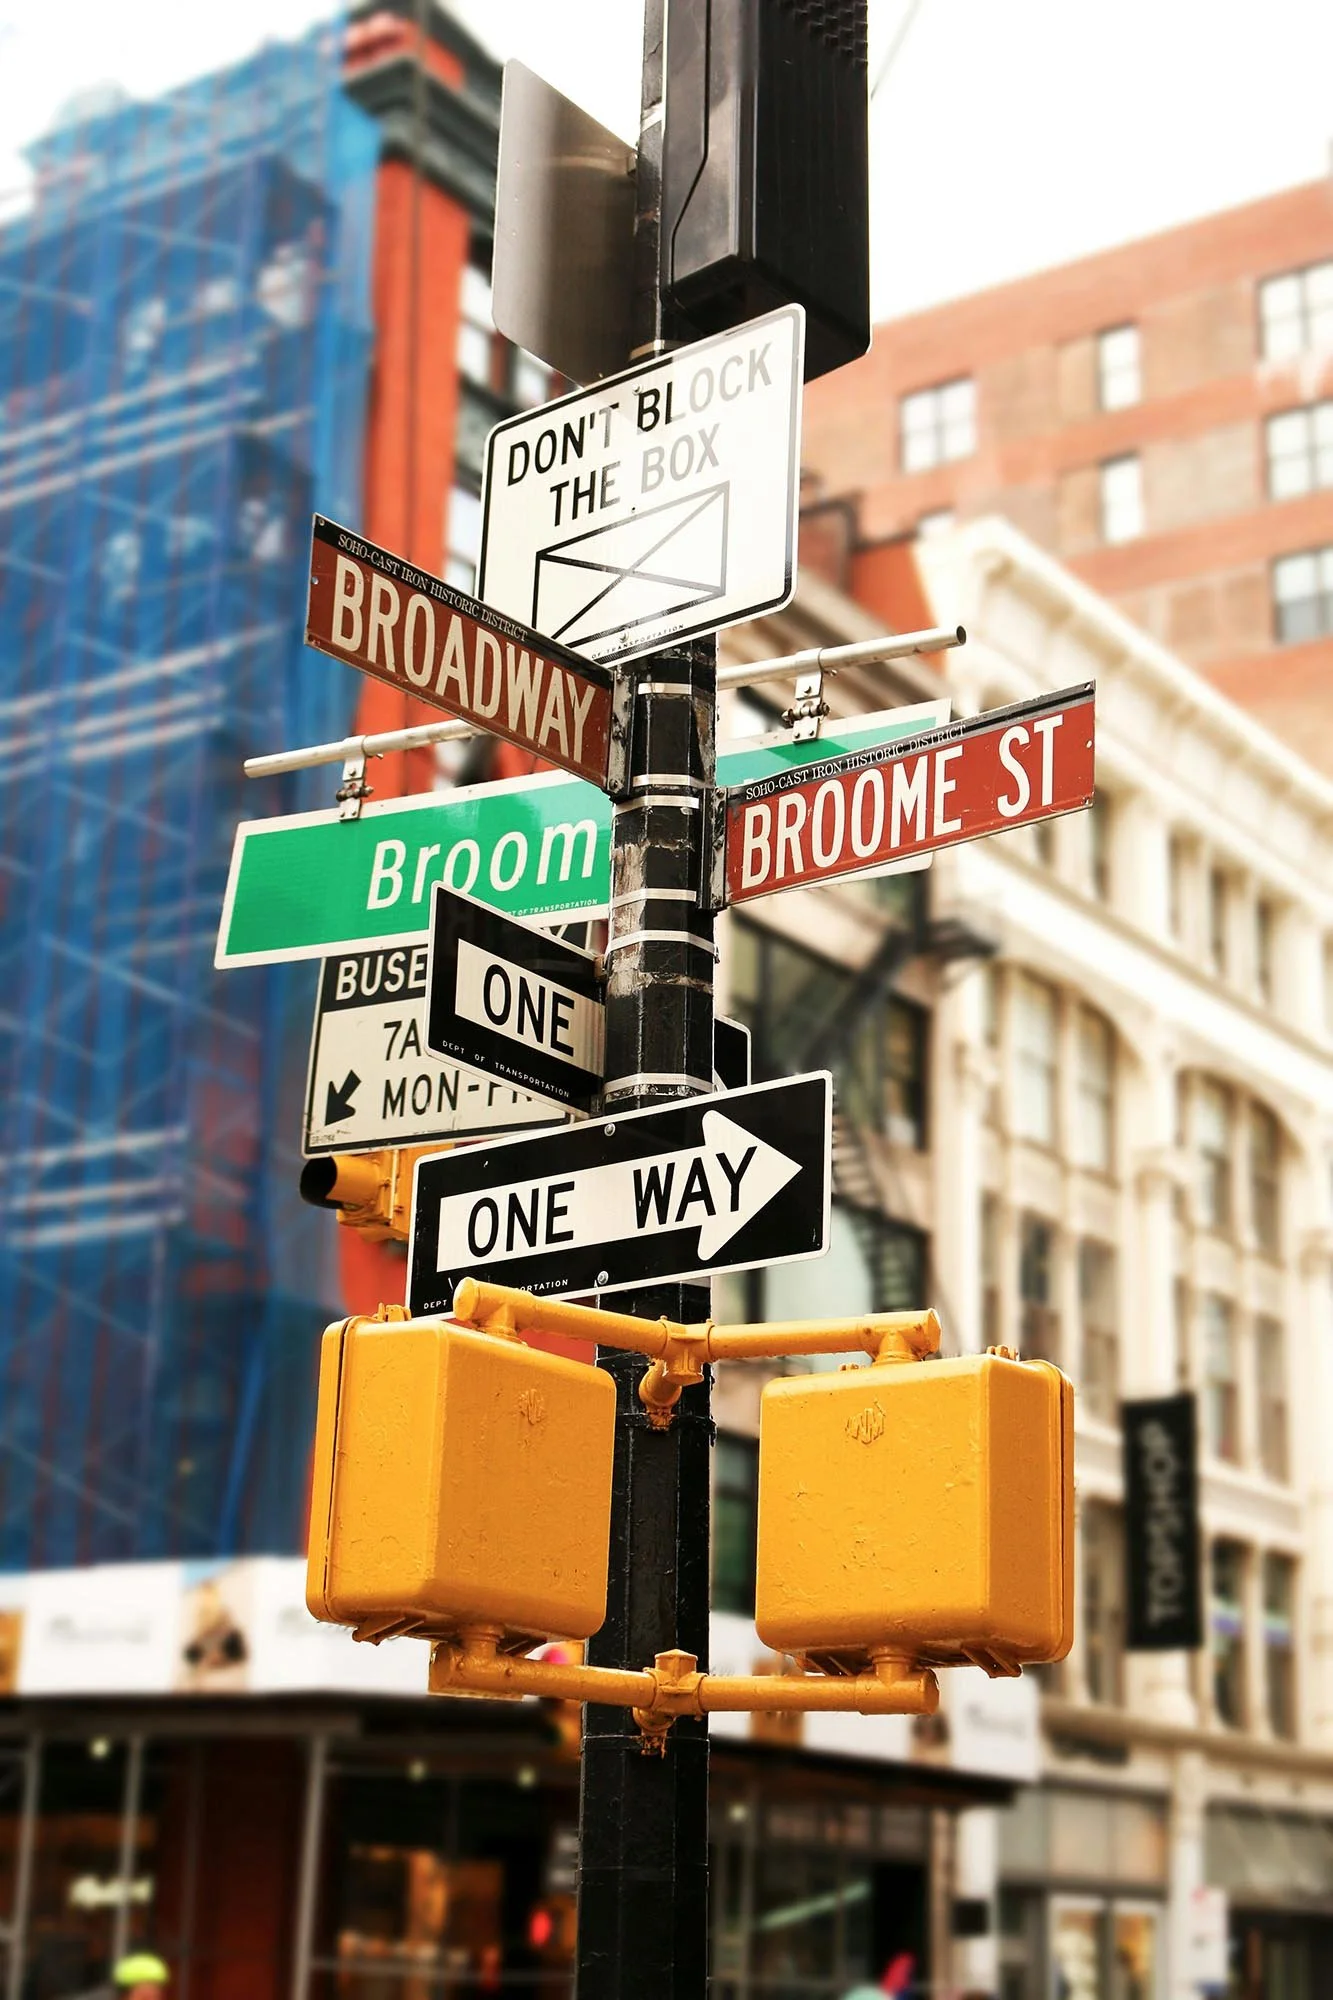
Nadi Whatisdelirium on Unsplash
After our “Colour Film” preset was applied
Mastering the HSL Sliders
For those who want more control over specific colours in their photos, the HSL (Hue, Saturation, Luminance) sliders are essential:
Hue: Adjust the hue slider to shift the colour spectrum. For example, a slight tweak in the hue of the reds can turn a vibrant sunset into something more golden.
Saturation: Boost or reduce saturation to make certain colours pop or give your images a more muted, vintage look.
Luminance: Control the brightness of specific colours. You can make blues in the sky lighter or darken greens in your landscape to create a deeper contrast.
By experimenting with these sliders, you can customize your preset’s look for each individual photo, whether you want to make your skin tones warmer, your skies cooler, or add more depth to your subject.
Not familiar with lightroom? Master Lightroom Classic in our full course here.
Josh Connor on Unsplash
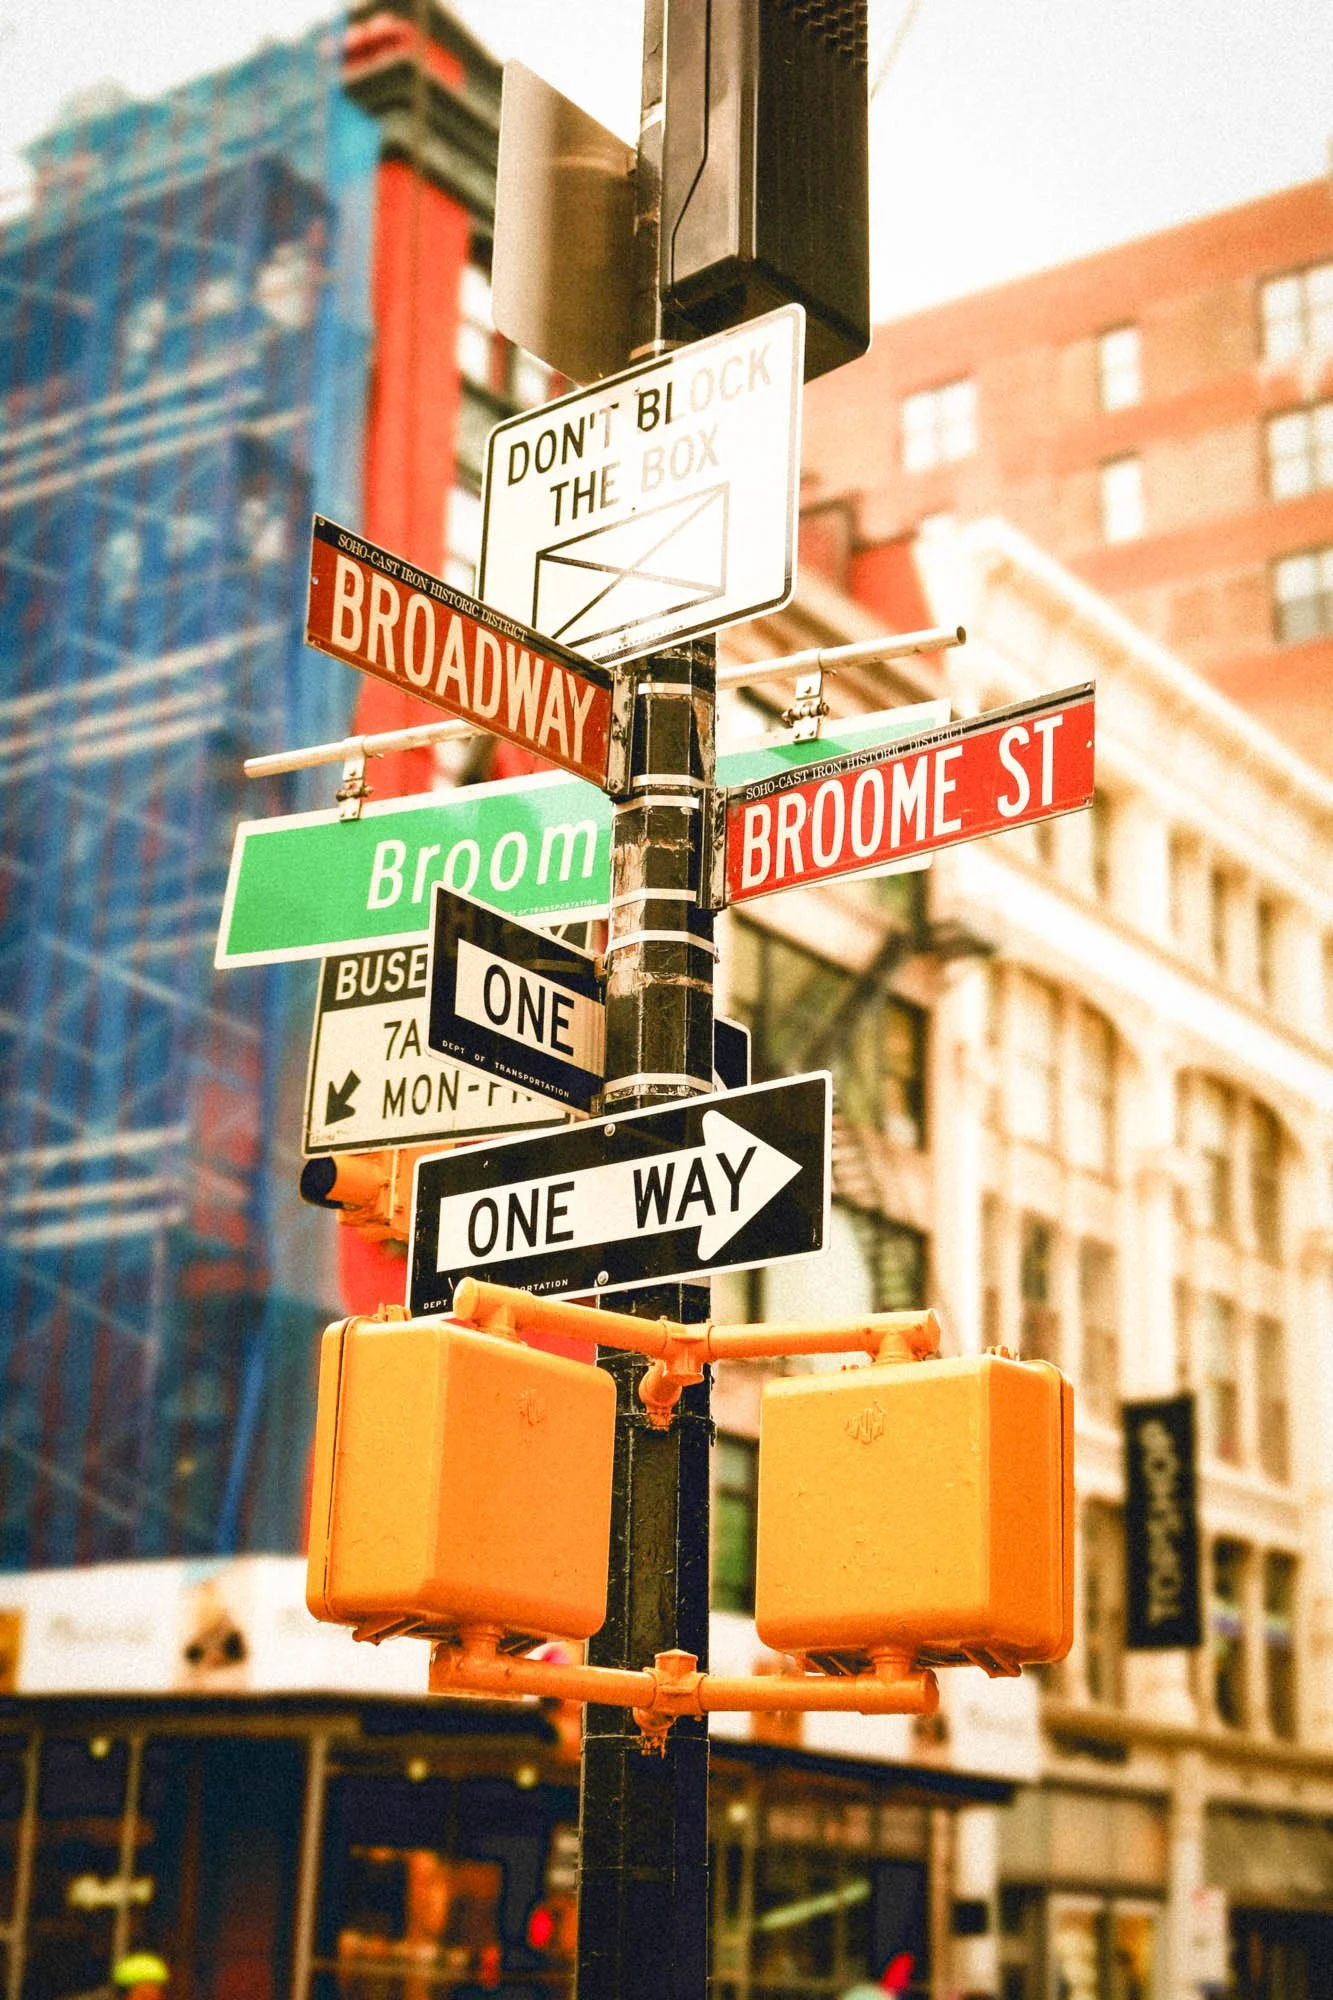
After our “Lomo Film” preset was applied.
Using Lightroom’s Masking Tool with Presets
Lightroom’s powerful masking tool allows you to selectively adjust certain areas of your image while leaving the rest unchanged. This is where the magic happens for more advanced editing:
Subject Masking: After applying a preset, you might find that your subject doesn’t stand out enough from the background. Use the masking tool to select your subject and adjust the exposure or contrast just for them, making them pop.
Sky Masking: If you’re editing a landscape, you might want to enhance the sky by adding more vibrance or tweaking the tone to make the colours more dramatic. With the new sky masking feature, you can do this without affecting the rest of your image.
This advanced technique allows you to isolate specific areas and give them the attention they deserve, while maintaining the integrity of your overall preset.
Creating Custom Presets from Film Looks
Once you've fine-tuned a preset to your liking, consider saving it as a custom preset for future use:
Simply adjust the settings after applying a film preset and then save those adjustments as a new preset to apply to future photos.
You can name your custom presets after specific looks, like “Soft Vintage Portrait” or “Moody Film Landscape,” to stay organized and make it easier to apply them later. These will appear under the ‘User Presets’ folder in Lightroom. To save yourself time in the future and keep your preset collections organised, you can sort the presets into folders as you save them at this point.
Building your own collection of customized presets is a great way to maintain consistency in your editing style, giving your entire portfolio a polished and cohesive aesthetic. Plus, you’ll save time by creating your go-to presets for specific situations.
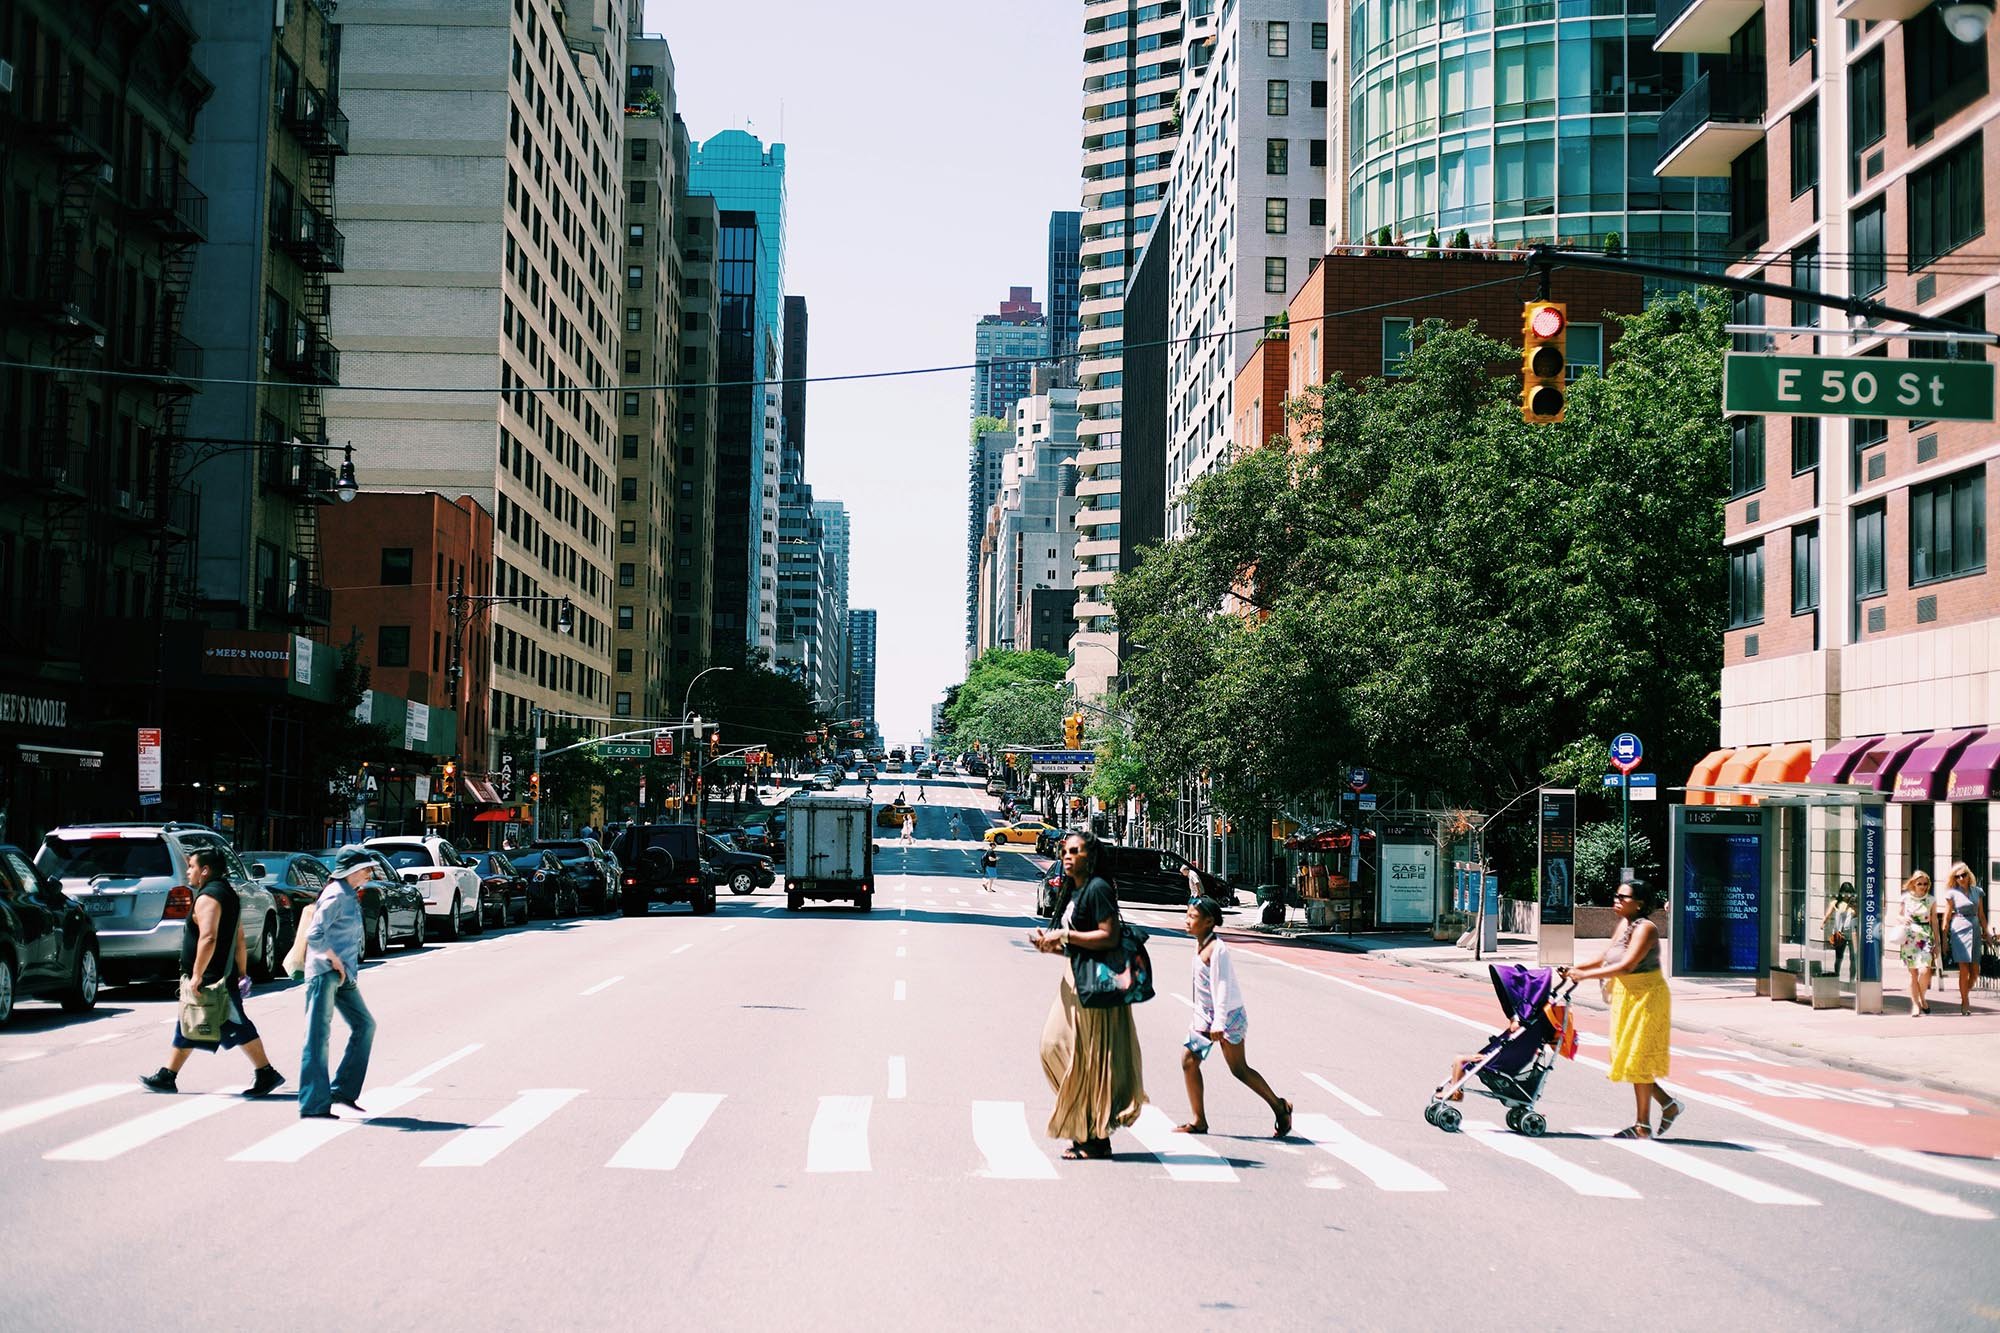
Jesus Kiteque on Unsplash
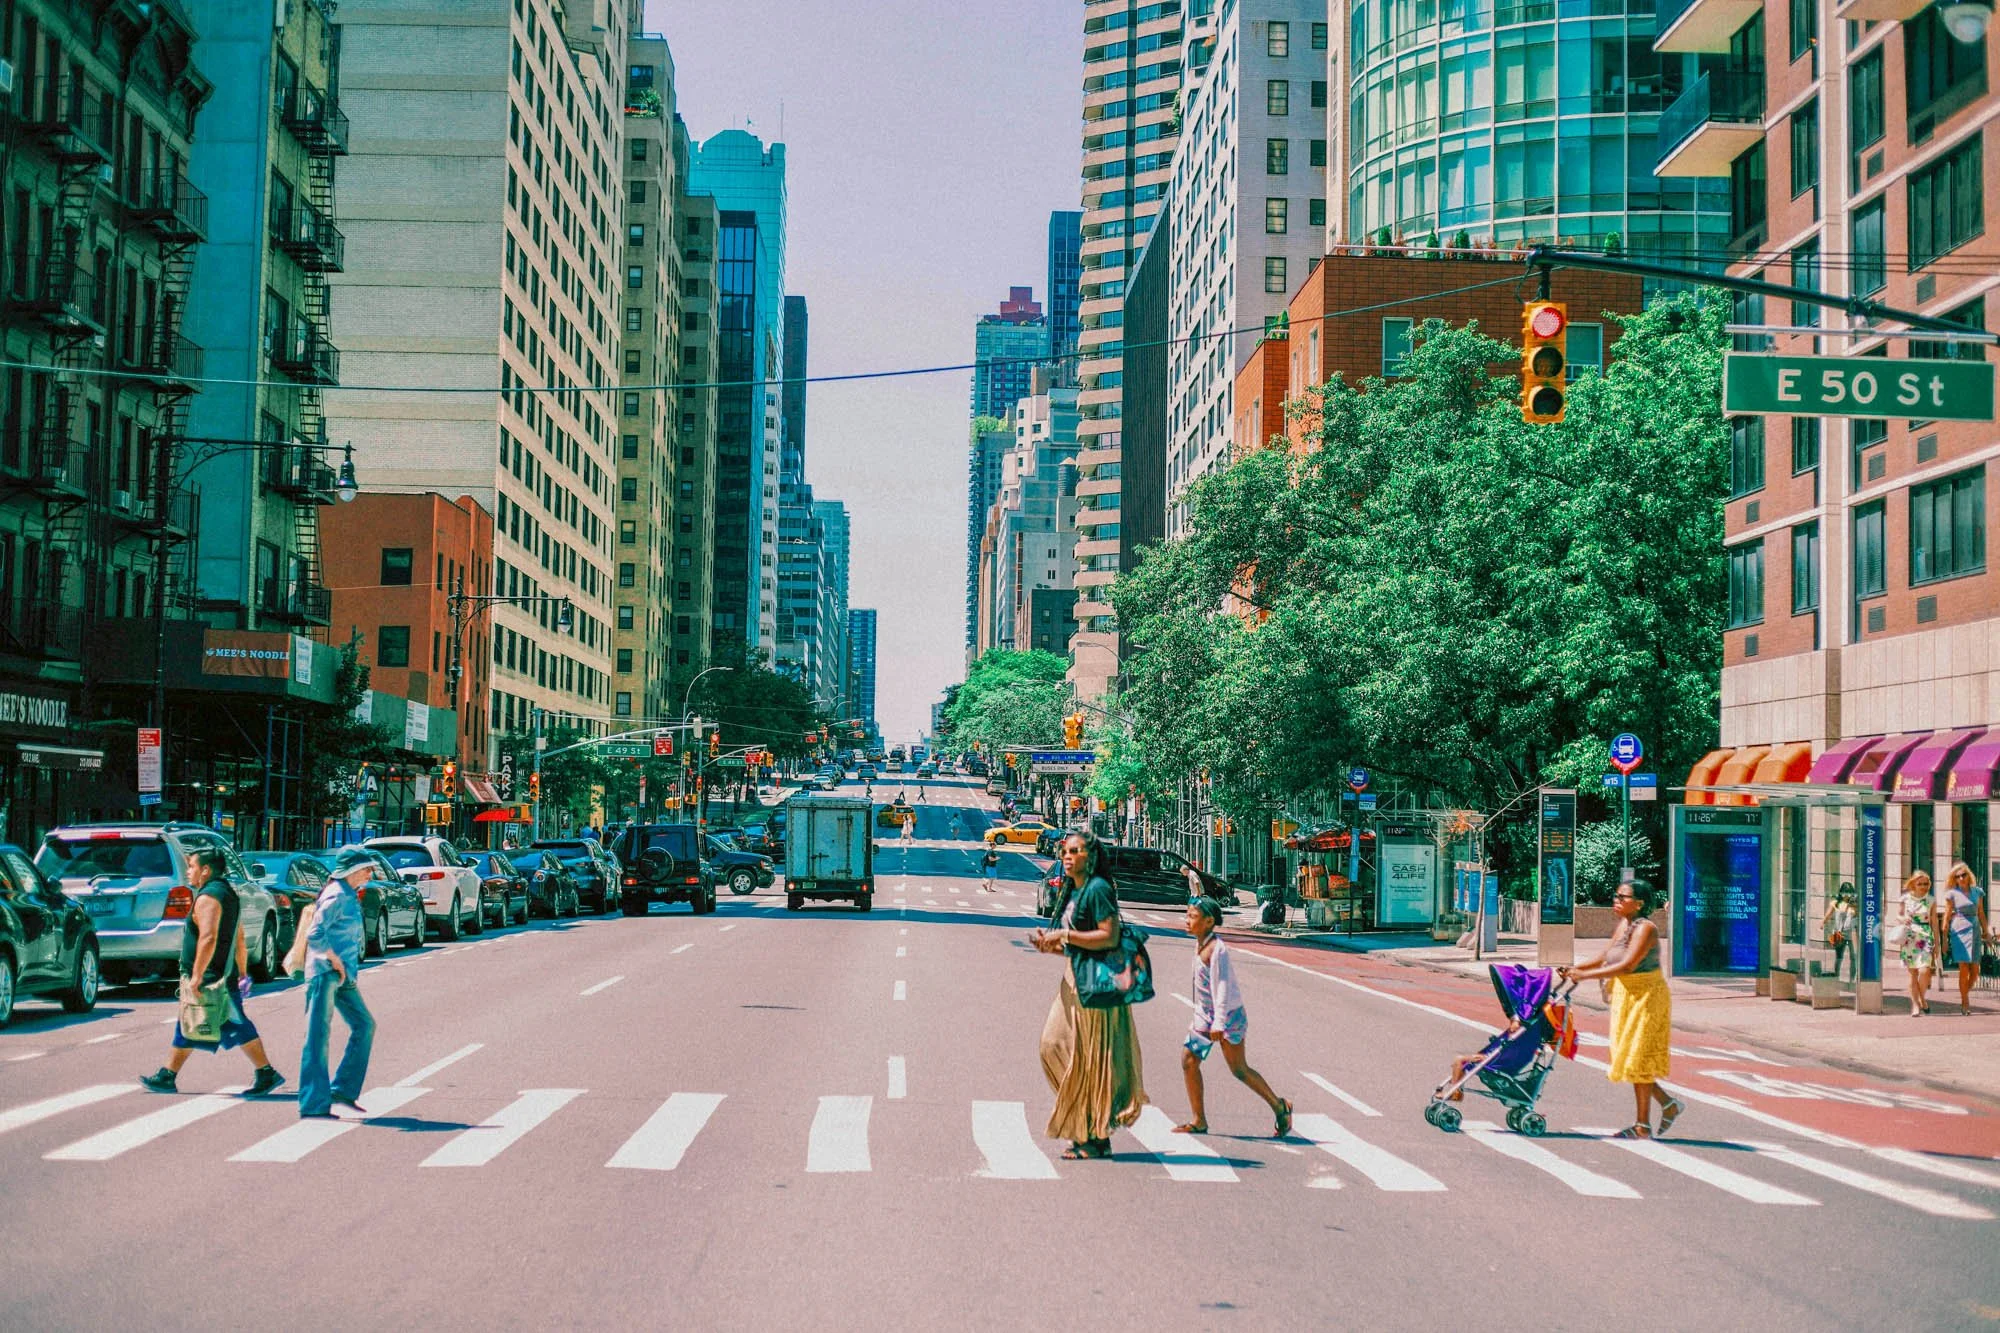
After our “Film Feeling” preset was applied.
Conclusion
Adding film-inspired Lightroom presets to your editing workflow is a fantastic way to quickly elevate your photos with a vintage aesthetic. With our 20+ free presets, you can experiment with various styles while maintaining an authentic, timeless feel.
With a bit of practice and exploration, you’ll be able to seamlessly blend the charm of analogue aesthetics with the power of digital editing, bringing your photography to life in new and exciting ways. Happy editing!
Like this? - Check out more free tutorials below


I hope you enjoyed this blog about choosing the best camera bag for you. If you did, please leave us a comment and support us by sharing it with your friends and subscribe to our newsletter at the bottom of this page for more.
We also have an excellent learning community on social media so please join us there as well.
Thanks for watching and remember – Learn more at The School of Photography.
